Sir John Monash, Personal Files Book 16, 3 September - 9 October 1917, Part 11
25 SEP 1917
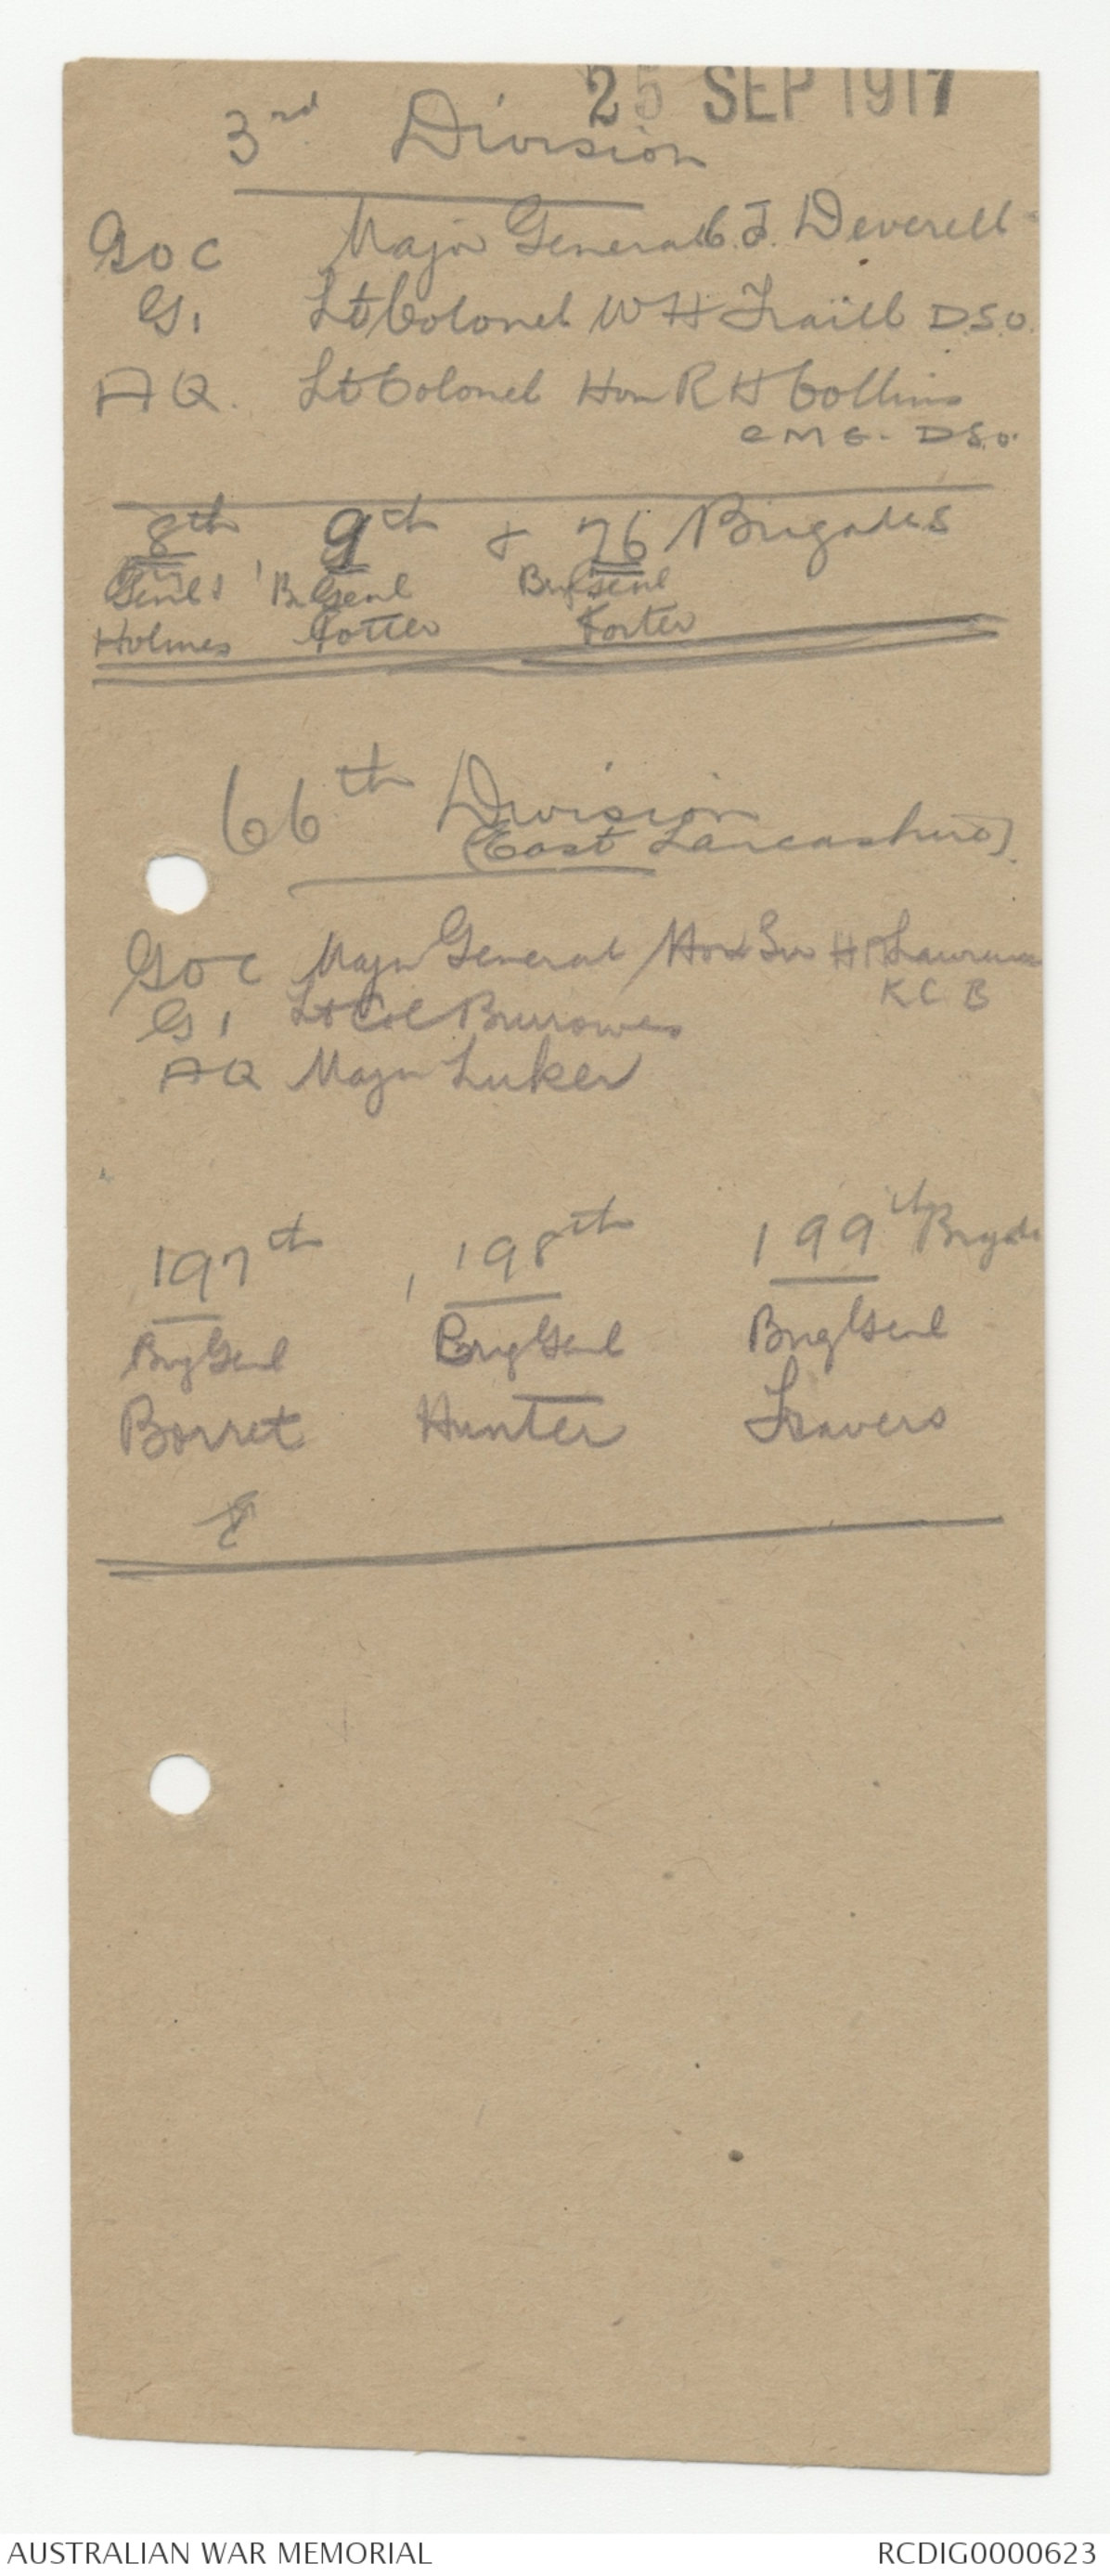
3rd Division
GOC Major General T. Deverell
G. Lt Colonel WH Traill D.S.O.
AQ. Lt Colonel Hon RH Collins
CMG. DS.O.
8th 9th & 26 Brigades
Genls Br Genl Br Genl
Holmes Potter. Foster
66th Division
(East Lancashire).
GOC Major General Hon Sir HA Lawrence
KCB
G. Lt Col Burrowes
AQ Major Luker
197th 198th 199th Brgde
BrgGenl BrgGenl BrgGenl
Borret Hunter Travers
G
SECRET.
THIRD AUSTRALIAN DIVISION.
Divisional Headquarters,
26th. September, 1917. S.6.386/10.
Headquarters,
2nd. A. & N. Z. Army Corps.-
With reference to your letter No. S.G. 650 of today's
date. - I submit the following recommendations. - Air photographs
of the area not having been available, the recommendations must
necessarily be regarded as provisional.-
(a). The BLACK DOTTED Line on the attached tracing shews the
position I would recommend as the final objective. - This line
has been selected -
(i) In order to include various buildings along the front which
may have been strengthened, and may contain machine guns.-
(ii) In order to obtain a field of view into the valleys on the
East and North-East.-
(iii) In order not to descend into the valley between DARING
CROSSING and TYNE COTTAGE.—
(b). I would recommend the intermediate halts being made at the
following average distances from the BLUE LINE on the attached
tracing. -
700 yards.
400 yards.
300 yards.
The actual shape of the halted lines is shewn on the
attached tracing. -
My reasons for the position of No. 1 halt are -
(i) To include the strong points about SPRINGFLELD. -
(ii) In order to keep the barrage, while halted, on DESMOND
TRENCH. -
(iii) To allow ample time for the leap-frogging Battalion to
cross the upper part of the HANEBEEK. -
My reasons for the second halt are -
(i) In order to keep the halted barrage on the GRAVENSTAFEL
SWITCH.
P.T.O.
(2).
(ii) To bring the attacking line parallel to the final line
of consolidation.-
(c). I would recommend that the final Protective Barrage be
300 yards beyond the BLACK DOTTED Line on the attached tracing.-
(d). I consider the pace of the barrage should be 100 yards
in 4 minutes up to the first halt, and from then on 100 yards in
6 minutes.-
I would recommend that the first halt be for
half an hour, and the second for three-quarters of an hour.-
(e). The proposed dividing line between Brigades is shewn on
the attached tracing. - It gives the Right Brigade a frontage of
500 yards throughout, and causes the Left Brigade to carry out the
fanlike movement on approaching the final objective. This I considerable
advisable, as the Right Brigade are likely to encounter
greater opposition in the final stages than the Left Brigade. -
(f). I would recommend that if it be possible the boundaries
of the Division may be made rather more perpendicular to the
jumping off line, than as shewn on the tracing.
John Monash
Major-General. -
Commanding Third Australian Division. -
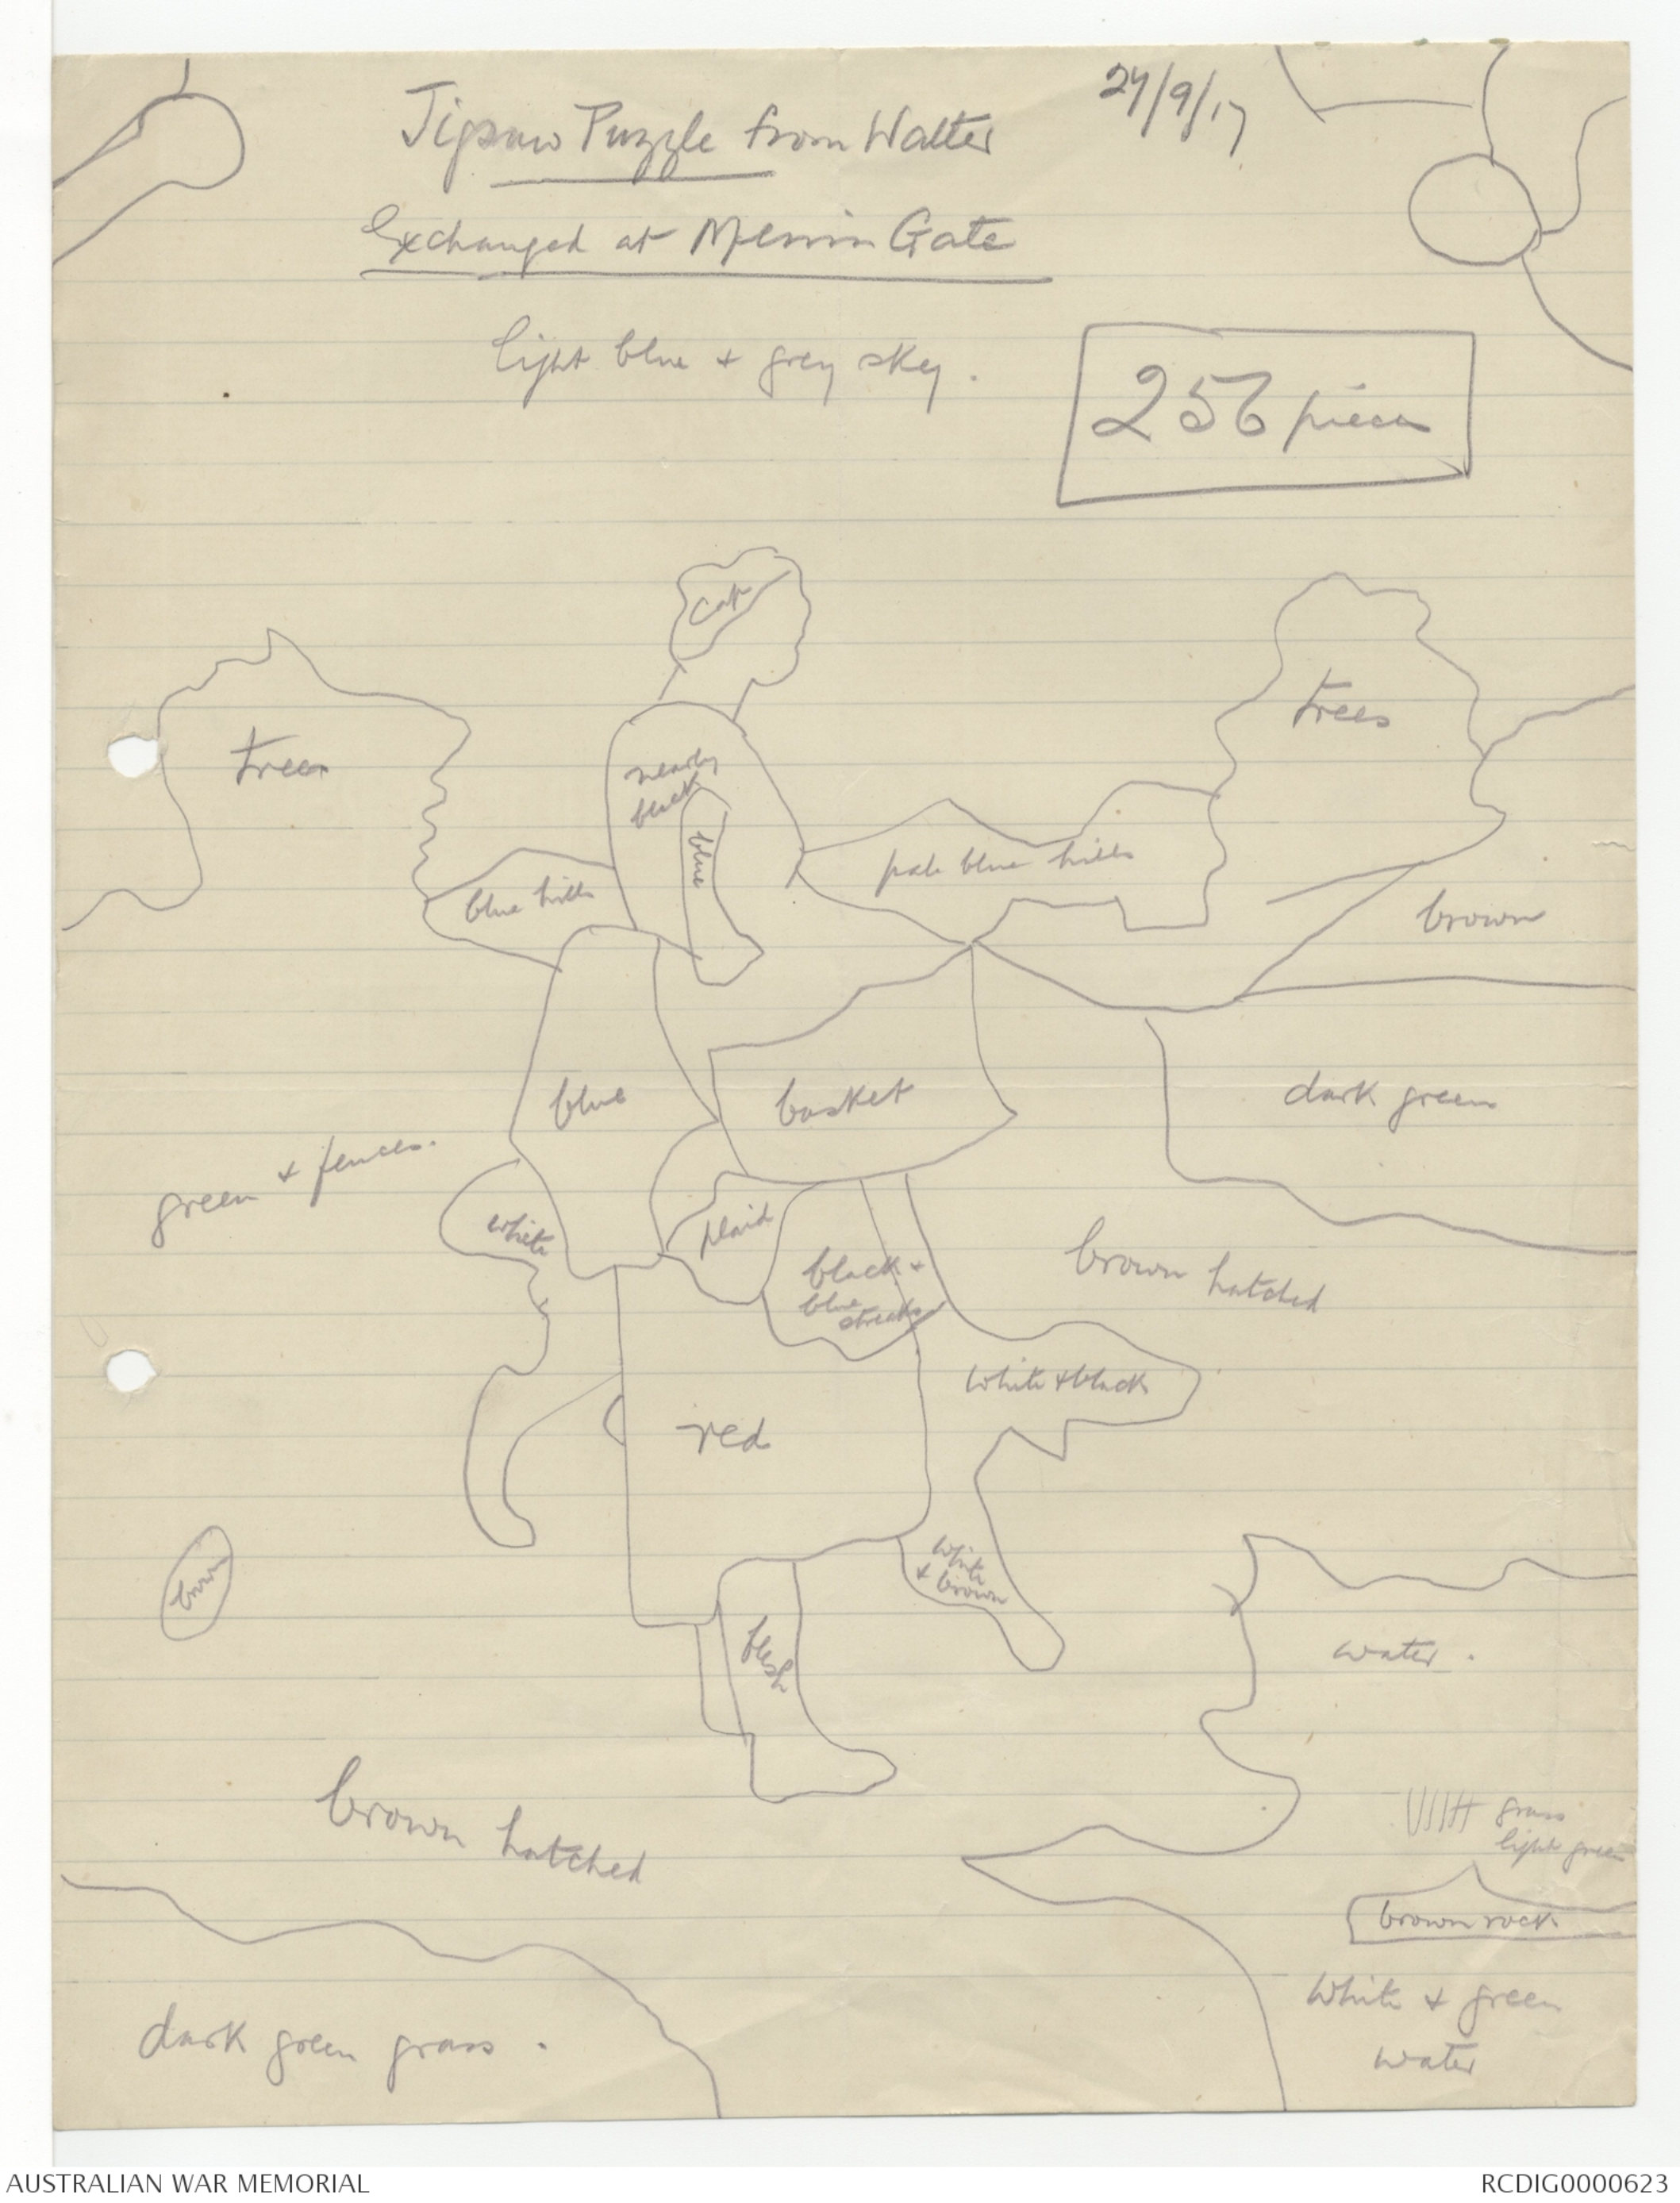
27/9/17
Jigsaw Puzzle from Walter
Exchanged at Menin Gate
light blue & grey sky.
256 pieces
Diagram - see original document
THIRD AUSTRALIAN DIVISION.
Divisional Headquarters,
27th. September, 1917.
Major J. M. Wells,
Divisional Machine Gun Officer.
Attached hereto is a letter from Major-General McCAY
in reply to a letter from me dated September 20th., based upon your
report of 19th. September (M.G. 2), regarding the training of certain
men of the 23rd. Machine Gun Company.-
I also attach your and Lieut. WEDD'S original reports.
Please let me have, as soon as you can, precise particulars
of the character of the defects in the training of the 25 men
whom you particularised, and any other comments that you wish on
Major-General McCAY'S letter, so that I may be in a position to reply
to him fully.-
Please do not fail to return to me personally the
whole of the papers now forwarded to you, and also acknowledge safe
receipt to me by special memo.
John Monash
Major-General. –
Commanding Third Australian Division.
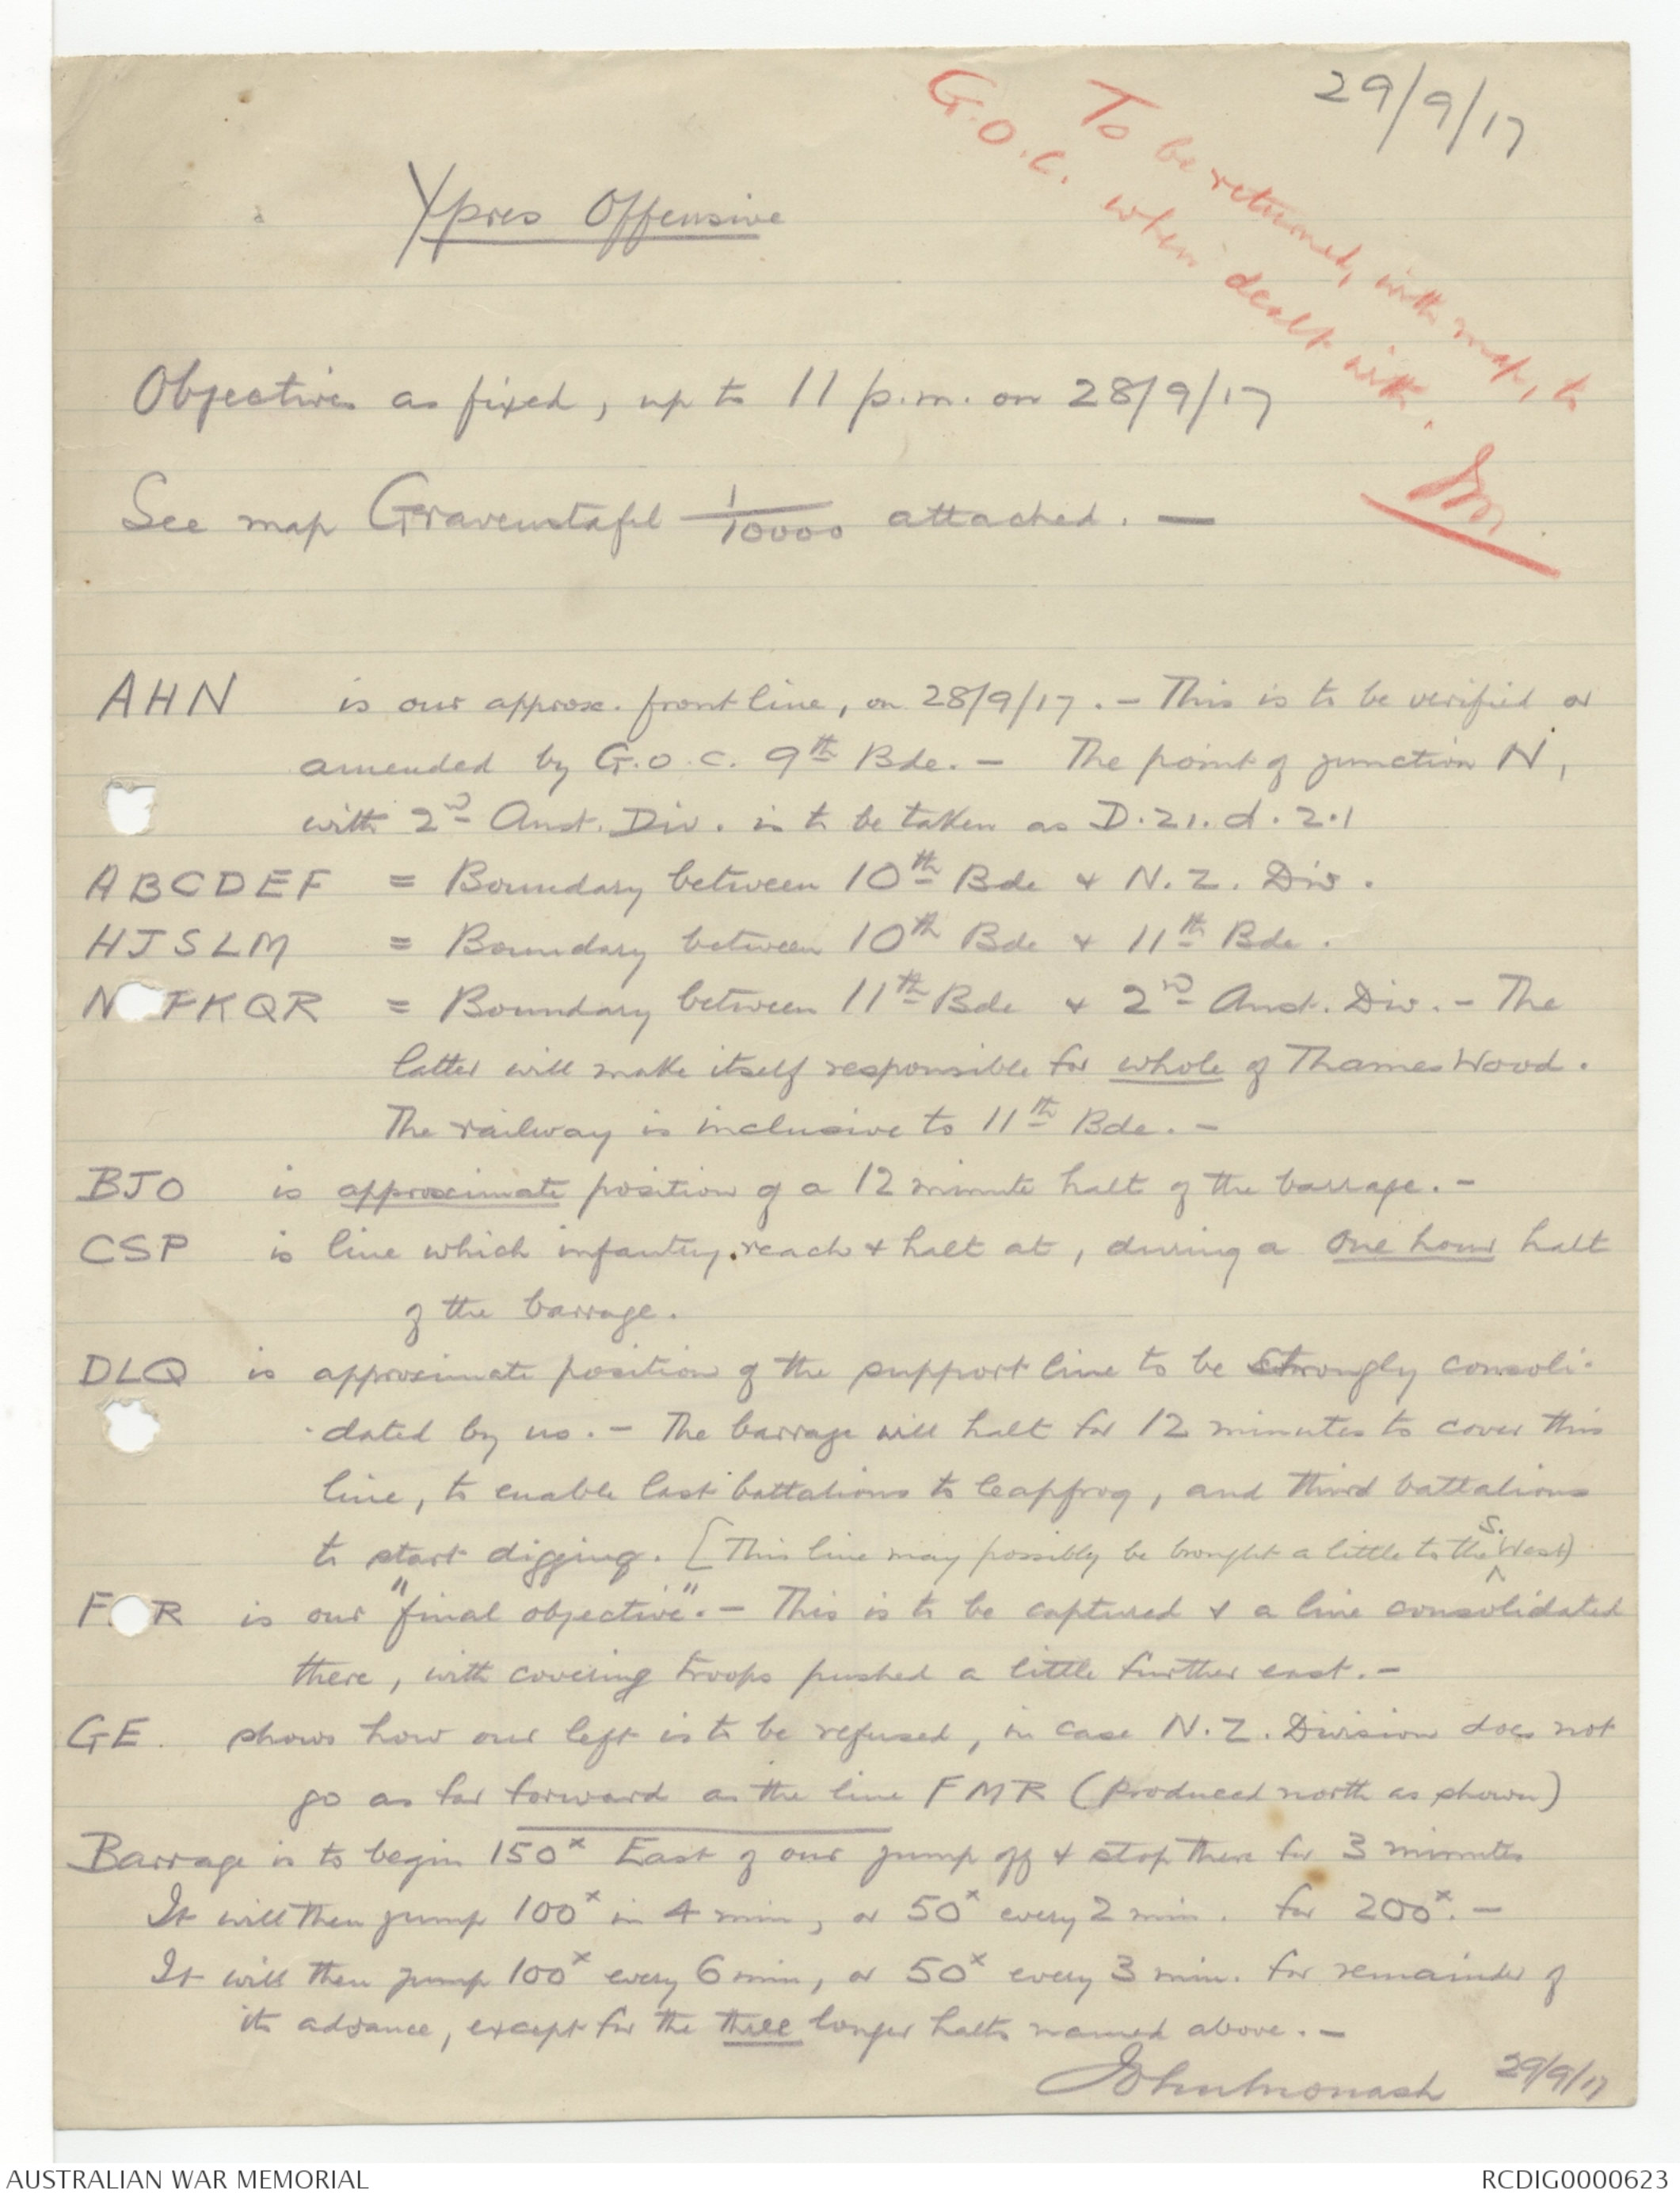
29/9/17
[*To be returned, with map, to
G.O.C. when dealt with. JM*]
Ypres Offensive
Objectives as fixed, up to 11 p.m. on 28/9/17
See map Gravenstafel 1/10000 attached. –
AHN is our approx. front line, on 28/9/17. – This is to be verified or
amended by G.O.C. 9th Bde. – The point of junction N,
with 2nd Aust. Div. is to be taken as D.21.d.2.1
ABCDEF = Boundary between 10th Bde & N.Z. Div.
HJSLM = Boundary between 10th Bde & 11th Bde.
N[[O]]PKQR = Boundary between 11th Bde & 2nd Aust. Div. – The
latter will make itself responsible for whole of Thames Wood.
The railway is inclusive to 11th Bde. –
BJO is approximate position of a 12 minute halt of the barrage. –
CSP is line which infantry, reach & halt at, during a one hour halt
of the barrage.
DLQ is approximate position of the support line to be strongly consolidated
by us. – The barrage will halt for 12 minutes to cover this
line, to enable last battalions to leapfrog, and third battalions
to start digging. [This line may possibly be brought a little to the ∧S. West)
F[[?]]R. is our "final objective". – This is to be captured & a line consolidated
there, with covering troops pushed a little further east. –
GE. shows how our left is to be refused, in case N.Z. Division does not
go as far forward as the line FMR (produced north as shown)
Barrage is to begin 150x East of our jump off & stop there for 3 minutes
It will then jump 100x in 4 min, or 50x every 2min. for 200x. –
It will then jump 100x every 6 min, or 50x every 3 min. for remainder of
its advance, except for the three longer halts named above. –
John Monash
29/9/17
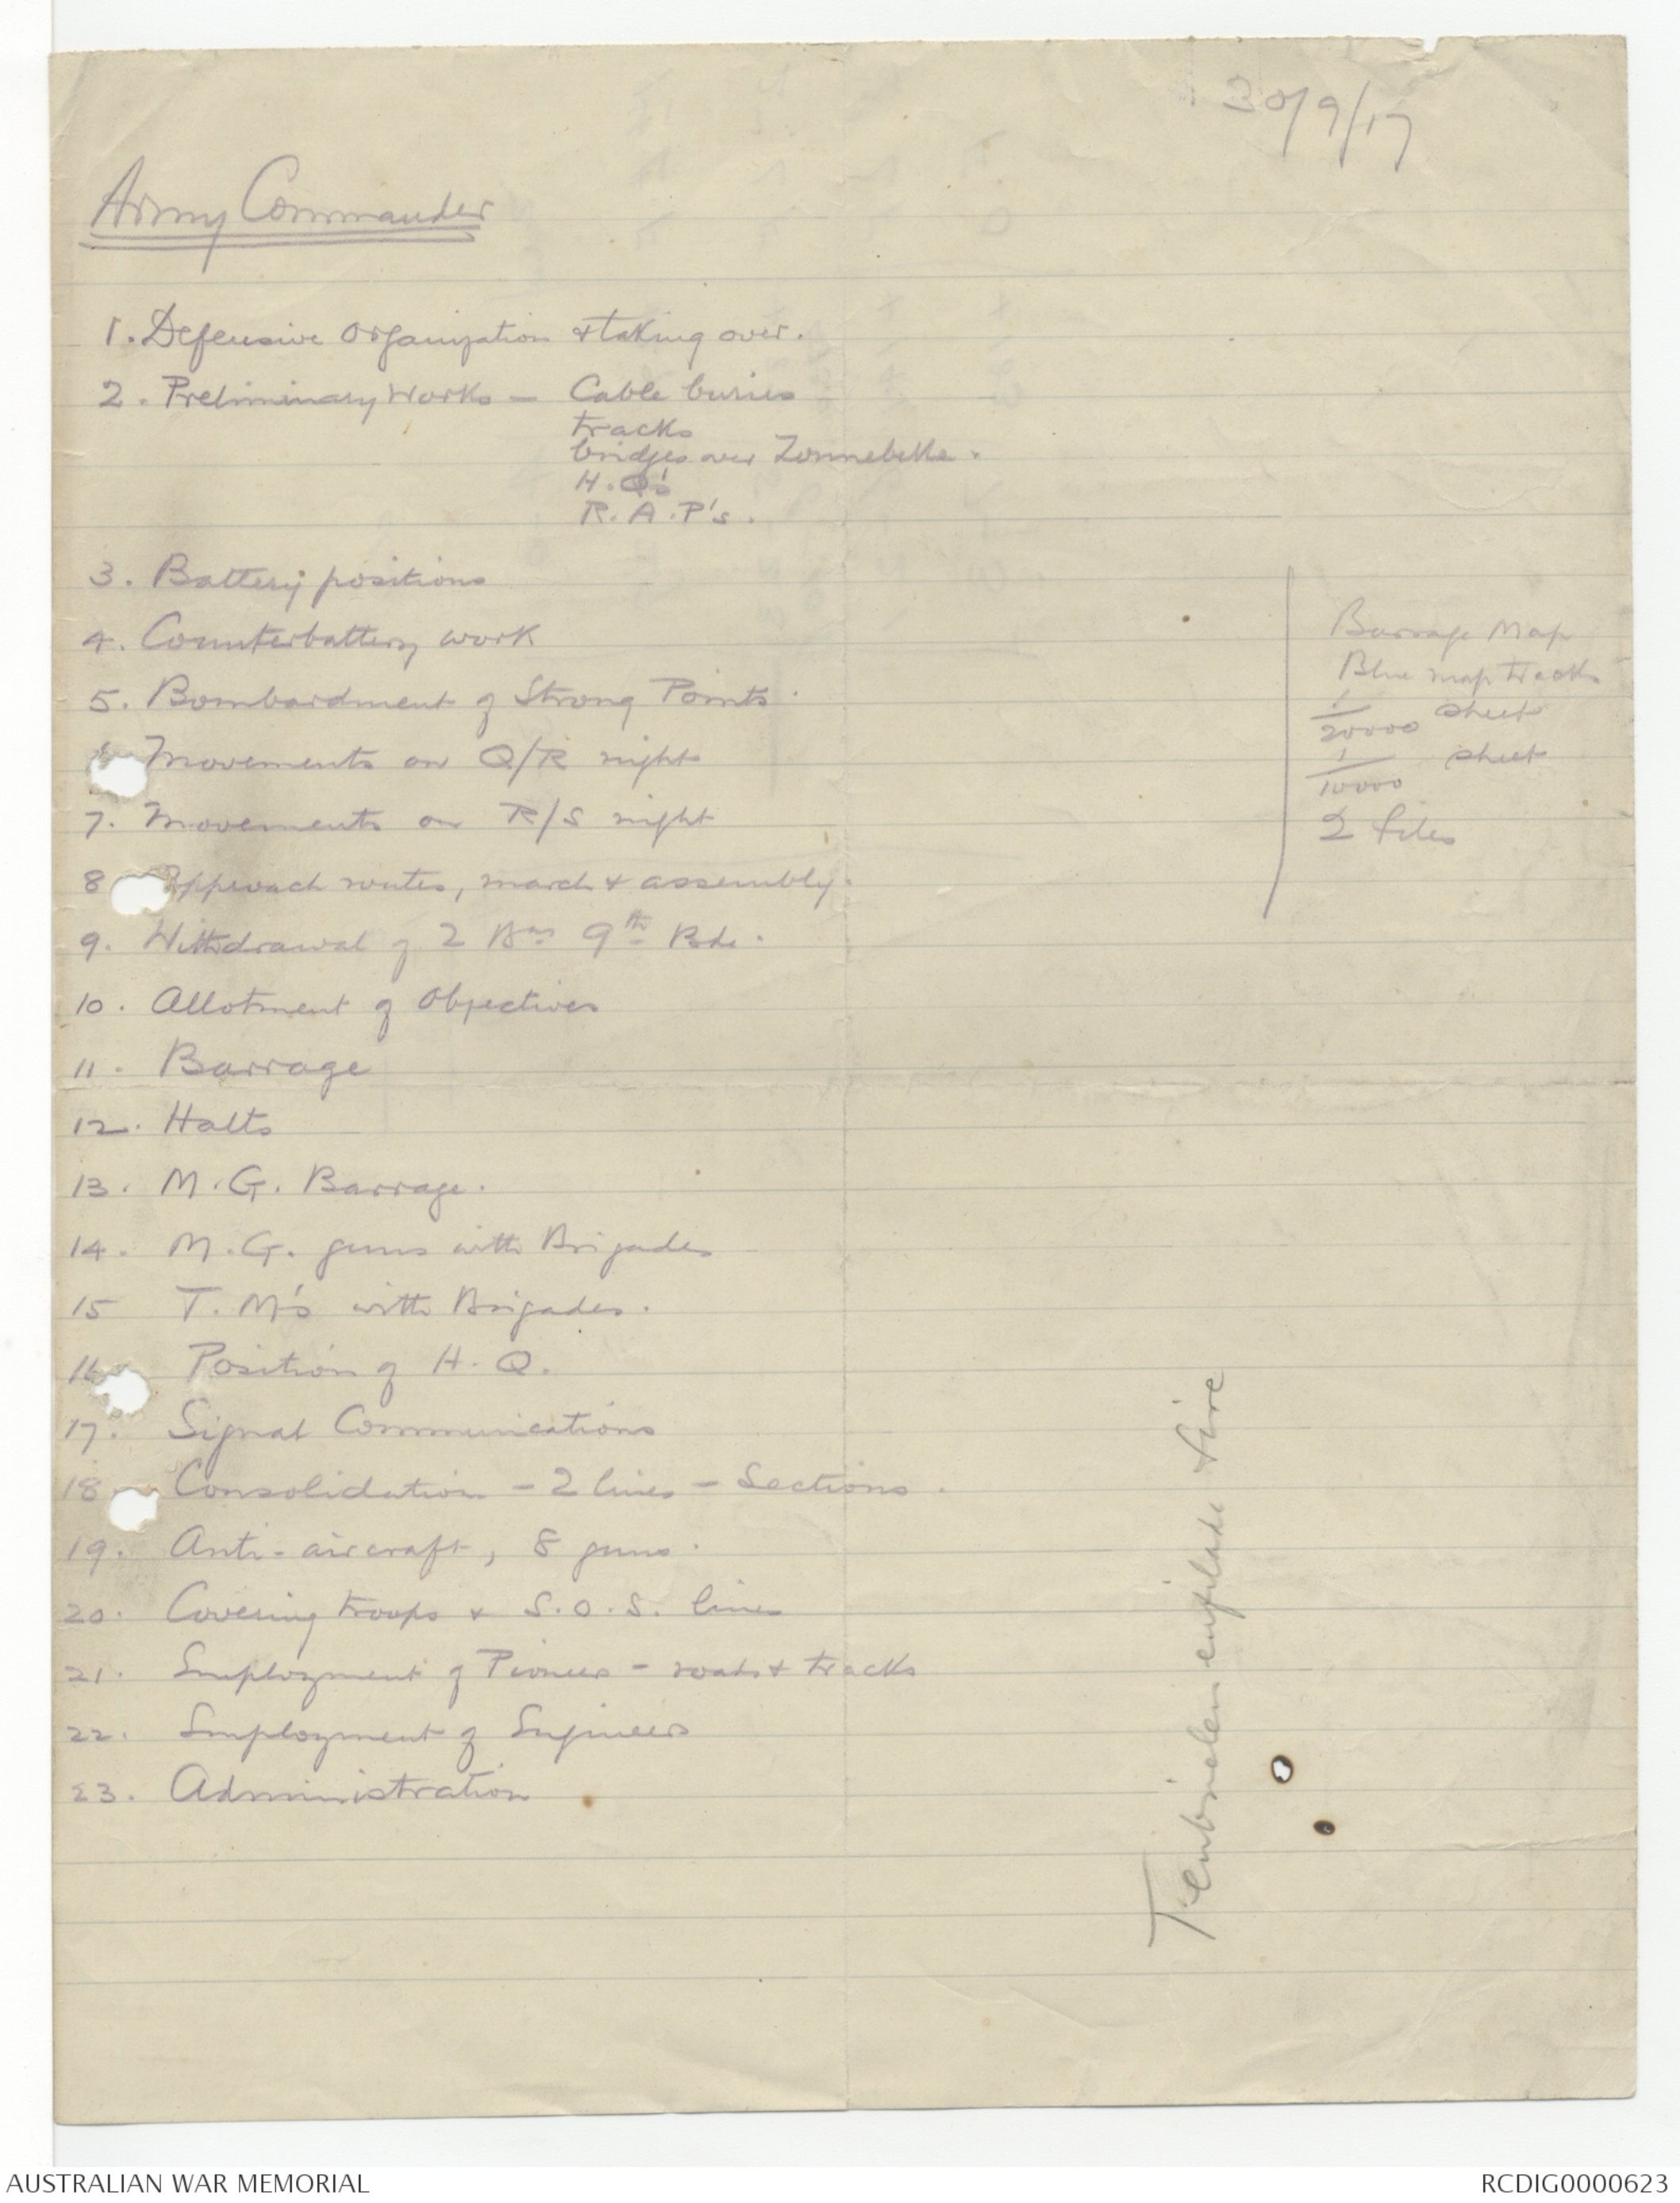
30/9/17
Army Commander
1. Defensive Organization & taking over.
2. Preliminary Works – Cable buries
tracks
bridges over Zonnebeke.
H.Q's
R.A.P's.
3. Battery positions
4. Counterbattery work
5. Bombardment of Strong Points.
6. Movements on Q/R right
7. Movements on R/S right
8. Approach routes, march & assembly.
9. Withdrawal of 2 Bn 9th Bde.
10. Allotment of Objectives
11. Barrage
12. Halts
13. M.G. Barrage.
14. M.G. guns with Brigades
15. T.M's with Brigades.
16 Position of H.Q.
17. Signal Communications
18. Consolidation – 2 lines – Sections.
19. Anti-aircraft, 8 guns.
20. Covering troops & S.O.S. lines
21. Employment of Pioneers - roads & tracks
22 Employment of Engineers
23. Administration
Barrage Map
Blue map track.
1/20000 sheets
1/10000 sheets
2 files
[[Trenbriden]] enfilade fire
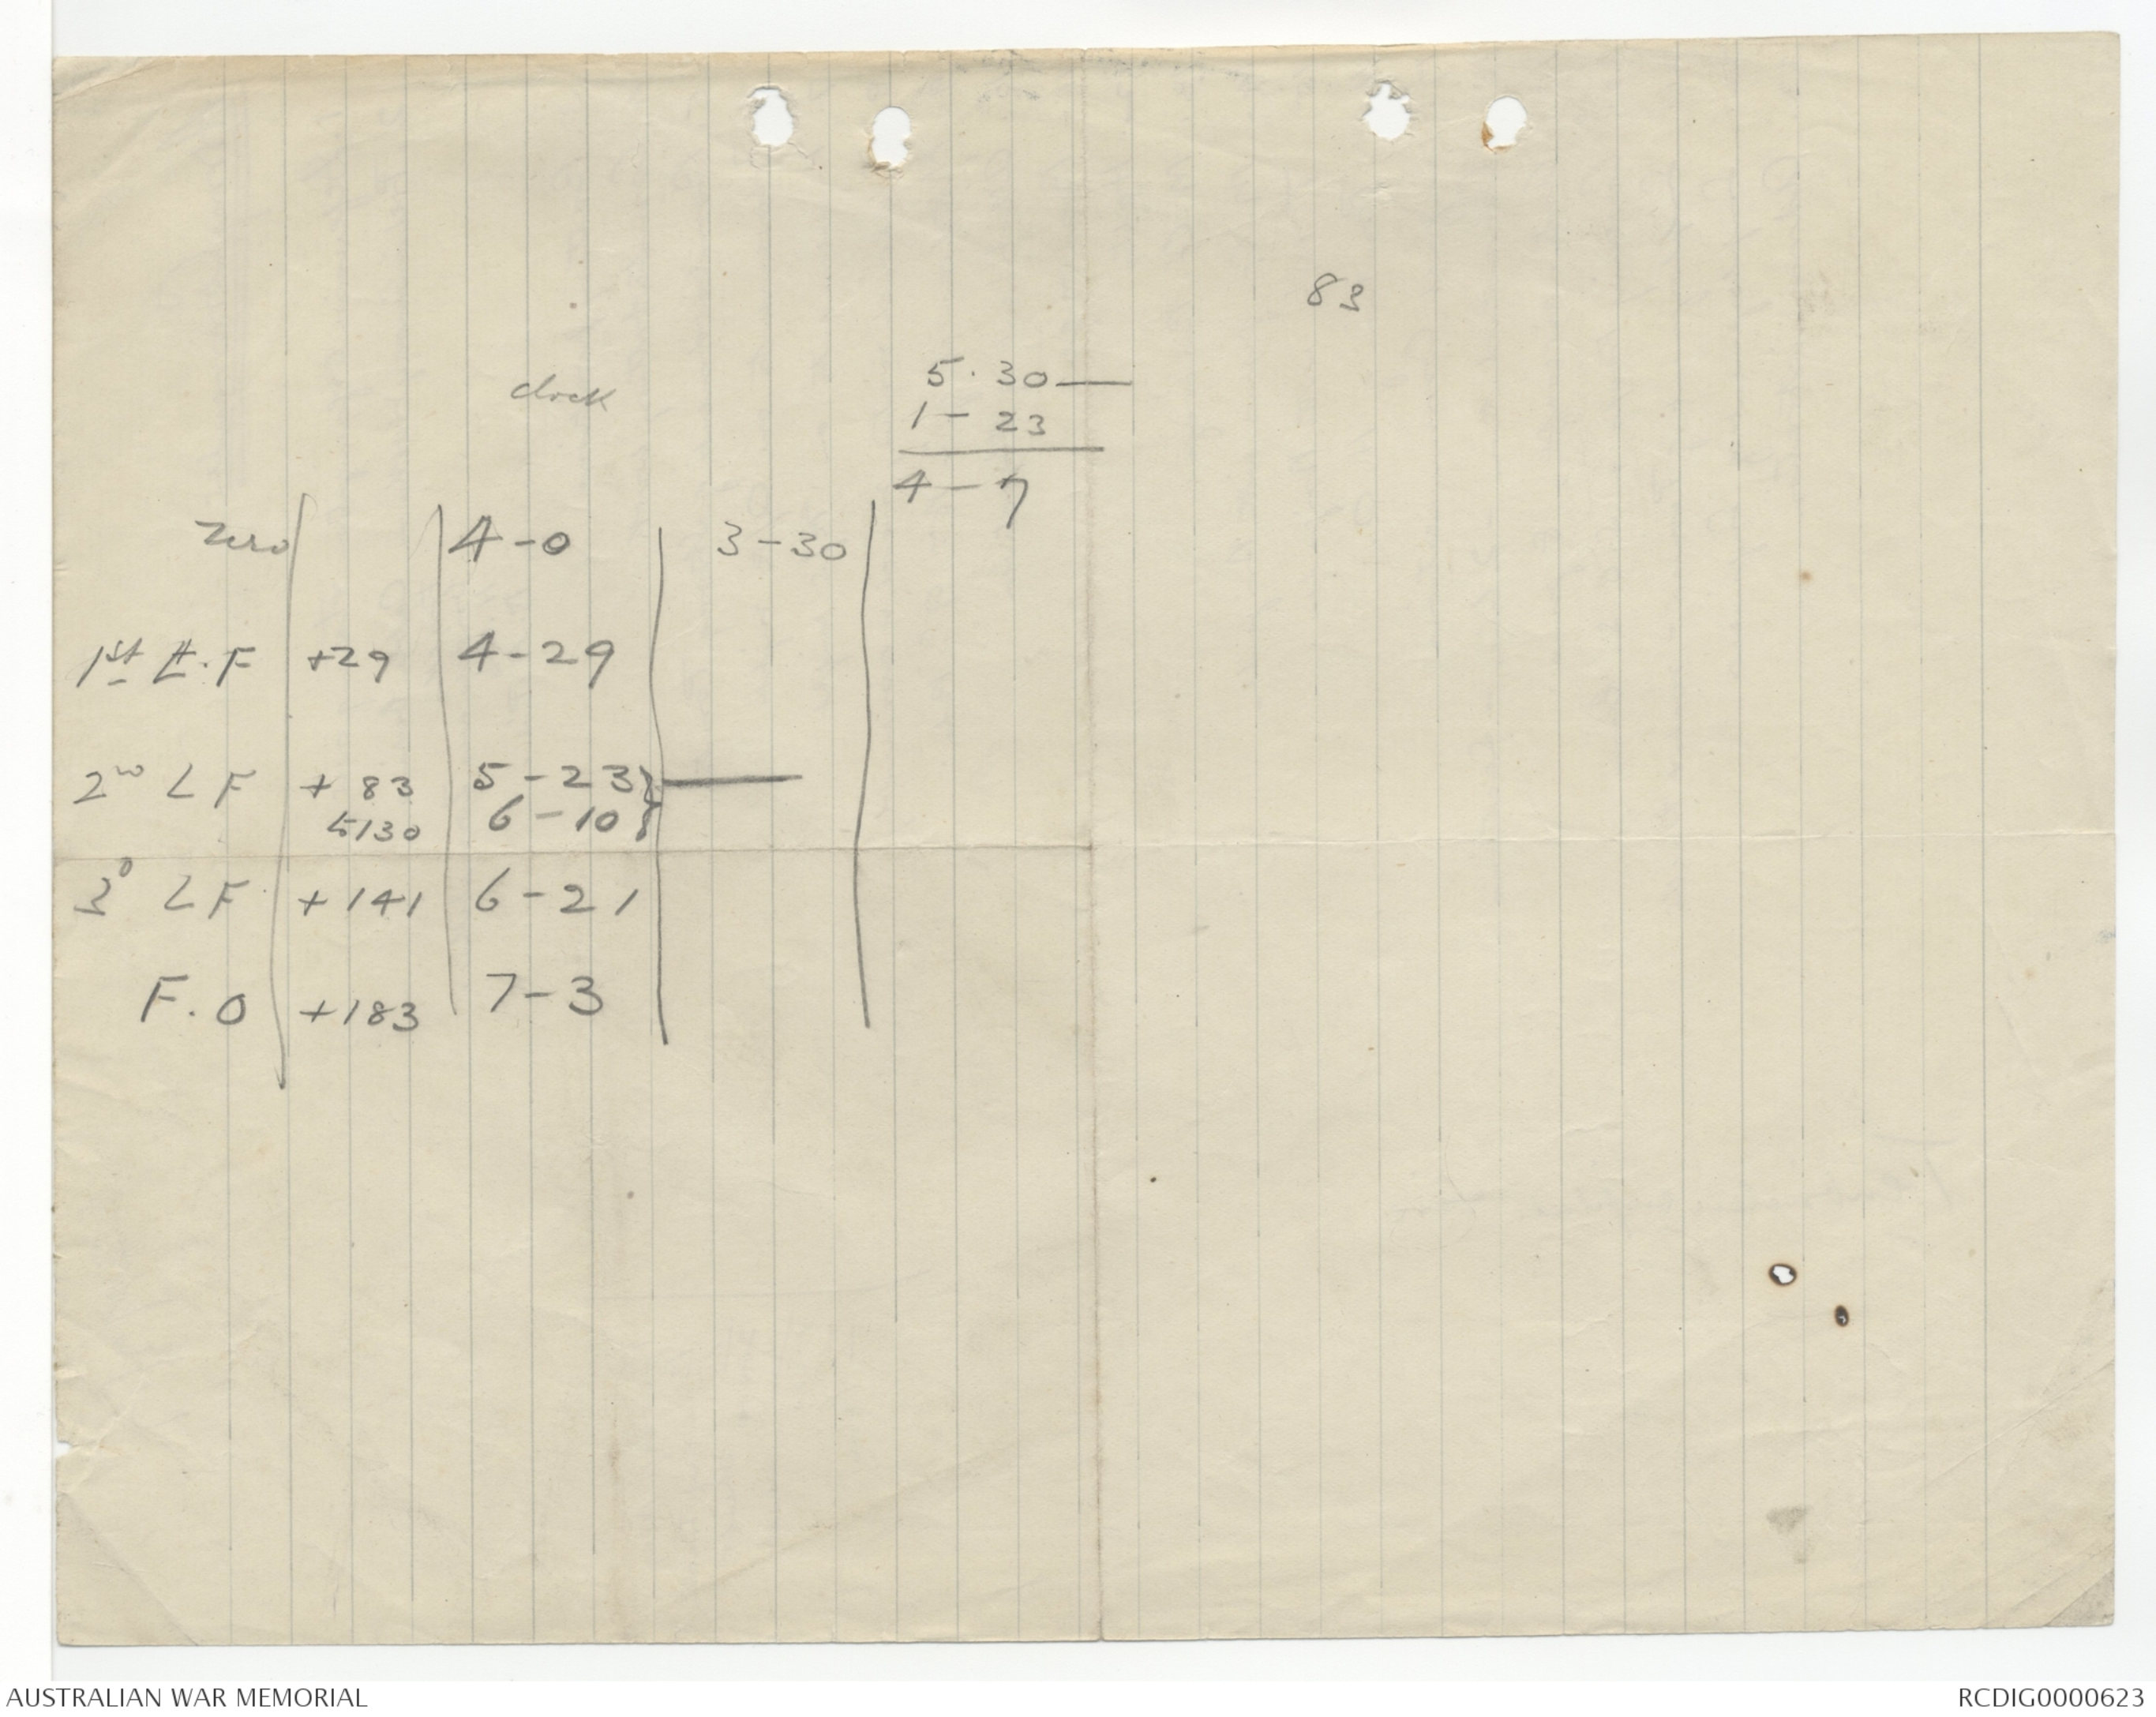
83
| clock | 5.30- 1-23 |
|||
| Zero | 4-0 | 3-30 | 4-7 | |
| 1st L.F. | +29 | 4-29 | ||
| 2nd LF |
+83 to 130 |
5-23} 6-10} |
___ | |
| 3rd LF | +141 | 6-21 | ||
| F.O | +183 | 7-3 | ||
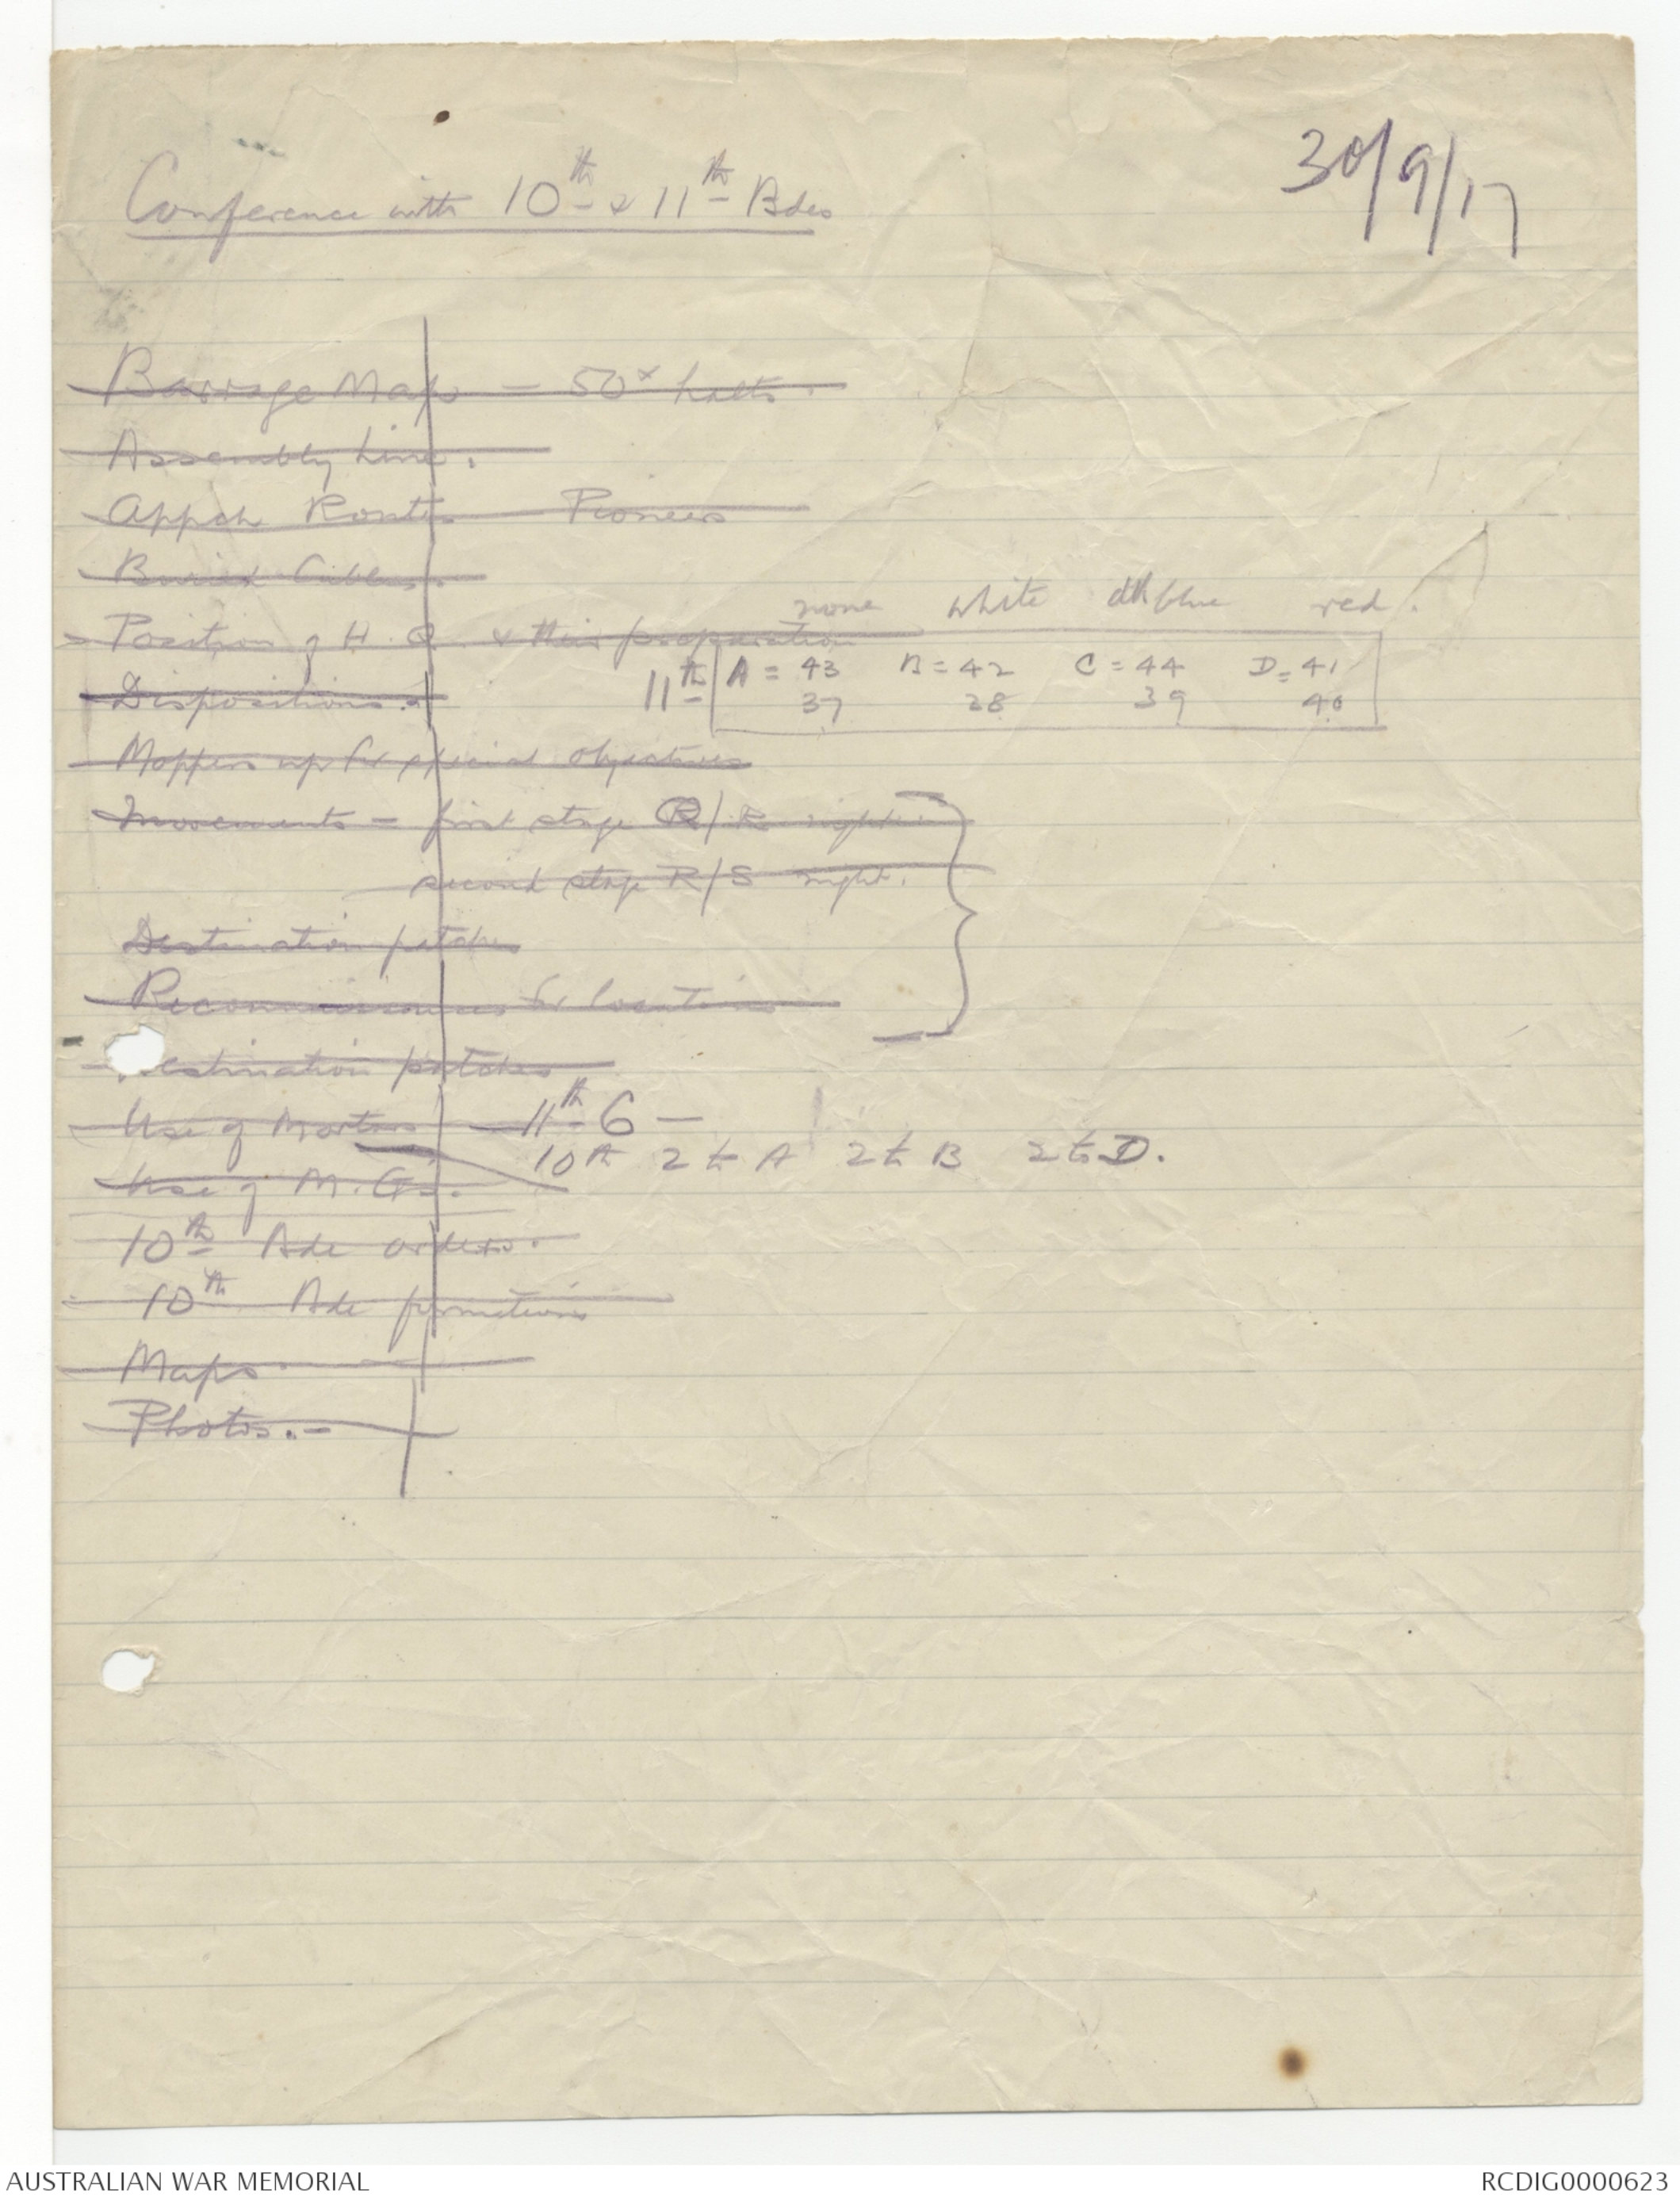
30/9/17
Conference with 10th & 11th BdesBarrage map - 50× halts.
Assembly Line.Appch Routes Pioneers
Buried CablesPosition of H.Q. & their preparation
none white dk blue red
11th A = 43 B = 42 C = 44 D = 41
37 28 39 40
DispositionsMoppers up for special objectives
Movements - first stage Q/R night }
second stage R/S night. }
Destination patches }
Reconnaissances for locations }
Destination patches
Use of mortars- 11th - 6 -
10th 2 to A 2 to B 2 to D.Use of M.G's.
10th Bde orders
10th Bde formations
Maps.
Phtotos. -
 Loretta Corbett
This transcription item is now locked to you for editing. To release the lock either Save your changes or Cancel.
This lock will be automatically released after 60 minutes of inactivity.