Charles E W Bean, Diaries, AWM38 3DRL 606/264/1 - 1914 - 1938 - Part 7
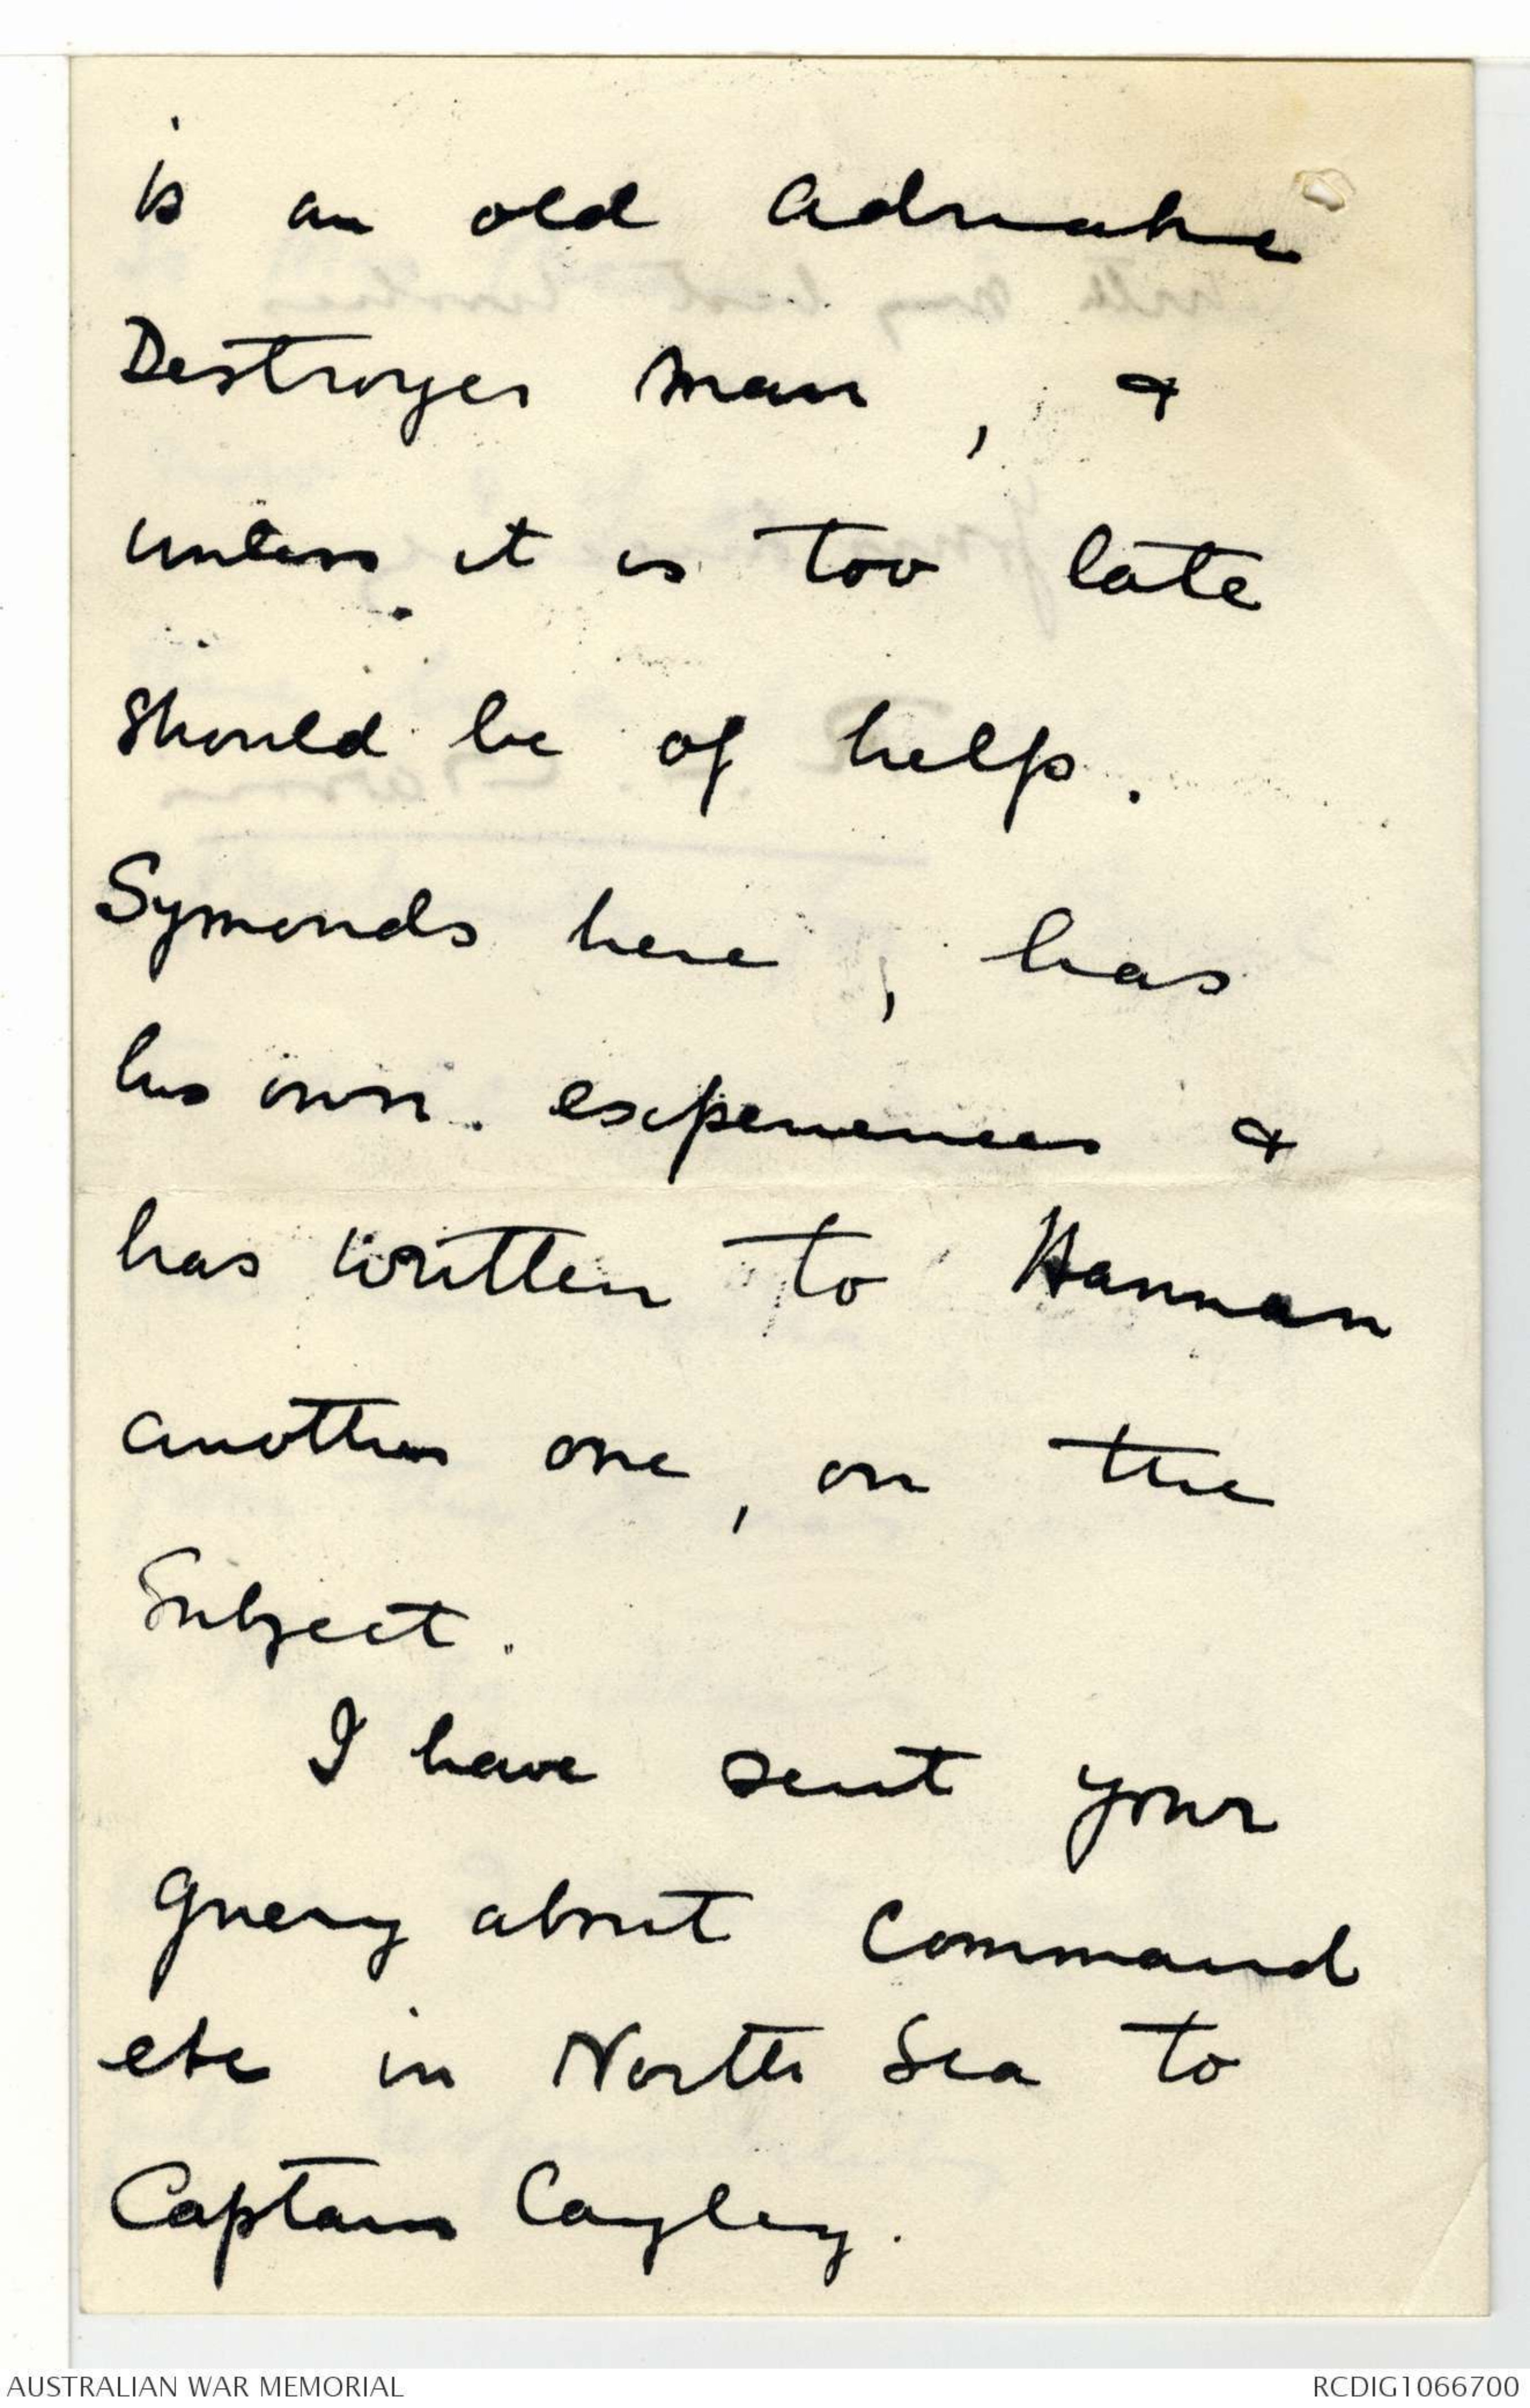
is an old Adriatic
Destroyer man, &
unless it is too late
should be of help.
Symonds here, has
his own experiences &
has written to Hannan
another one, on the
subject.
I have sent your
query about command
etc in North Sea to
Captain Cayley.
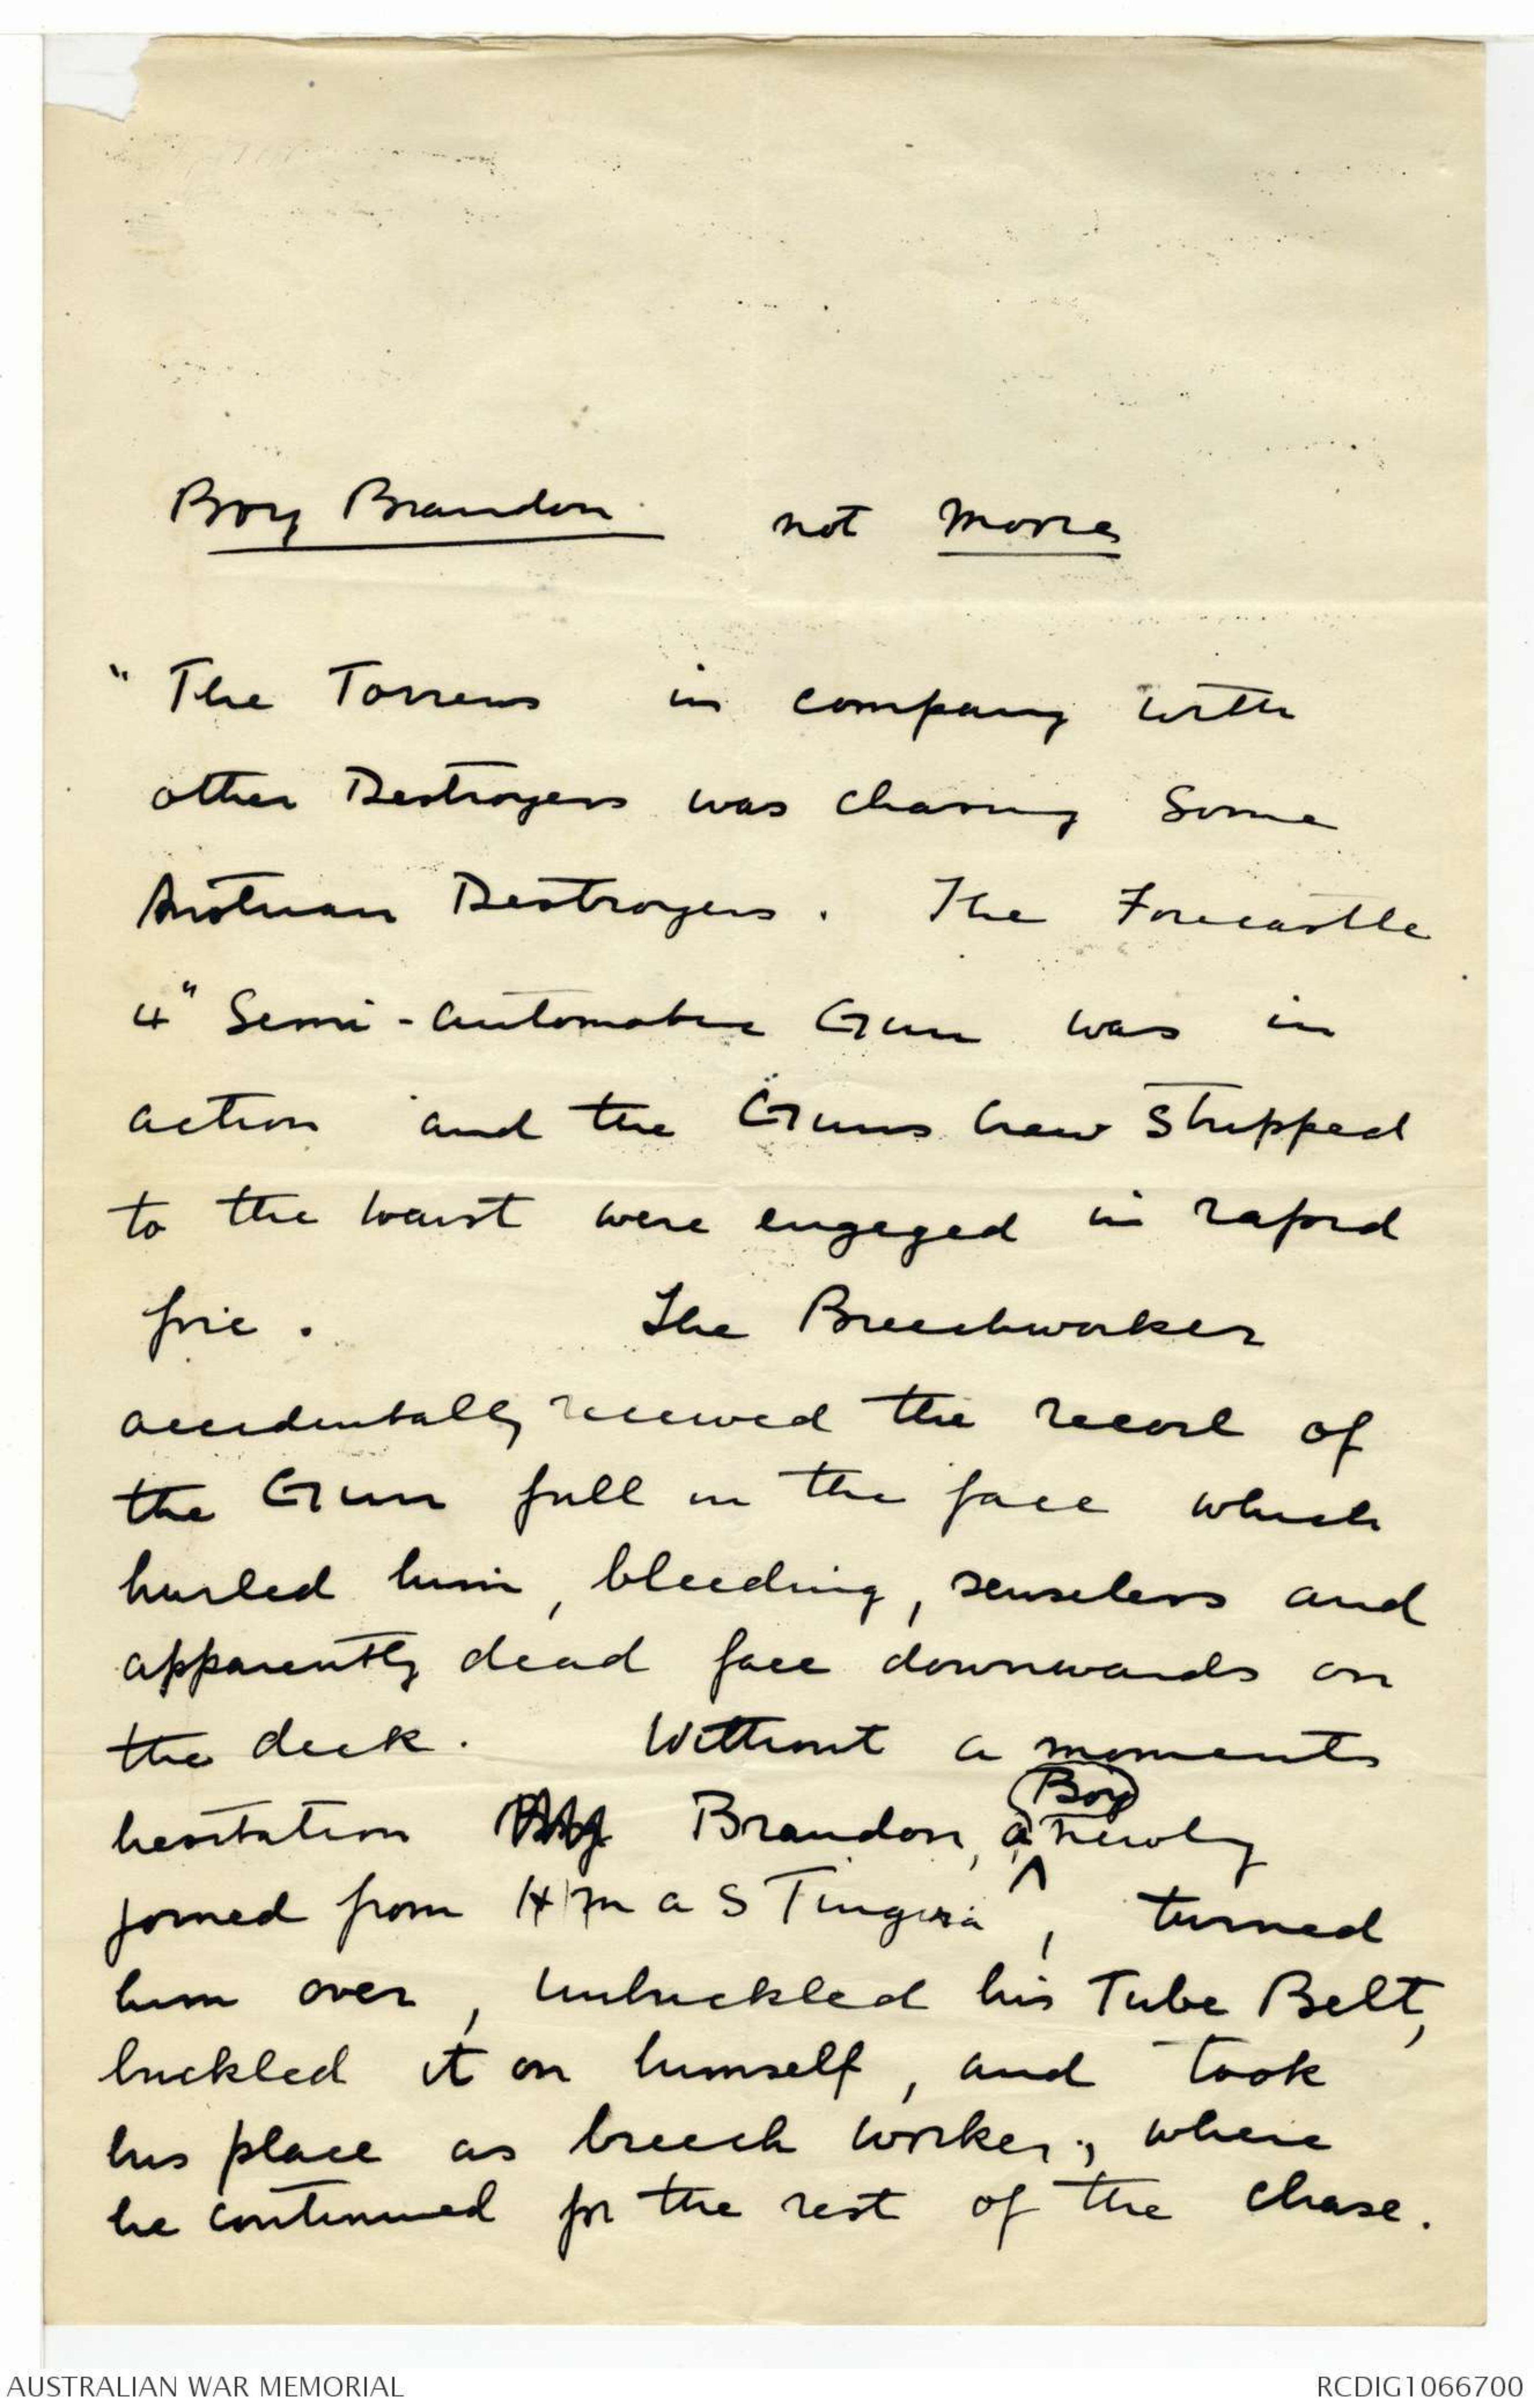
Boy Brandon not Morie
"The Torrens in company with
other Destroyers was chasing some
Austrian Destroyers. The Forecastle
4" Semi-Automatic Gun was in
action and the Guns Crew stripped
to the waist were engaged in rapid
fire. The Breechworker
accidentally received the recoil of
the Gun full in the face which
hurled him, bleeding, senseless and
apparently dead face downwards on
the deck. Without a moments
hesitation Boy Brandon, a ^Boy newly
joined from HMAS Tingira, turned
him over, unbuckled his Tube Belt,
buckled it on himself, and took
his place as breech worker, where
he continued for the rest of the chase.
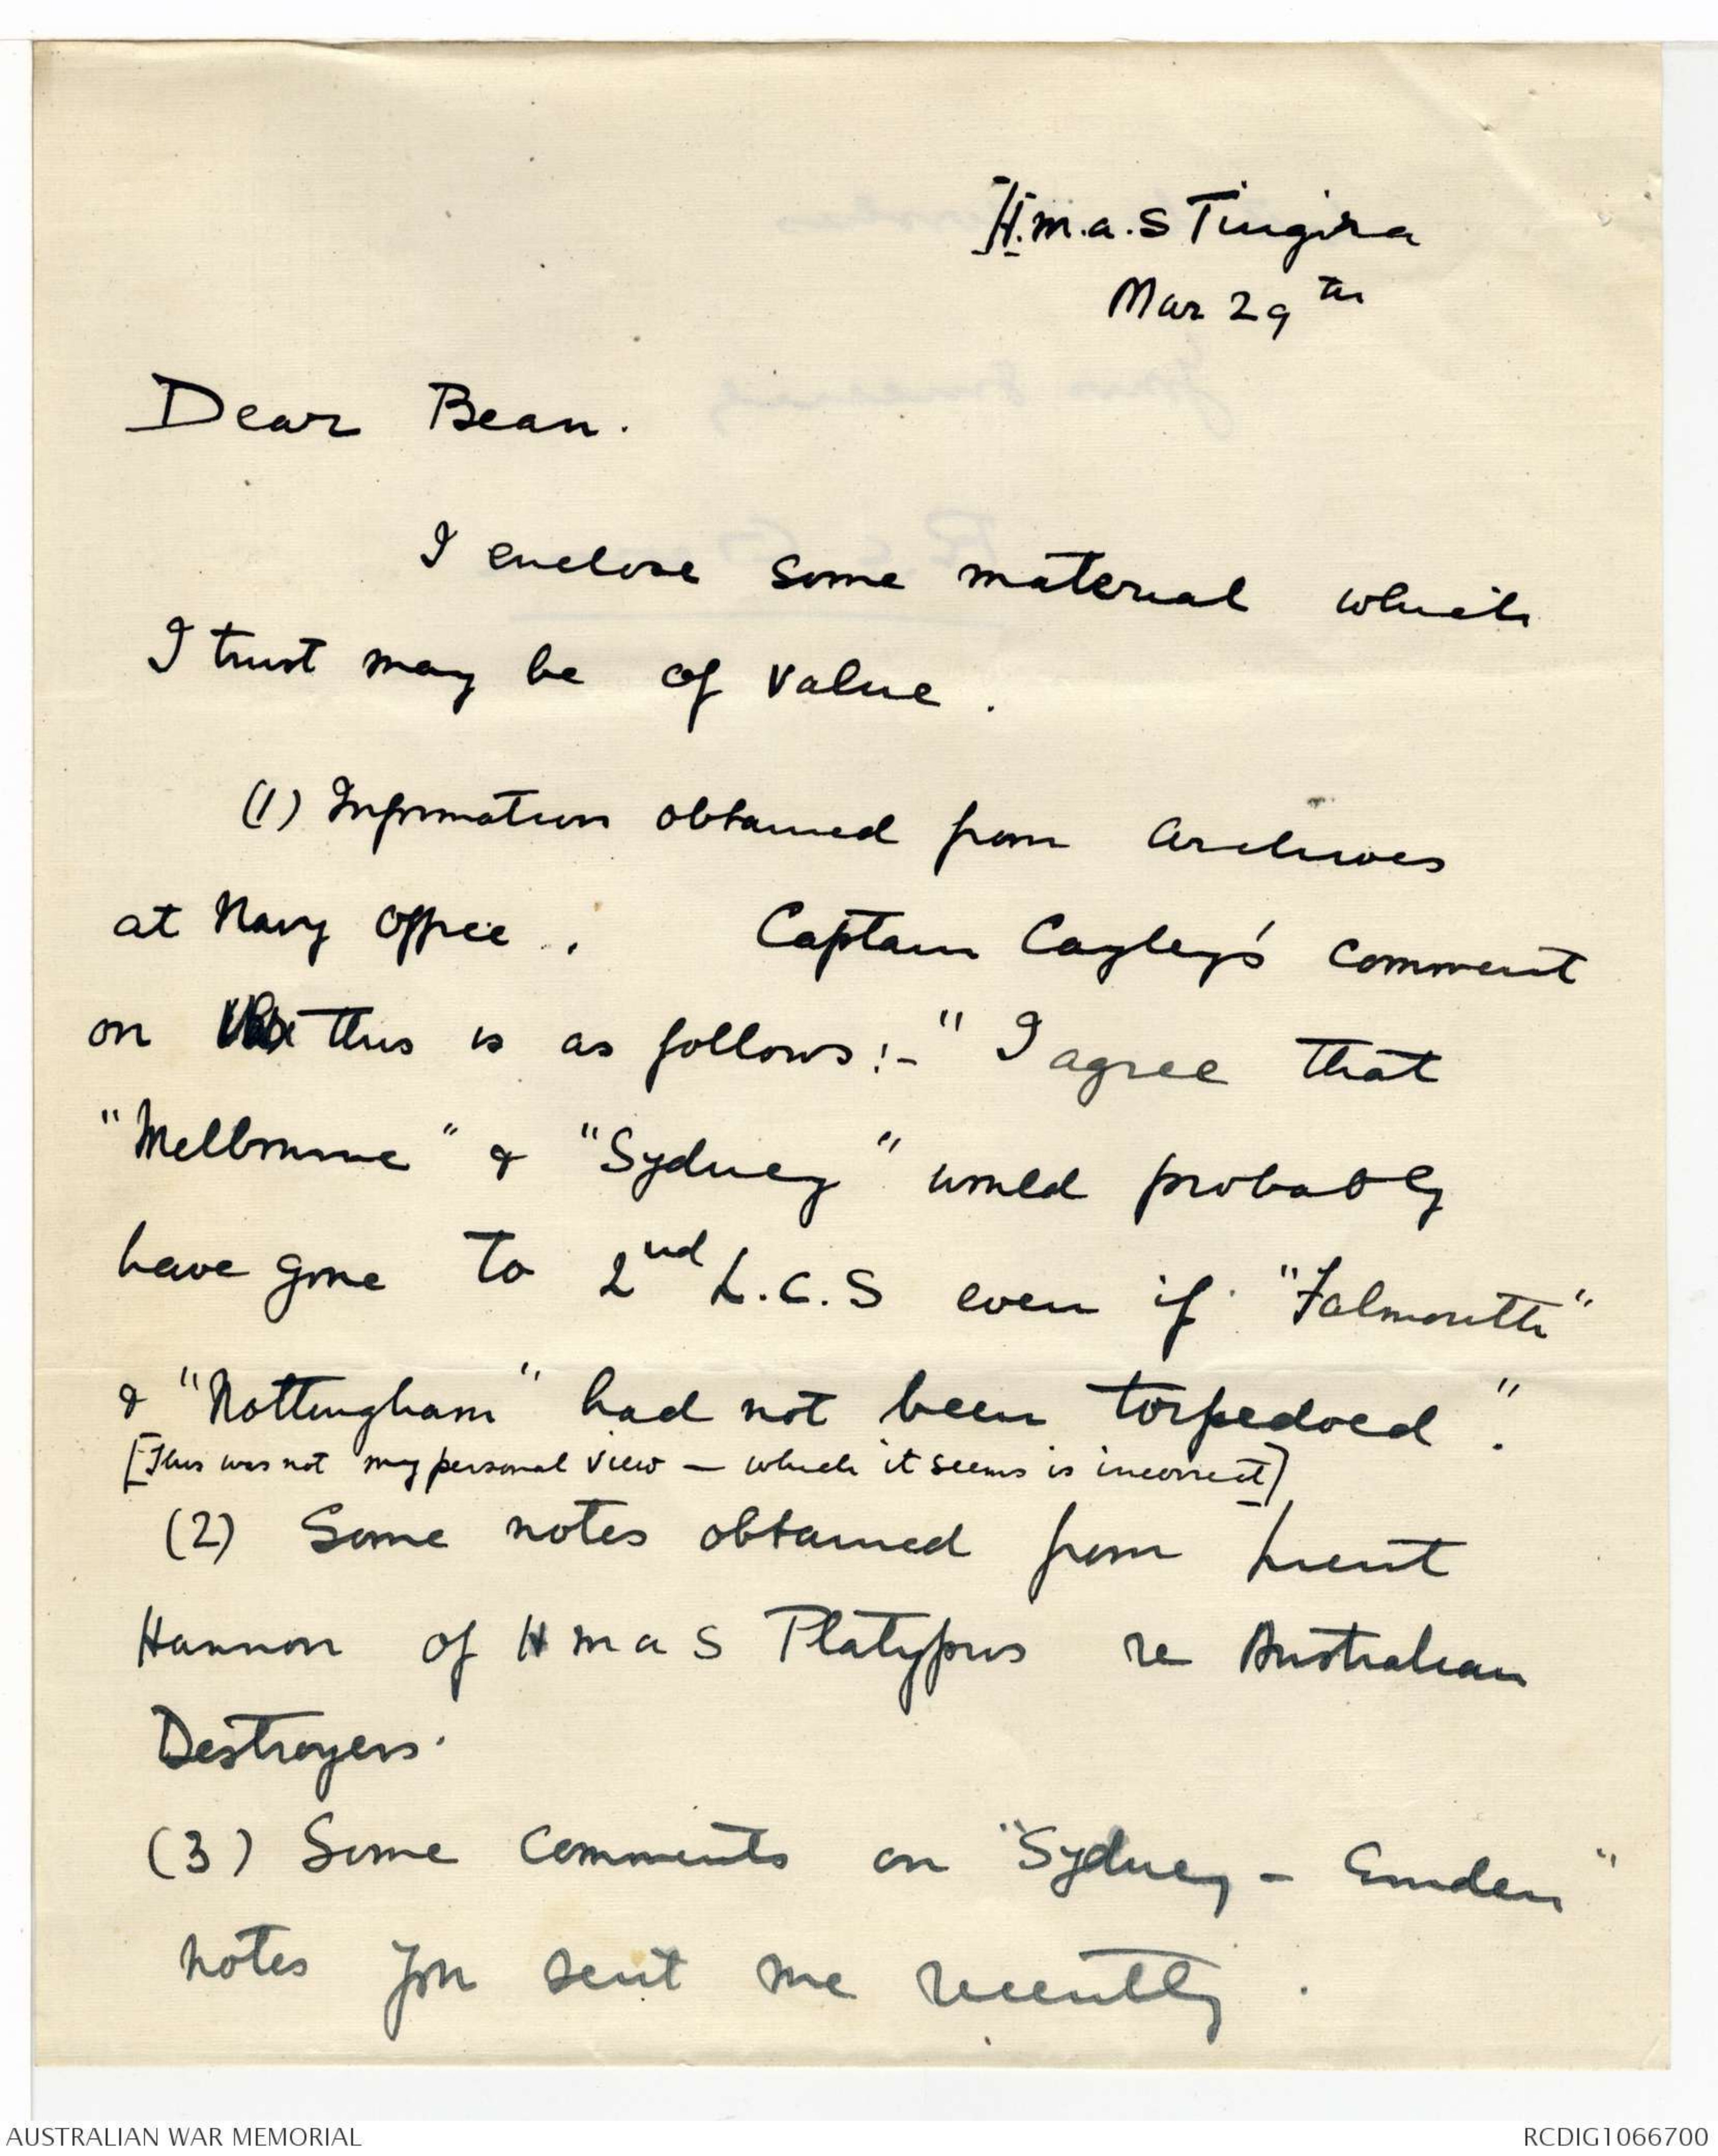
H.M.A.S. Tingira
Mar 29th
Dear Bean.
I enclose some material which
I trust may be of value.
(1) Information obtained from Archives
at Navy Office. Captain Cayley's comment
on the this is as follows:- "I agree that
"Melbourne" & "Sydney" would probably
have gone to 2nd L.C.S even if "Falmouth"
& "Nottingham" had not been torpedoed."
[This was not my personal view - which it seems is incorrect]
(2) Some notes obtained from Lieut
Hannan of HMAS Platypus re Australian
Destroyers.
(3) Some comments on "Sydney - Emden"
notes you sent me recently.
with best wishes
Your sincerely
R.C. Garsia
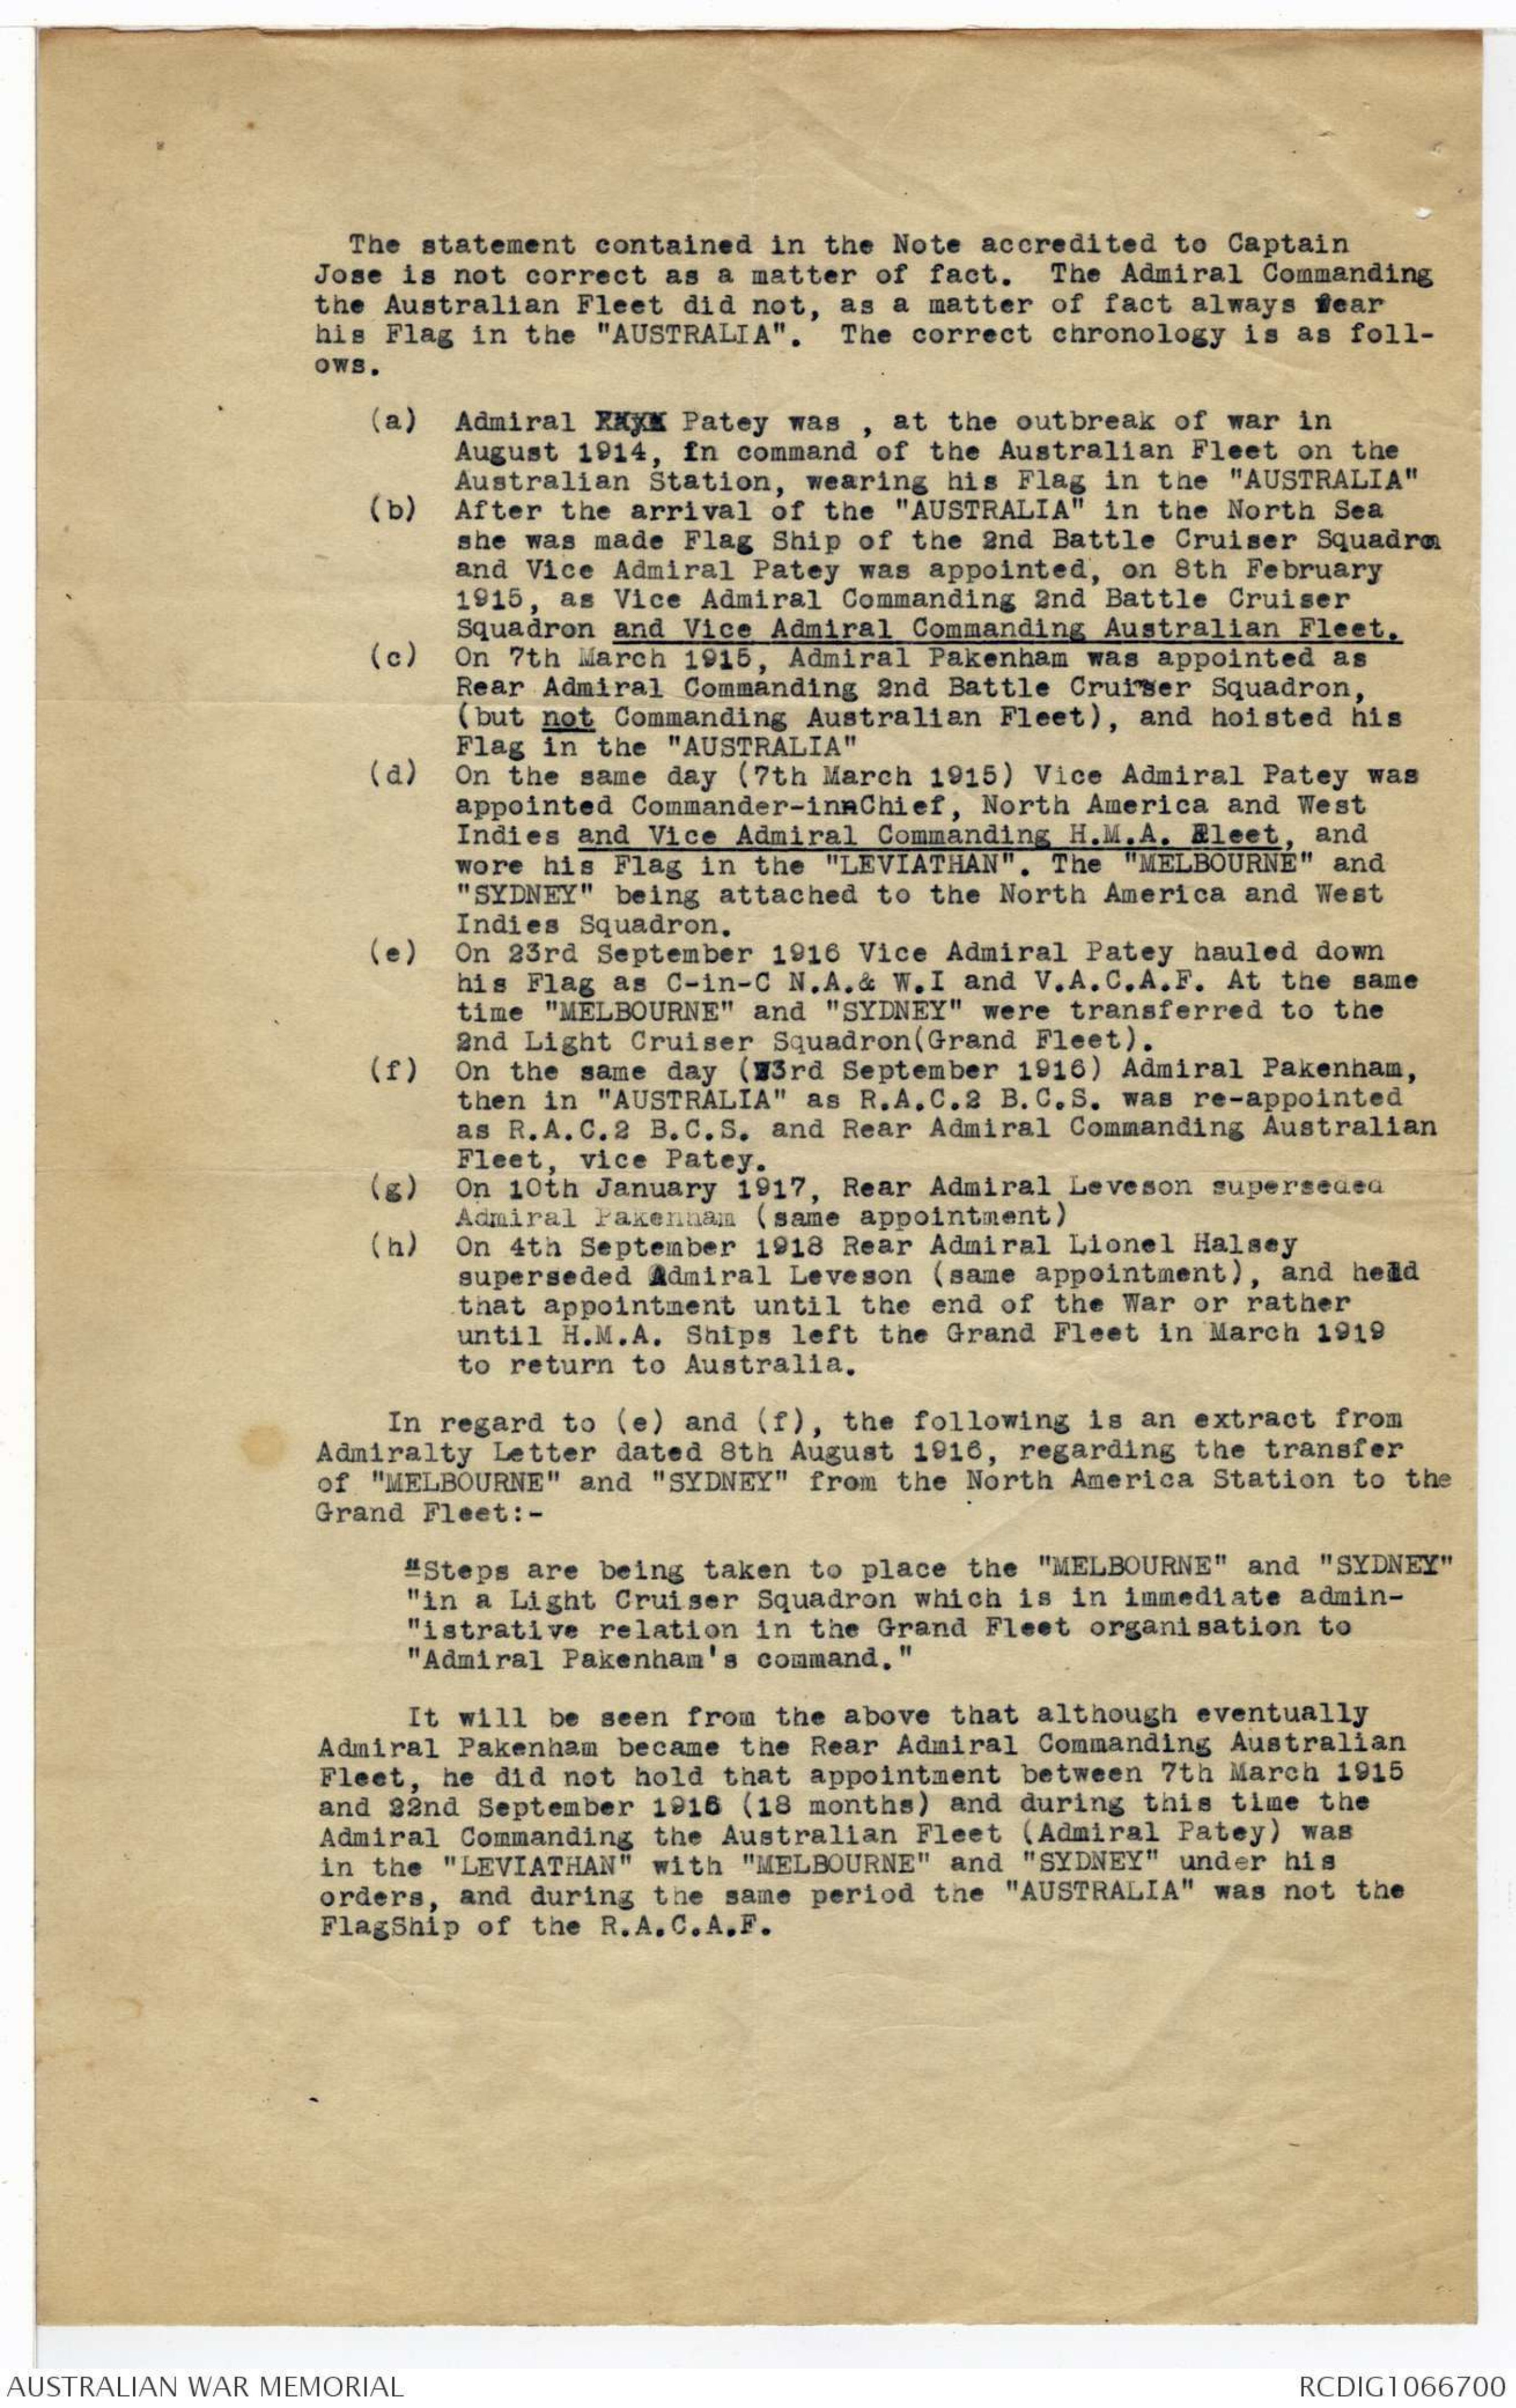
The statement contained in the Note accredited to Captain
Jose is not correct as a matter of fact. The Admiral Commanding
the Australian Fleet did not, as a matter of fact always wear
his Flag in the "AUSTRALIA". The correct chronology is as follows.
(a) Admiral Faye Patey was, at the outbreak of war in
August 1914, in command of the Australian Fleet on the
Australian Station, wearing his Flag in the "AUSTRALIA"
(b) After the arrival of the "AUSTRALIA" in the North Sea
she was made Flag Ship of the 2nd Battle Cruiser Squadron
and Vice Admiral Patey was appointed, on 8th February
1915, as Vice Admiral Commanding 2nd Battle Cruiser
Squadron and Vice Admiral Commanding Australian Fleet.
(c) On 7th March 1915, Admiral Pakenham was appointed as
Rear Admiral Commanding 2nd Battle Cruiser Squadron,
(but not Commanding Australian Fleet), and hoisted his
Flag in the "AUSTRALIA'
(d) On the same day (7th March 1915) Vice Admiral Patey was
appointed Commander-in-Chief, North America and West
Indies and Vice Admiral Commanding H.M.A. Fleet, and
wore his Flag in the 'LEVIATHAN". The "MELBOURNE" and
"SYDNEY" being attached to the North America and West
Indies Squadron.
(e) On 23rd September 1916 Vice Admiral Patey hauled down
his Flag as C-in-C N.A. & W.I and V.A.C.A.F. At the same
time "MELBOURNE" and "SYDNEY" were transferred to the
2nd Light Cruiser Squadron(Grand Fleet).
(f) On the same day (23rd September 1916) Admiral Pakenham,
then in "AUSTRALIA" as R.A.C.2 B.C.S. was re-appointed
as R.A.C.2 B.C.S. and Rear Admiral Commanding Australian
Fleet, vice Patey.
(g) On 10th January 1917, Rear Admiral Leveson superseded
Admiral Pakenham (same appointment)
(h) On 4th September 1918 Rear Admiral Lionel Halsey
superseded Admiral Leveson (same appointment), and held
that appointment until the end of the War or rather
until H.M.A. Ships left the Grand Fleet in March 1919
to return to Australia.
In regard to (e) and (f), the following is an extract from
Admiralty Letter date 8th August 1916, regarding the transfer
of "MELBOURNE" and "SYDNEY" from the North America Station to the
Grand Fleet:-
"Steps are being taken to place the "MELBOURNE" and "SYDNEY"
"in a Light Cruiser Squadron which is in immediate administrative
"relation in the Grand Fleet organisation to
"Admiral Pakenham's command."
It will be seen from the above that although eventually
Admiral Pakenham became the Rear Admiral Commanding Australian
Fleet, he did not hold that appointment between 7th March 1915
and 22nd September 1916 (18 months) and during this time the
Admiral Commanding the Australian Fleet (Admiral Patey) was
in the "LEVIATHAN" with "MELBOURNE" and "SYDNEY" under his
orders, and during the same period the "AUSTRALIA" was not the
FlagShip of the R.A.C.A.F.
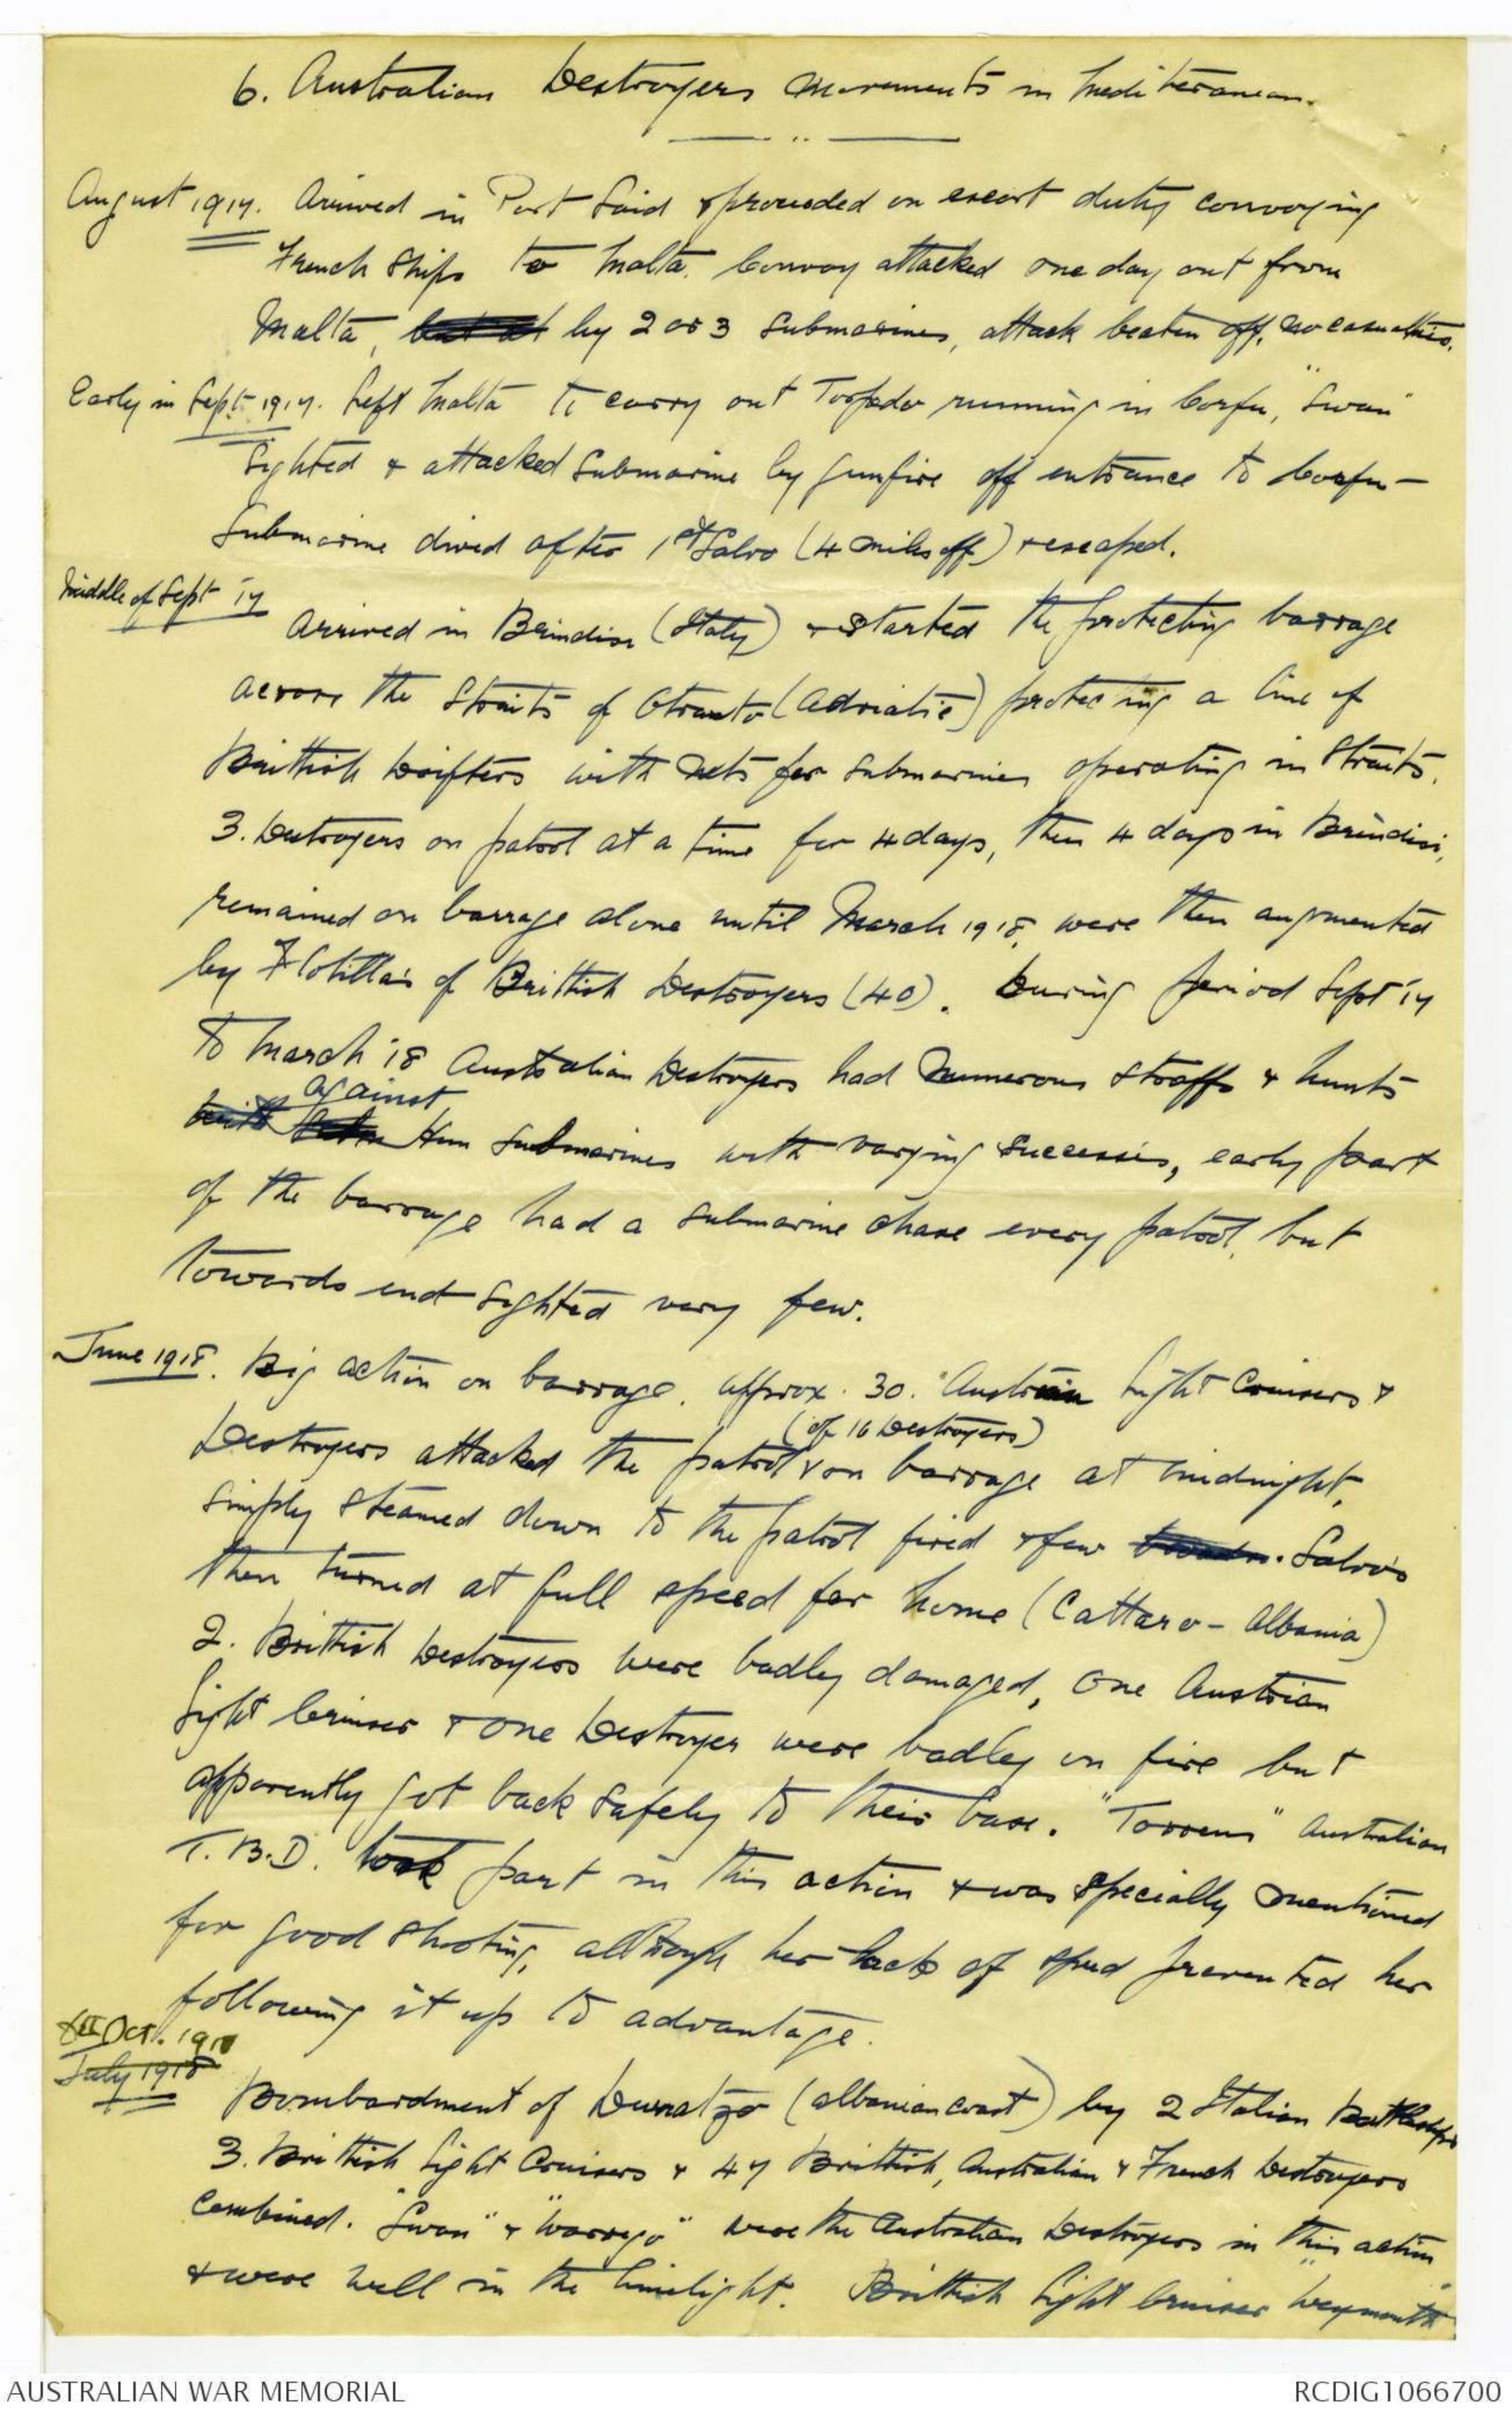
6. Australian Destroyers Movements in Mediterranean.
August 1917 Arrived in Port Said & proceeded on escort duty convoying
French Ships to Malta. Convoy attacked one day out from
Malta, but at by 2 or 3 submarines, attack beaten off, no casualties.
Early in Sept. 1917. Left Malta to carry out Torpedo running in Corfu, "Swan"
sighted & attacked submarines by gunfire off entrance to Corfu -
Submarine dived after 1st Salvo (4 miles off) & escaped.
Middle of Sept '17 Arrived in Brindisi (Italy) & started the protecting barrage
across the Straits of Otranto (Adriatic) protecting a line of
Brittish Drifters with nets for submarines operating in Straits.
3 Destroyers on patrol at a time for 4 days, then 4 days in Brindisi,
remained on barrage alone until March 1918, were then augmented
by Flotillas of Brittish Destroyers (40). During period Sept '17
to March '18 Australian Destroyers had numerous straffs & huntswith germ against Hun submarines with varying successes, early part
of the barrage had a submarine chase every patrol, but
towards end sighted very few.
June 1918. Big action on barrage. approx 30 Austrian Light Cruisers &
Destroyers attacked the patrol ^(of 16 Destroyers) on barrage at midnight,
simply steamed down to the patrol fired & few xxxx. Salvos
then turned at full speed for home (Cattaro - Albania)
2 Brittish Destroyers were badly damaged, one Austrian
Light Cruiser & one Destroyer were badly on fire but
apparently got back safely to their base. "Torrens" Australian
T.B.D. took part in this action & was specially mentioned
for good shooting, although her lack of speed prevented her
following it up to advantage.July 1918 6th Oct. 1918 Bombardment of Durratzo (Albanian coast) by 2 Italian battleships
3 Brittish Light Cruisers & 47 Brittish, Australian & French Destroyers
combined. "Swan" & "Warrego" were the Australian Destroyers in this action
& were well in the limelight. Brittish Light Cruiser "Weymouth"
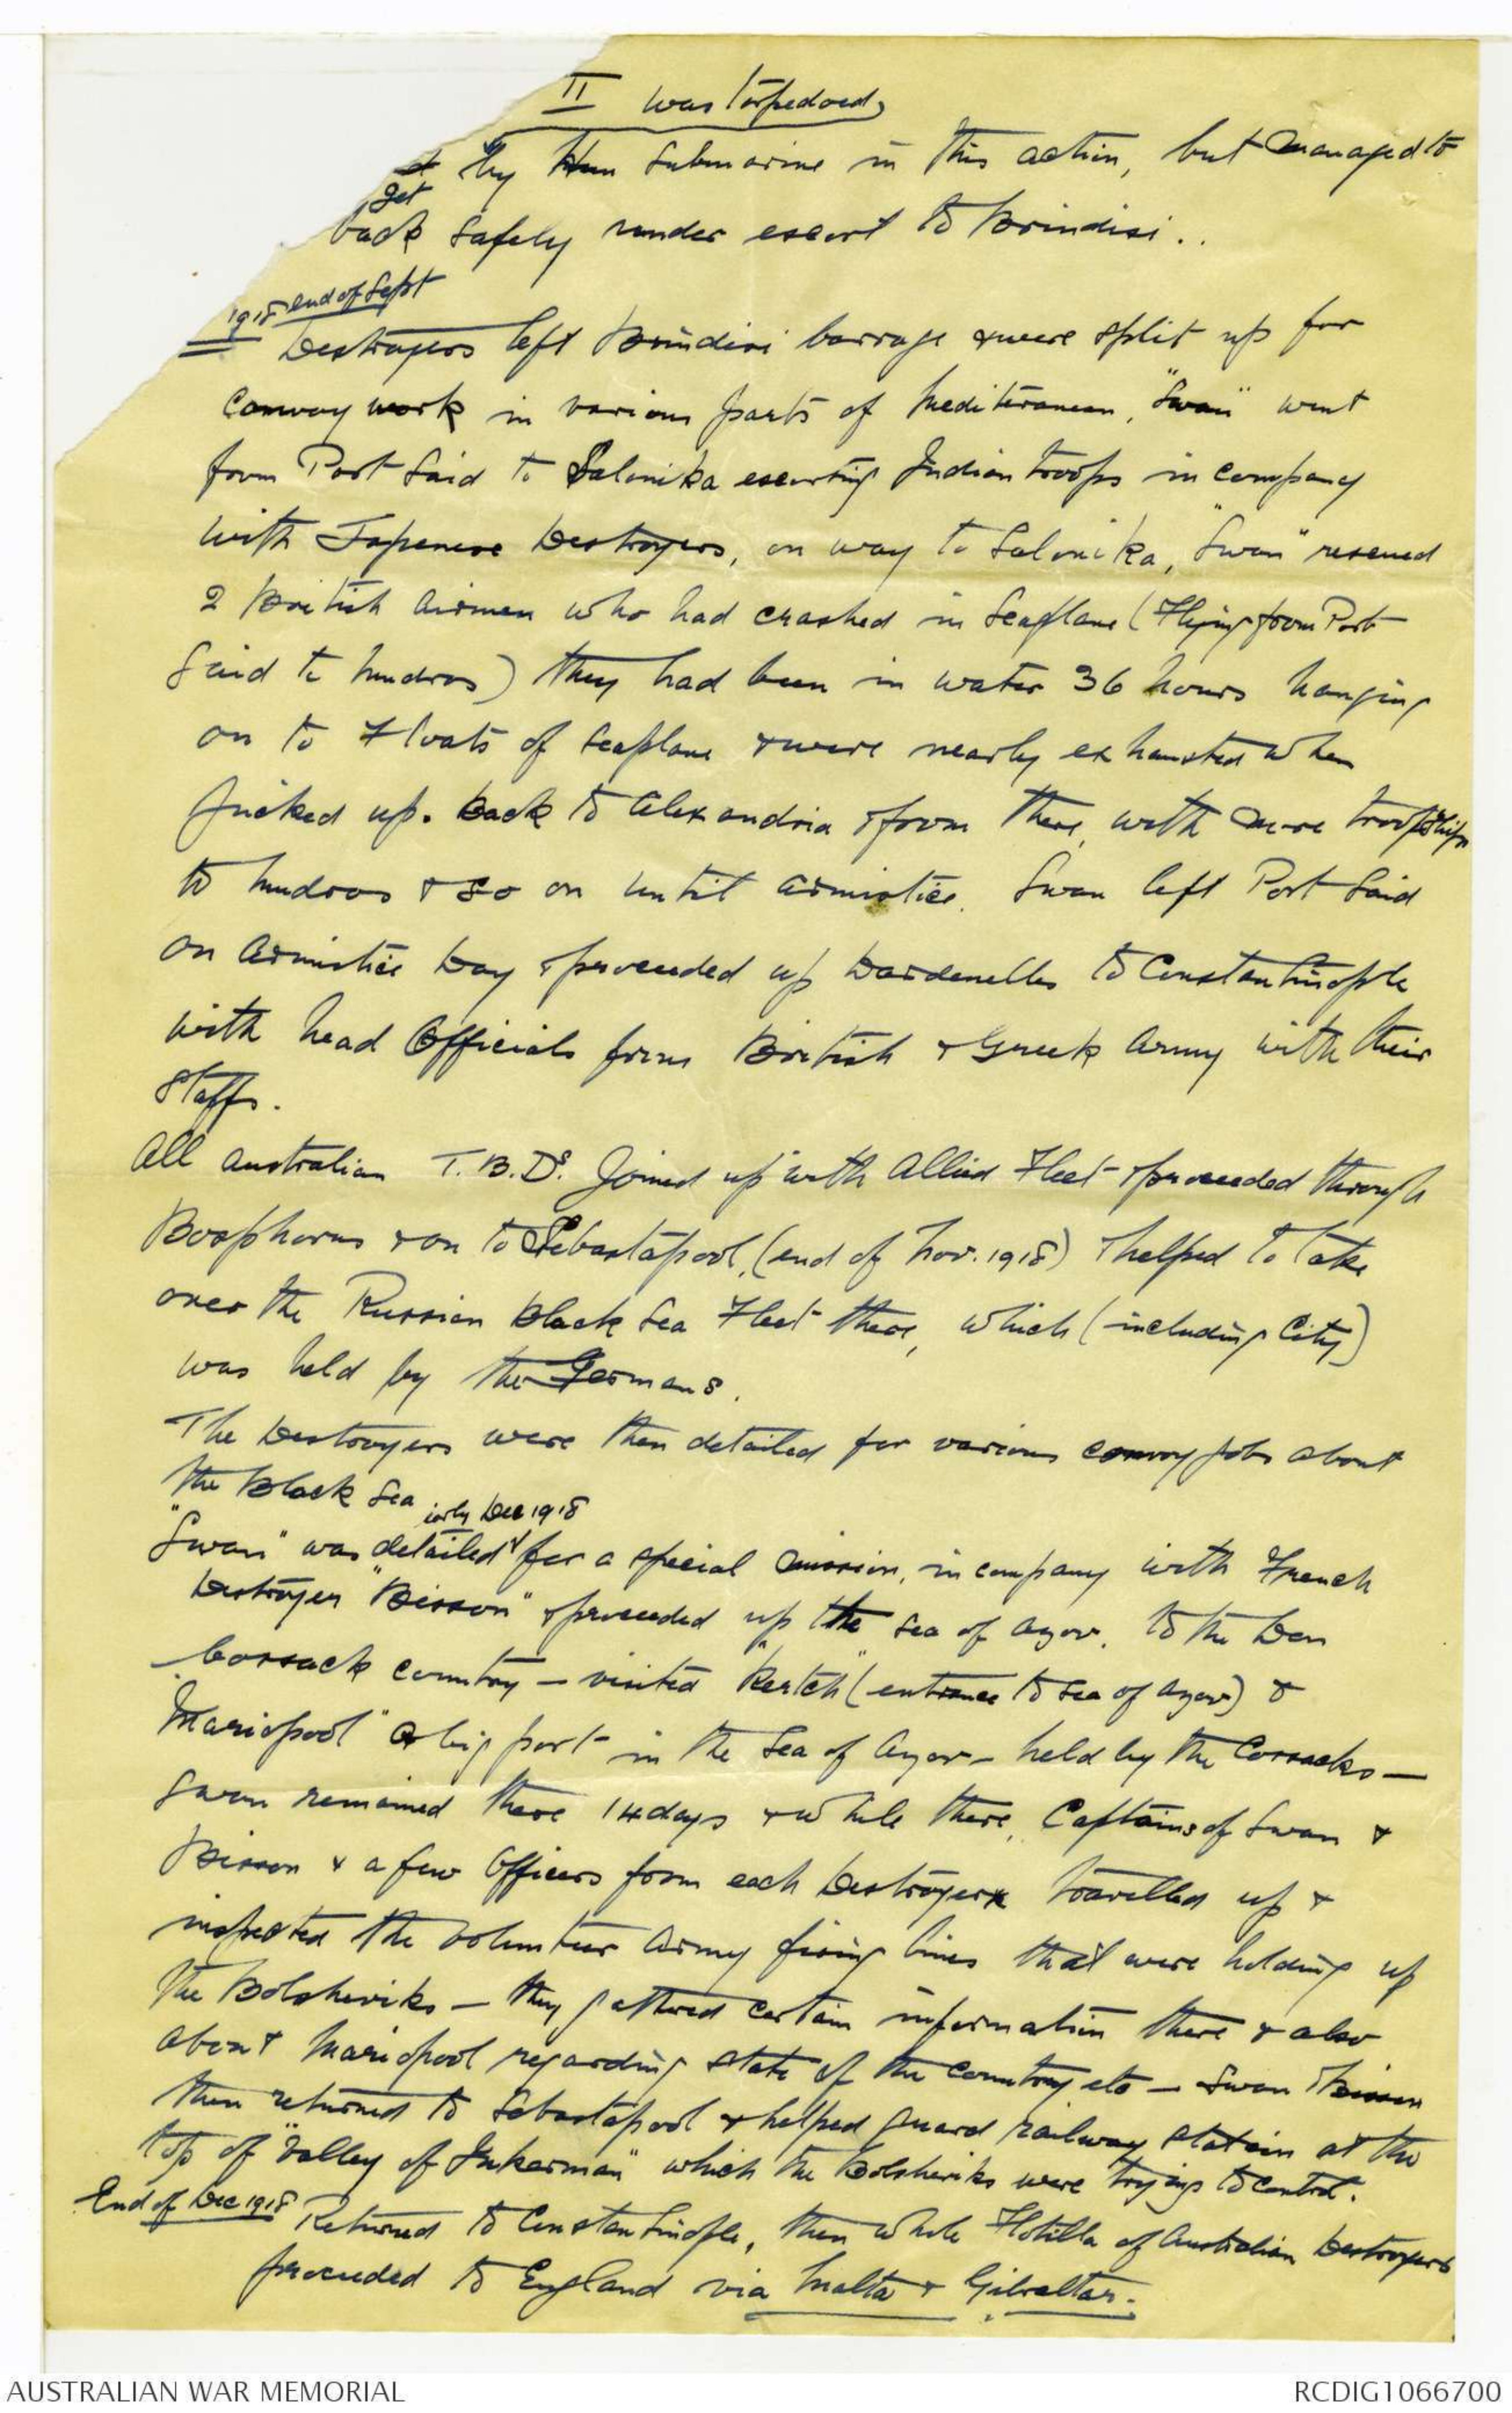
[[?]] II was torpedoed by Hun submarine in this action, but managed to
get
back safely under escort to Brindisi..
1918 end of Sept
Destroyers left Brindisi barrage & were split up for
convoy work in various parts of Mediterranean. "Swan" went
from Port Said to Salonika escorting Indian troops in company
with Japanese Destroyers, on way to Salonika, "Swan" rescued
2 British Airmen who had crashed in Seaplane (Flying from Port
Said to Mudros) They had been in water 36 hours hanging
on to Floats of Seaplane & were nearly exhausted when
picked up. Back to Alexandria & from there, with more troopships
to Mudros & so on until Armistice. Swan left Port Said
on Armistice Day & proceeded up Dardenelles to Constantinople
with head Officials from British & Greek Army with their
staffs.
All Australian T.B.Ds. joined up with Allied Fleet & proceeded through
Bosphorus & on to Sebastapool, (end of Nov. 1918) & helped to take
over the Russian Black Sea Fleet there, which (including City)
was held by the Germans.
The Destroyers were then detailed for various convoy jobs about
the Black Sea.
"Swan" was detailed ^early Dec 1918 for a special mission, in company with French
Destroyer "Bisson" & proceeded up the Sea of Azov. to the Don
Cossack country - visited "Kertch" (entrance to Sea of Azov) &
'Mariupool' a big port in the Sea of Azov - held by the Cossacks -
Swan remained there 14 days & while there, Captains of Swan &
Bisson & a few Officers from each Destroyers travelled up &
inspected the volunteer Army firing lines that were holding up
the Bolsheviks - they gathered certain information there & also
about Mariupool regarding state of the country etc - Swan & Bisson
then returned to Sebastopool & helped guard railway station at the
top of "Valley of Inkerman" which the Bolsheviks were trying to control.
End of Dec 1918 Returned to Constantinople, then whole Flotilla of Australian Destroyers
proceeded to England via Malta & Gibraltar.
TELEPHONE Nos.
F 2597.
F2598.
COMMUNICATIONS TO BE ADDRESSED TO
"THE DIRECTOR."
IN REPLY PLEASE QUOTE
No...........
TELEGRAPHIC ADDRESS
"AUSWARMUSE."
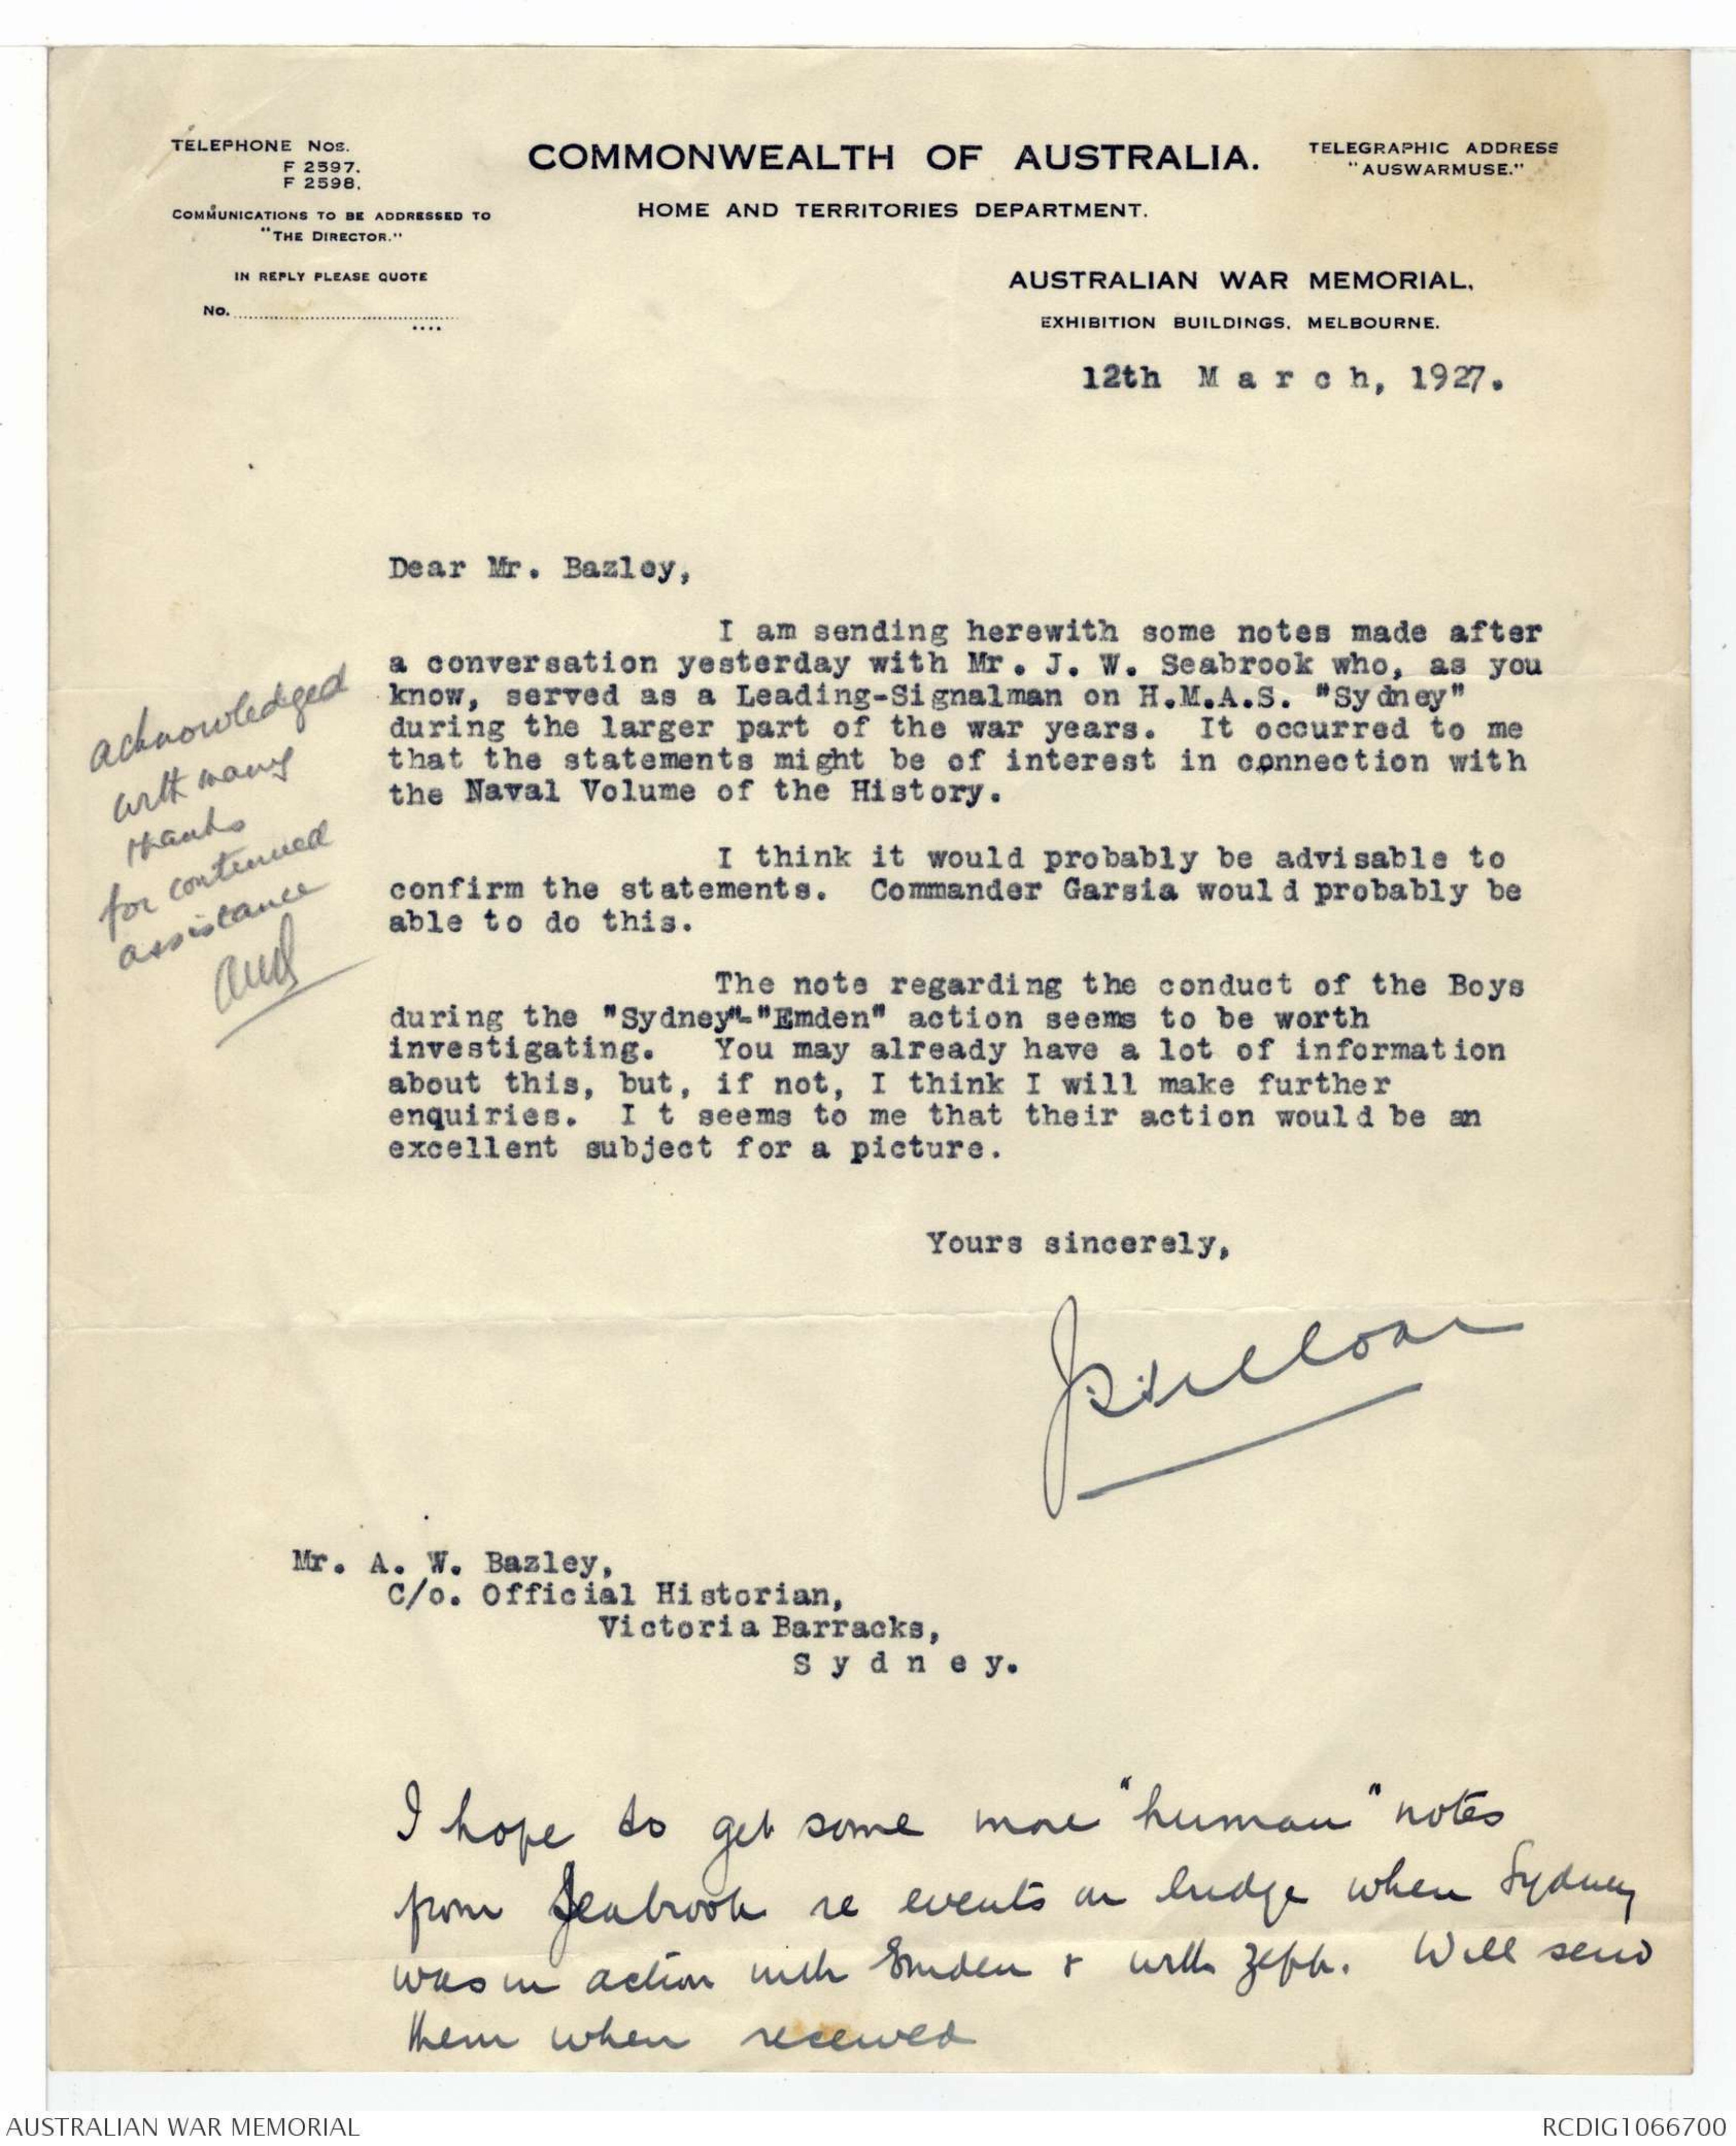
COMMONWEALTH OF AUSTRALIA.
HOME AND TERRITORIES DEPARTMENT.
AUSTRALIAN WAR MEMORIAL,
EXHIBITION BUILDINGS, MELBOURNE.
12th M a r c h, 1927.
Dear Mr. Bazley,
I am sending herewith some notes made after
a conversation yesterday with Mr. J. W. Seabrook who, as you
know, served as a Leading-Signalman on H.M.A.S. "Sydney"
during the larger part of the war years. It occurred to me
that the statements might be of interest in connection with
the Naval Volume of the History.
I think it would be probably be advisable to
confirm the statements. Commander Garsia would probably be
able to do this.
The note regarding the conduct of the Boys
during the "Sydney" - "Emden" action seems to be worth
investigating. You may already have a lot of information
about this, but, if not, I think I will make further
enquiries. It seems to me that their action would be an
excellent subject for a picture.
Yours sincerely,
J Treloar
[*Acknowledged
with many
thanks
for continued
assistance
CEWB*]
Mr. A.W. Bazley,
C/o. Official Historian,
Victoria Barracks,
S y d n e y.
I hope to get some more "human" notes
from Seabrook re events on bridge when Sydney
was in action with Emden & with Zepp. Will send
them when received.
F.4151.
1873.
24 March 1927,
Commander R.C. Garsia, R.A.N.,
H.M.A.S. Tingira,
Rose Bay.
Dear Garsia,
I have received from the Director of the Australian War
Memorial the attached notes concerning Tingira boys and the Sydney -
Emden fight. The last one will amuse you, but needless to say
will not be made use of. At the Director's suggestion I am submitting
them to you just for confirmation as far as you can endorse
them, or otherwise, offhand, and should be glad if you would post
them back to me after perusal, with any comments.
The same man also gave a highly interesting account of the
Sydney's fight with the German Zeppelin LA3. He said that he was
on the bridge with Captain Dumaresq, and heard the orders given
during the fight, and that Dumaresq deliberately steamed over the
point where the first two bombs were dropped, but then avoided the
position of the third bomb, guessing that the Zeppelin commander
would expect him to steam over that. He also said that there was
a notion of bagging this Zeppelin by placing ships at various
bearings to her. Do you think this account is accurate?
Yours sincerely,
C.E.W. BEAN
17/12/15
1st Aust. Div Medical
 Deb Parkinson
This transcription item is now locked to you for editing. To release the lock either Save your changes or Cancel.
This lock will be automatically released after 60 minutes of inactivity.