
Diary of service - Donald Morrison, 1940 - 1945 - Part 6
AIF History Captain N Morrison
With these tanks out of action, the Company felt safer as they were not dug in at this
stage. There was intermittent firing during the day and the casualties amounted to one
officer and two other ranks killed and three other ranks wounded.
These casualties were the result of enemy sniping and include those suffered by a
patrol led by Captain N Stephens of 10 Platoon. This patrol went out to reconnoitre
the enemy's position and was heavily engaged by fire from well concealed positions.
After lunch a patrol led by Sergeant Ross succeeded in locating the enemy. Sergeant
Ross, on return to the Company directed our mortars onto the targets and was
instrumental in clearing the enemy from the area. The mortars did excellent work and
considerably assisted in stemming any attempted advance by the enemy that day.
Privates J Boone and H Simpson of 12 Platoon, who were attached to the carriers at
Kluang in December, were with two vehicles, which attacked machine gun nests
forward of "B" Company. In the ensuring engagement Private Boone was wounded
and the carriers badly damaged by armour piercing bullets, but, they managed to
return to the safety of the perimeter.
During the afternoon, the news came through that the commanding office had been
killed in an ambush, while endeavouring to reach Brigade Headquarters, on the pillion
seat of a motor cycle. The Brigade mourned the loss of a soldier and a friend. Major S
F Olliff, assumed command.
Rations were distributed under difficult conditions during the day and everyone had
something to eat. Owing to enemy activity along the road to the rear, the Company
ration truck was unable to return to "B" Achelon in the vicinity of Yong Peng until
late in the evening It then took with it the ore serious battle casualties.
Nightfall brought a temporary lull in hostilities in the Company area. This was broken
when a Japanese soldier, evidently separate from a patrol, made a wild dash through
the lines to safety; darkness preventing him from being captured or shot.
Beer Company
Page 38
AIF History
Captain N Morrison
The morning on 19 January, found the Company nearly all dug. in while the remainder
quickly finished their slit trenches. Enemy air activity was persistent with dive
bombers and "recede" plans overhead, but no bombs fell in the Company area.
At approximately 0930 hours, a Japanese cycle patrol approached from the direction
of Muar. Gunners of "12" Platoon and of "C" Company both claimed to have bagged
the patrol which was quickly wiped out.
Snipers were again active during the day, but, they caused no casualties. Towards
midday Indian troops started to file through the Battalion position in their withdrawal
from Maur and at approximately 1400 hours, a large party moved in on the right
flank. They were immediately spotted by low flying enemy aircraft. The whole area
was shortly afterward pounded by a heavy artillery barrage which lasted for nearly
two hours.
At 1700 hours "11" Platoon were subjected to an artillery and mortar barrage
immediately followed by an infantry attack. This was repulsed by mortar and small
arms fire resulting in heavy losses to the enemy, but, without loss to the platoon.
Just before 1800 hours, Captain Maher received word that there would be a general
withdrawal to join "2/12" Battalion. This Battalion had moved up from Jemaluang the
previous night and had reached position about two miles to the rear. They had
endeavoured to establish contact with "2/29", but, were unable to do so owing to the
large enemy infilatrations around that position. The order of withdrawal would be "A"
Company, Headquarters, BN, HQ C and B Companies. The Company was to move at
1800 hours, the direction being down the left and side of the road. At this stage, a
minor attack was launched against the Company; the brunt being born by 11 and 12
Platoons. Once again the enemy were repulsed with no loss to us.
At 1830 hours a further barrage of mortars landed in 10 Platoon area and two men
were wounded. They were placed on a truck which had already been loaded with
stores. The trucks driven by Lieutenant Corporal J McDonald and Private E Christie,
who were attached as transport drivers, then moved off to join the convoy.
Beer Company
Page 39
AIF History
Captain N Morrison
Two vehicles left by the Indian troops, as well as several bicycles, were rendered
useless by the Company Headquarters. This last barrage was now followed by a
determined attack on 11 Platoon. Yet once again the enemy were driven off with
heavy losses to themselves but the Company went unscathed.
Prior to this attack the carriers had come forward to assist in the withdrawal and they
did excellent work in helping to repel the attack. The Company, at this stage, lacked
mortar support as these had been withdrawn on the trucks.
At 1830 hours, the Company began to withdraw with 10 Platoon leading followed by
Number 11 and 12. The carriers covered the movement of the rear platoon The
leading Platoon moved further to the left than was intended and soon stuck a jungle
swamp. After moving into this for a short distance, in single file, the Company was
halted. Captains Maher and Lovett moved to the front and after a study of the map,
decided to carry on through the swamp as far as the cross roads. One of the reasons
for this decision was the very heavy concentration of enemy fire in the proximity of the
roadway.
Once more the Company moved off. The OC and 2IC were alternately directing by
compass and hacking a pathway through the dense jungle with a bayonet. It was a
nightmare journey; most of the time the men were wading through mud and water
waist deep. They clutched vines and bushes for support while endeavouring to keep
rifles and light automatics from being immersed in water.
Two stray mortar bombs burst among the leading Platoon, mortally wounding one
man. The soundness of the OC's decision was proven when the Company struck the
cross roads just after darkness had fallen; thus the end of the swamp was reached by
an exhausted body of men. Parties of men from other companies had also reached the
cross roads at Bakri, after fighting their way back with heavy casualties.
Major Olliff, who had taken over command of the Battalion the previous day, had
been killed during the withdrawal and Captain Maher, as the Senior officer left,
Beer Company
Page 40
AIF History
Captain N Morrison
assumed command of the Unit. Captain Lovett took charge of B Company. The Unit
was then formed up for a further move back to the main body of 2/19 Battalion.
Companies were just being reformed when a burst of small arms fire was hear just
north of the cross roads. A bren carrier came racing down the road firing at an enemy
machine gun nest, which had opened up on it. The Battalion dived for cover.
The carrier halted in the village. The companies were again reformed and moved back
along the Road towards the 2.19 Battalion perimeter. The movement was hindered by
heavy fire ahead but the objective was reached and B Company formed a line of
defence around 2/19 Battalion Headquarters. It was here that it was discovered that
four members of 11 Platoon were missing. The Company remained there until dawn
on the following morning, 20 January, without further contact with the enemy.
It was decided early that owing to enemy infiltration., a further withdrawal was
necessary and B Company was given the task of covering this withdrawal. They
moved back to a position two hundred yards from the cross roads taking control of
this area to forestall any general advance of the enemy.
The 2/19 Battalion with the remainder of 2/29 Battalion commenced to move back
towards the Village of Paris Sulong. A number of road blocks constitute the principle
obstacle to any rapid advances. The first road block was encountered after the first half
mile. It was quickly cleared but was supported by another a little further on.
The commanding officer of 2/19 Battalion, Lieutenant Col CGW Anderson, MC, in
charge of all AIF troops in the area, personally lead repeated bayonet attacks on the
blocks and greatly inspired the men under his command. For this work, he was later
awarded the Victoria Cross.
after these road blocks were all cleared the troops and the convoy of vehicles moved
slowly forward.
The convoy consisted of supply vehicles of the Indian and the Australian troops, anti
tank and field guns, bren carriers, armoured vehicles and some ambulances. Besides
Beer Company
Page 41
AIF History
Captain N Morrison
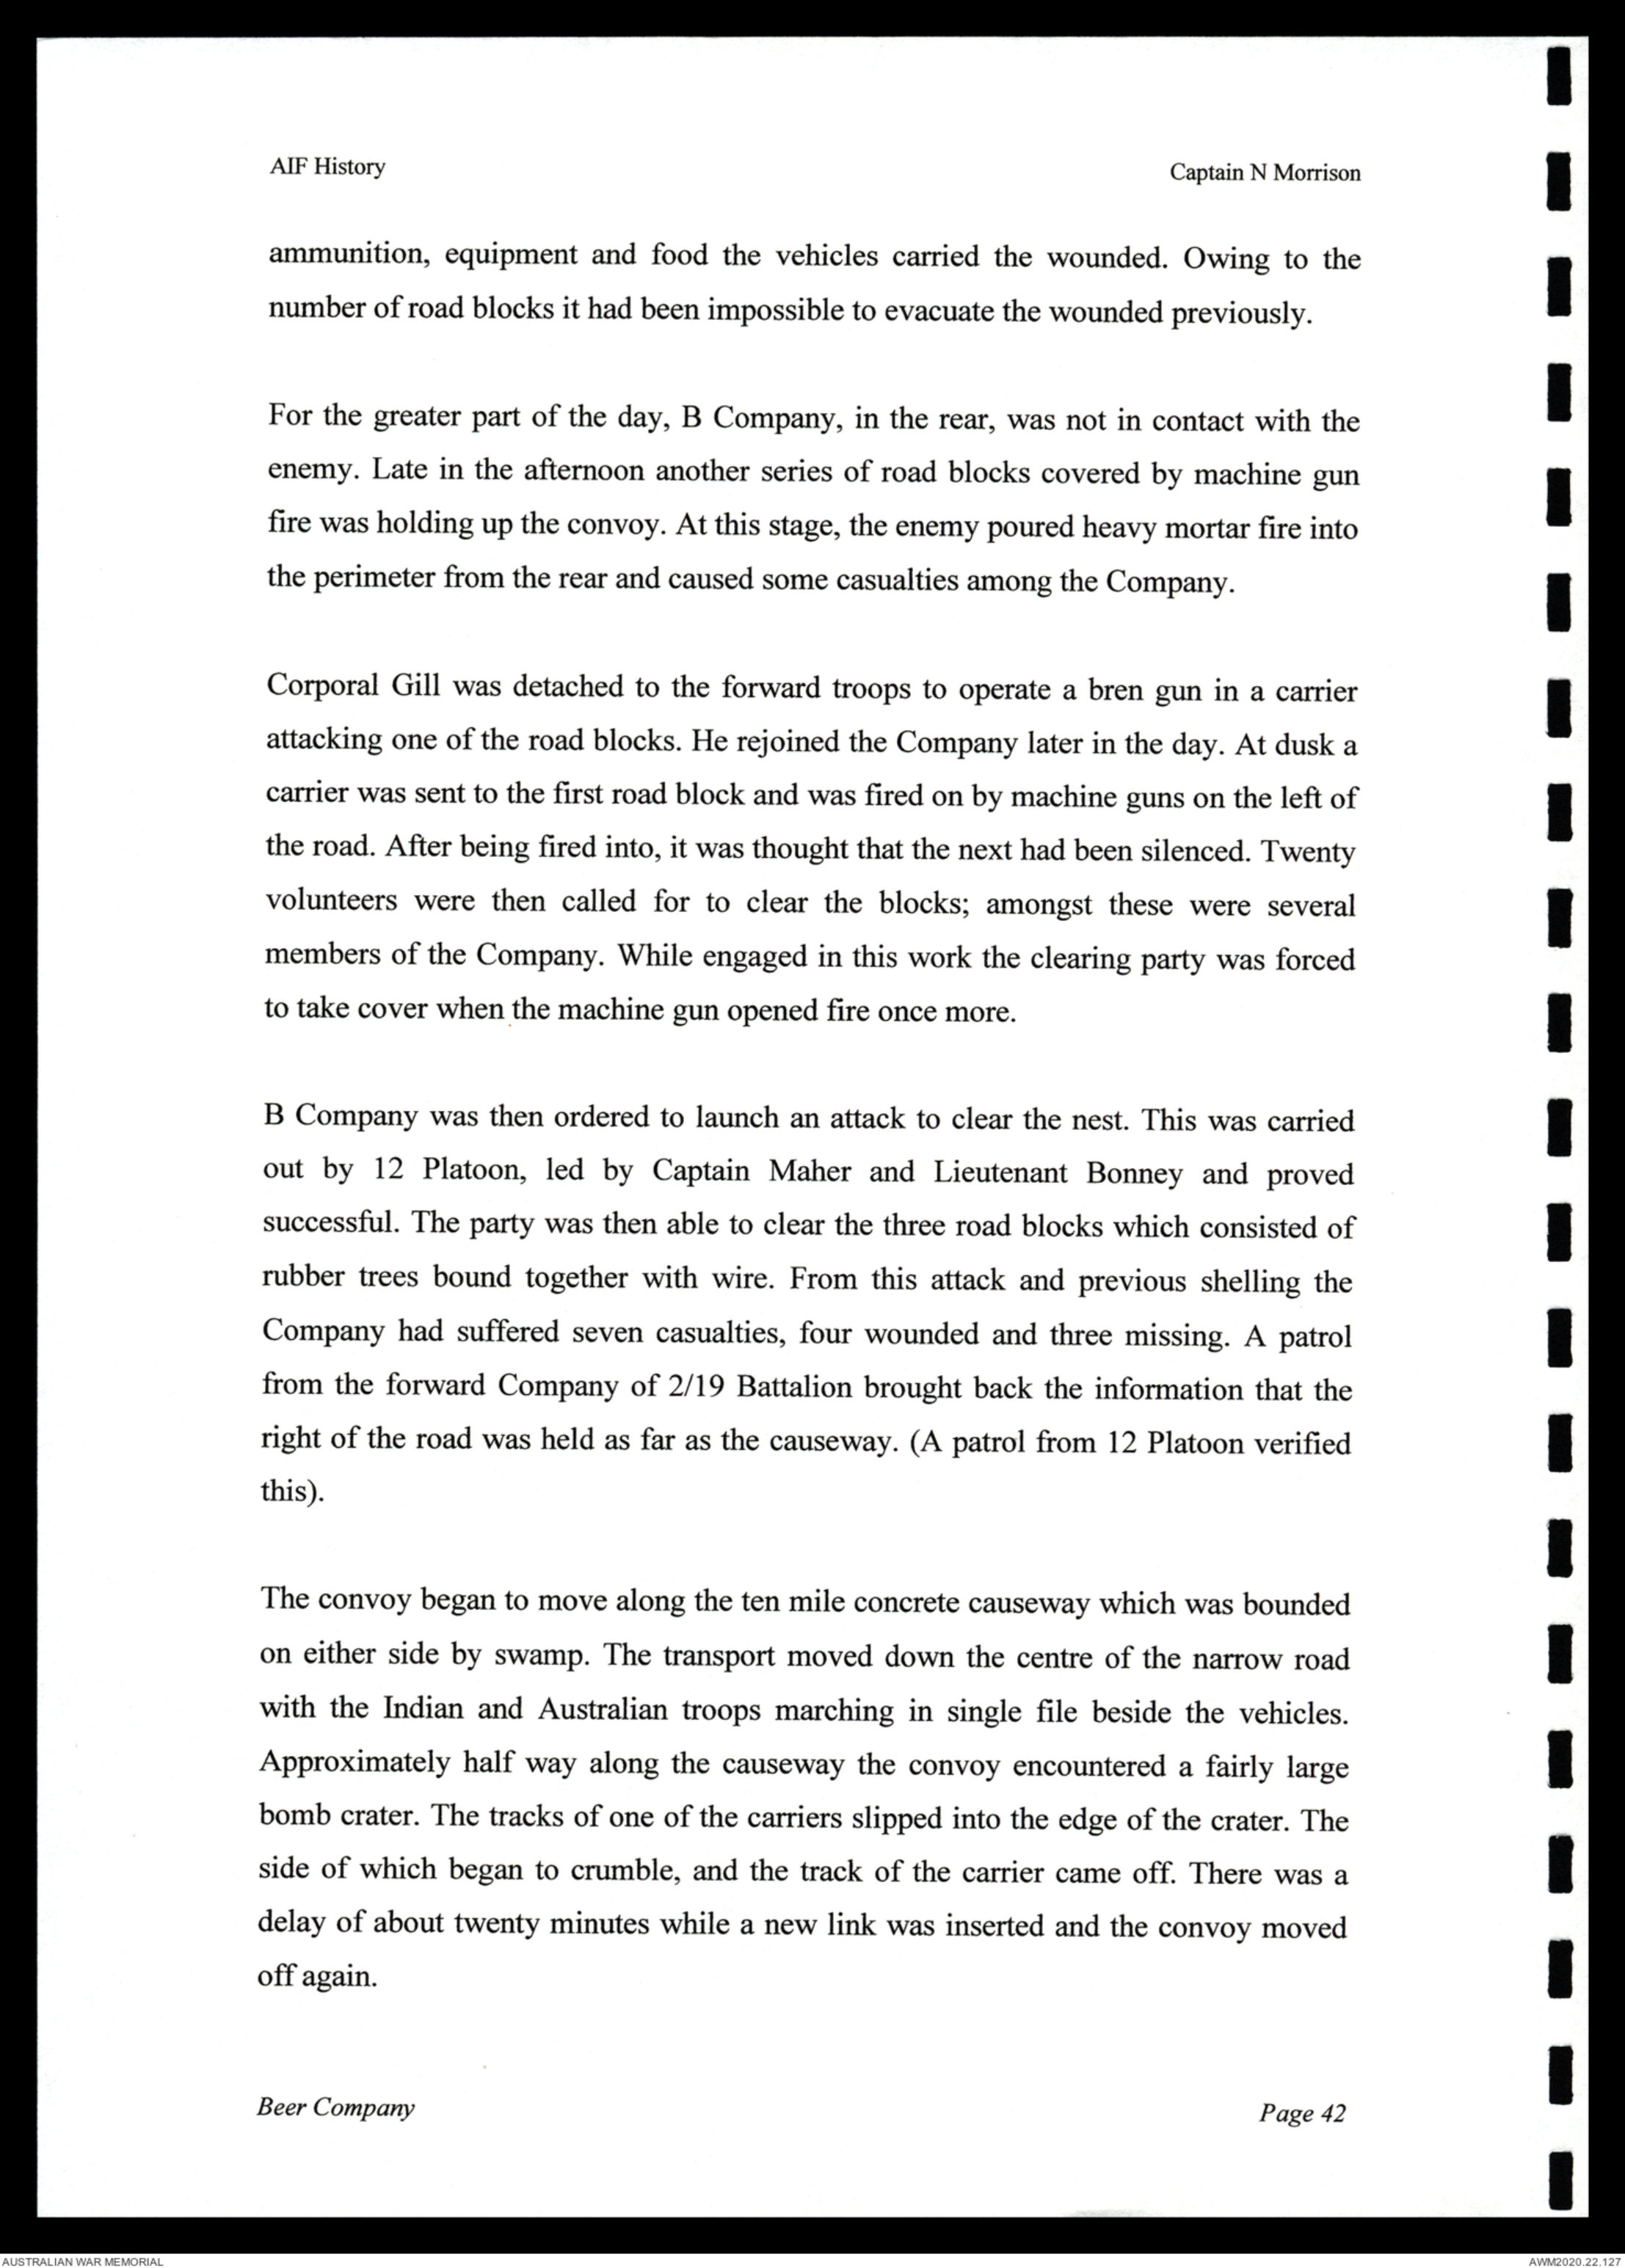
ammunition, equipment and food the vehicles carried the wounded. Owing to the
number of road blocks it had been impossible to evacuate the wounded previously.
For the greater part of the day, B Company, in the rear, was not in contact with the
enemy. Late in the afternoon another series of road blocks covered by machined gun
fire was holding up the convoy. At this stage, the enemy poured heavy mortar fire into
the perimeter fro the area and caused some casualties among the Company.
Corporal Gill was detached to the forward troops to operate a bren gun in a carrier
attacking one of the road blocks. He joined the Company later in the day. At dusk a
carrier was sent to the first road block and was fired on by machine guns on the left of
the road. After being fired into, it was thought that the next had been silenced. Twenty
volunteers were then called for to clear the blocks; amongst these were several
members of the Company. While engaged in tis work the clearing party was forced
to take cover when the machine gun opened fire once more.
B Company was then ordered to launch an attack to clear the nest. This was carried
out b 12 Platoon, led by Captain Maher and Lieutenant Bonney and proved
successful. The party was then able to clear the three road blocks which consisted of
rubber trees bound together with wire. From this attack and previous shelling the
Company had suffered seven casualties, four wounded and three missing. A patrol
from the forward Company 2/19 brought back the information that the
right of the road wa held as far as the causeway. (A patrol from 12 Platoon verified
this).
The convoy began to move along the ten mile concrete causeway which was bounded
on either side by swamp. The transport moved down the centre of the narrow road
with the Indian and Australian troops marching in single file beside the vehicles.
Approximately half way along the causeway the convoy encountered a fairly large
bomb crater. The tracks one of the carriers slipped into the end of the crater. The
side of which began to crumble, and the track of the carrier came off. There was a
delay of about twenty minutes while a new link was inserted and the convoy moved
off again.
Beer Company
Page 42
AIF History
Captain N Morrison
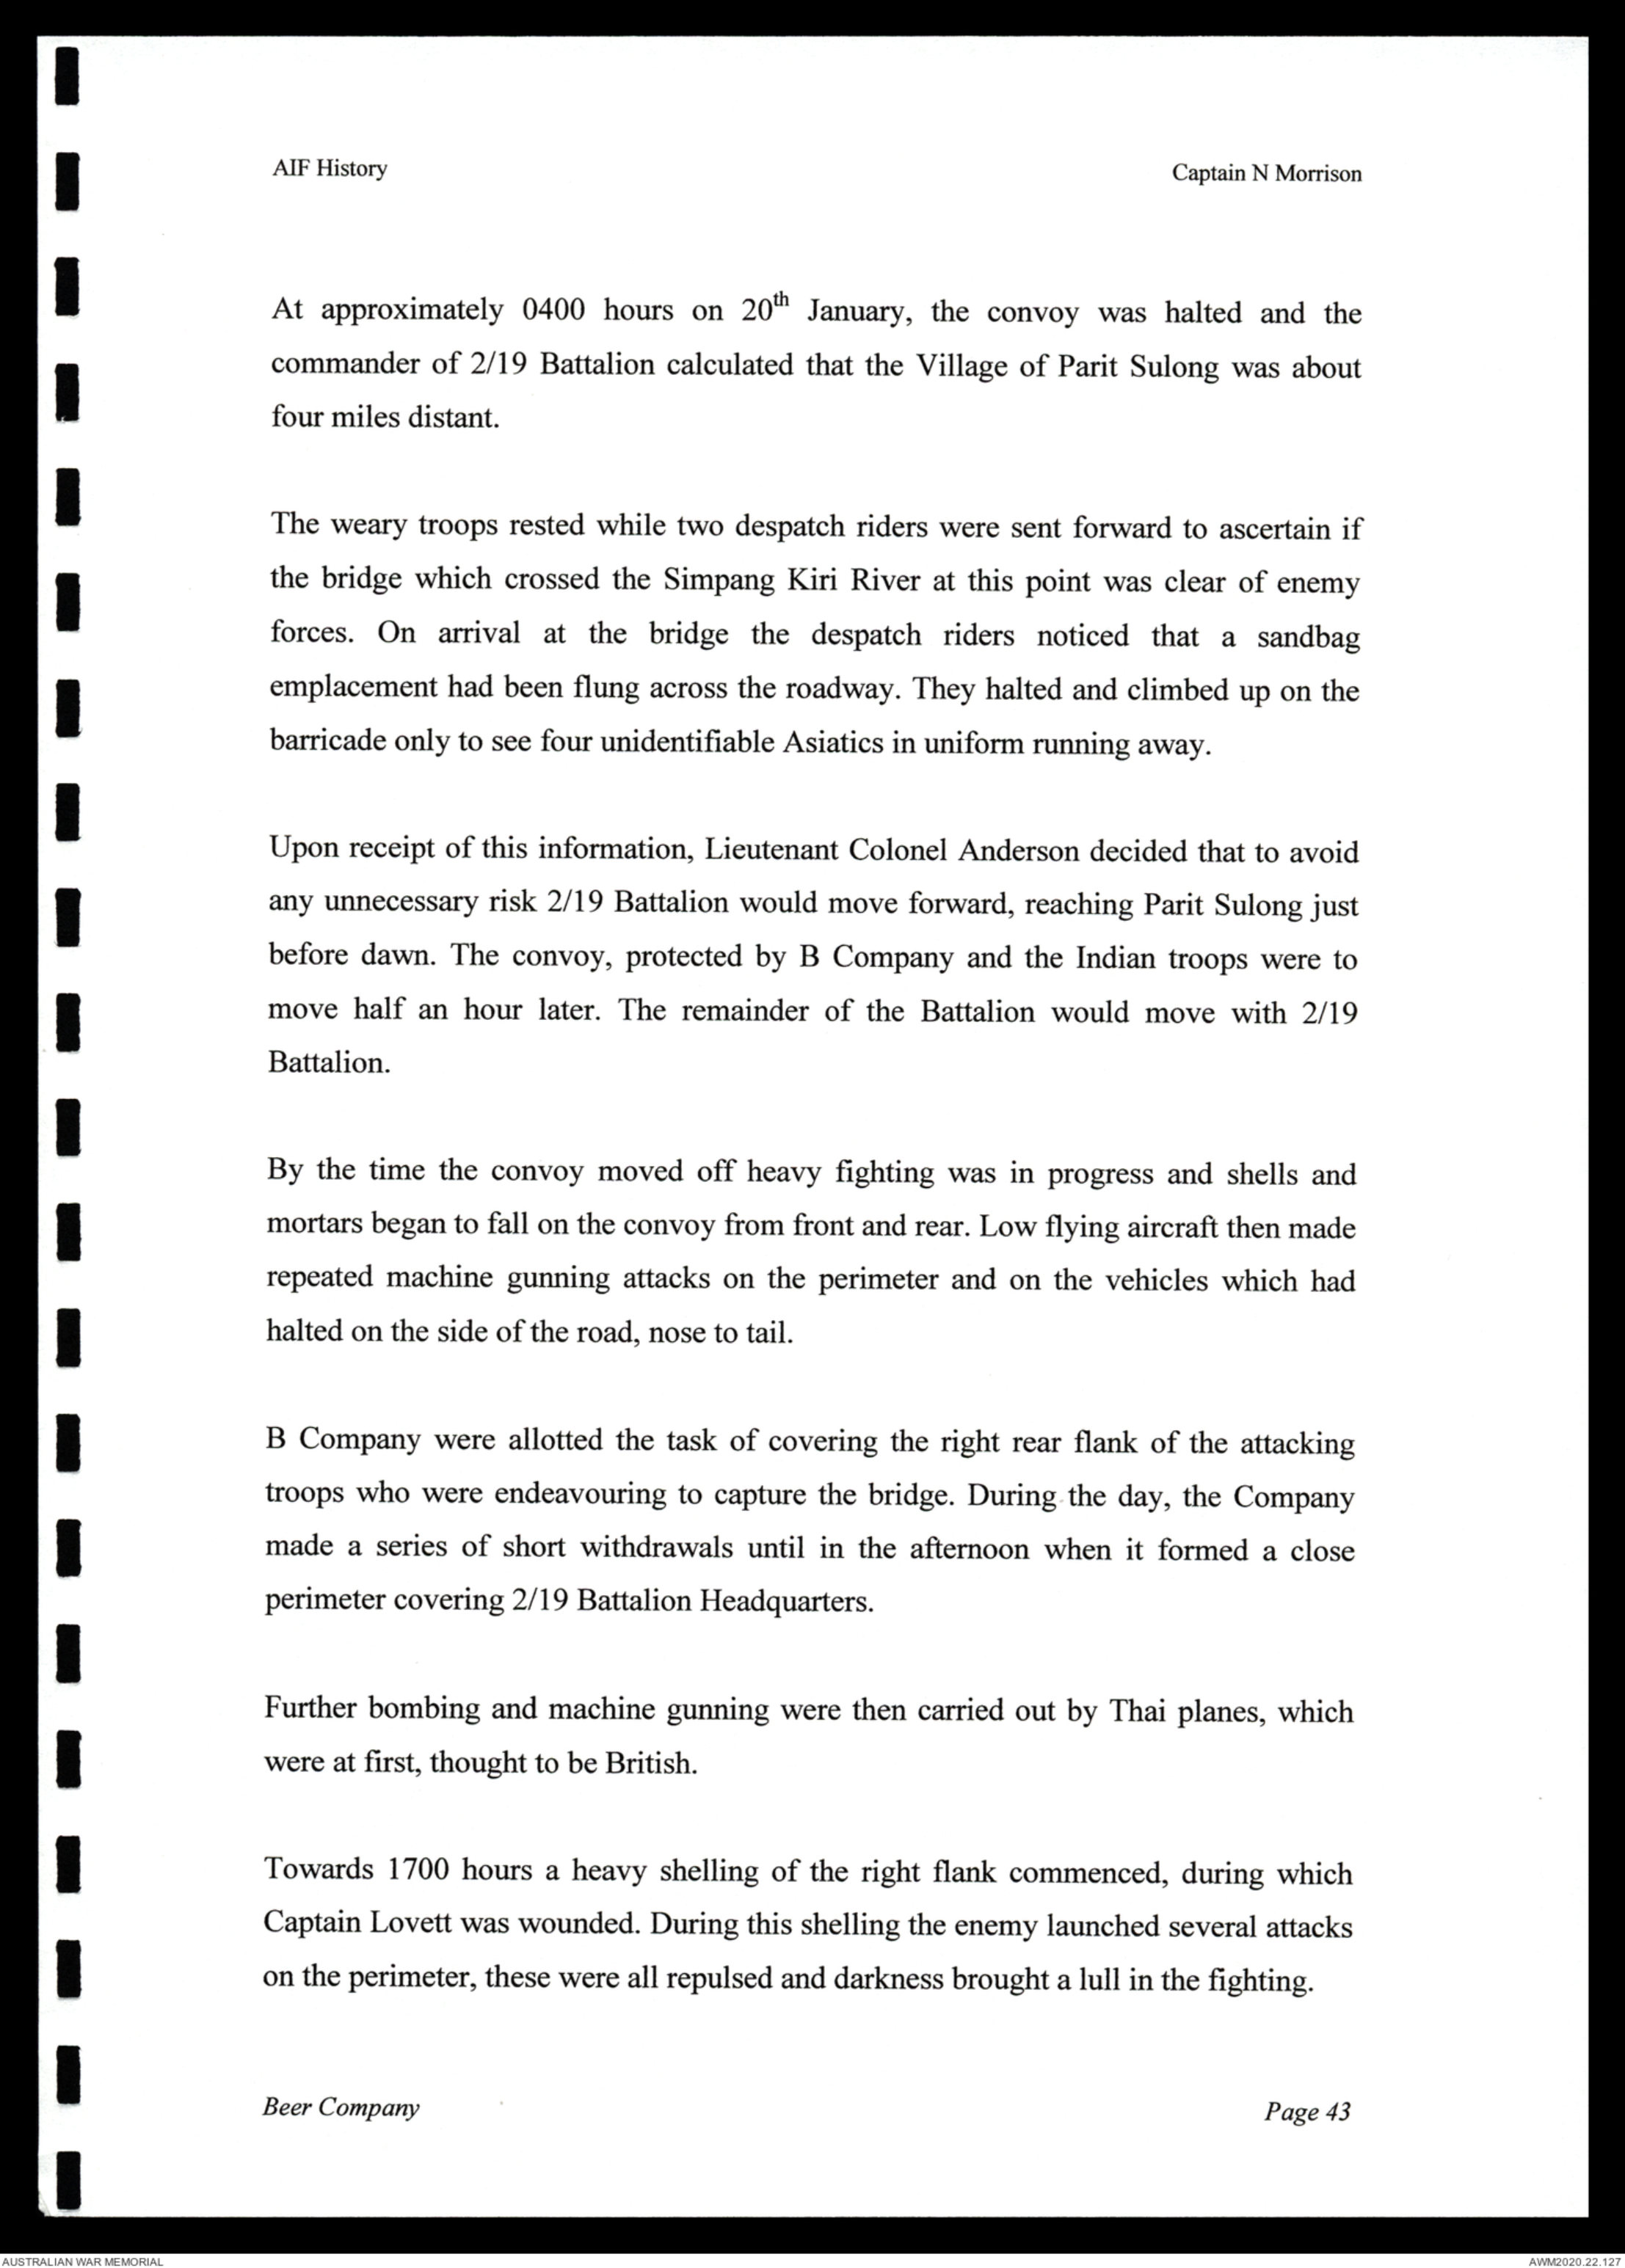
At approximately 0400 hours on 20th January, the convoy was halted and the
commander of 2/19 Battalion calculated that the Village of Paris Sulong was about
four miles distant.
The weary troops rested while two despatch riders were sent forward to ascertain if
the bridge which crossed the Simpang Kiri River at this point was clear of enemy
forces. On arrival at the bridge the despatch riders noticed that a sandbag
emplacement had been flung across the roadway. They halted and climbed up on the
barricade only to see four unidentifiable Asiatics in uniform running away.
Upon receipt of this information, Lieutenant Colonel Anderson decided that to avoid
any unnecessary risk 2/19 Battalion would move forward, reaching Parit Sulong just
before dawn. The convoy, protected by B Company and the Indian troops were to
move half an hour later. The remainder of the Battalion would move with 2/19
Battalion.
By the time the convoy moved off heavy fighting was in progress and shells and
mortars began to fall on the convoy from front and rear. Low fling aircraft then made
repeated machine gunning attacks on the perimeter and on the vehicles which had
halted the side of the road, noise to tail.
B Company were allotted the task of covering the right rear flank of the attacking
troops who were endeavouring to capture the bridge. During the day, the Company
made a serious of short withdrawals until in the afternoon which it formed a close
perimeter covering 2/19 Battalion Headquarters.
Further bombing and machine gunning were then carried out by Thai planes, which
were at first thought to be British.
Toward 1700 hours a heavy shelling of the right flank commenced, during which
Captain Lovett was wounded. During this shelling the enemy launched several attacks
on the perimeter, these were all repulsed and darkness brought a lull in the fighting.
Beer Company
Page 43
AIF History
Captain N Morrison
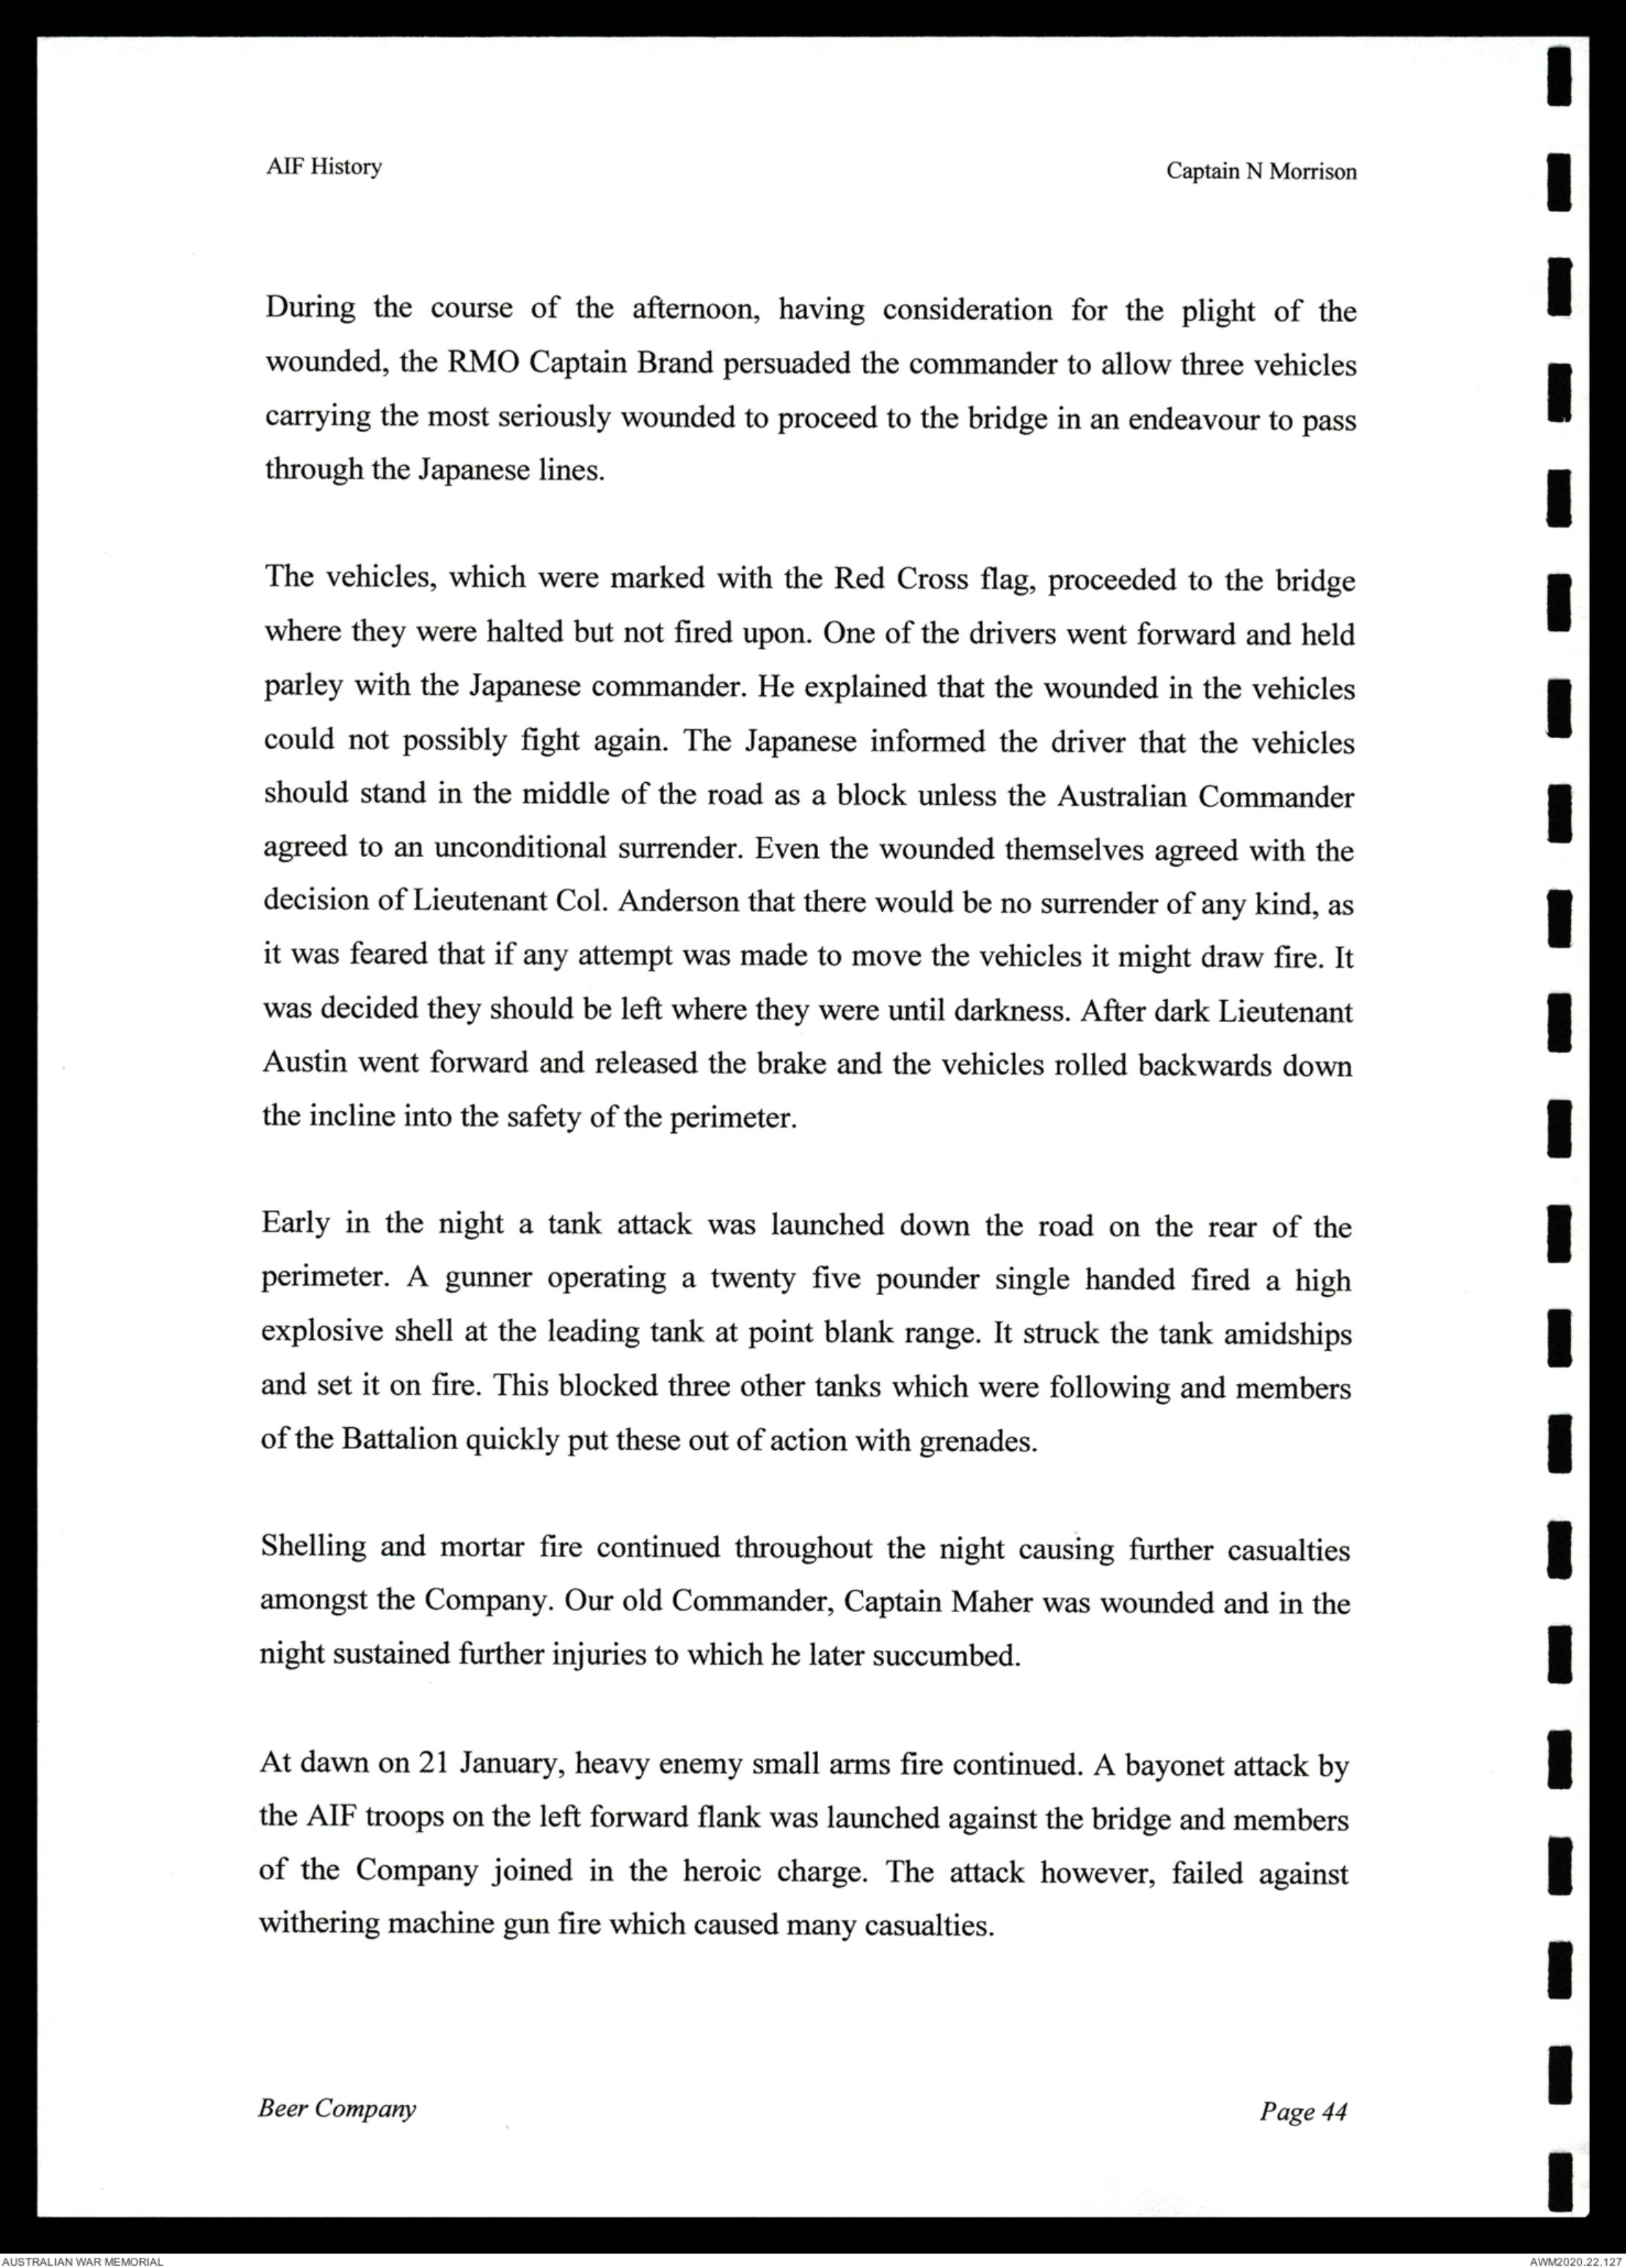
During the course of the afternoon, having consideration for the plight of the
wounded, the RMO Captain Brand persuaded the commander to allow three vehicles
carrying the most seriously wounded to proceed to the bridge in an endeavour to pass
through the Japanese lines.
The vehicles, which were marked with the Red Cross flag, proceeded to the bridge
where they were halted but nit fired upon. One of the drivers went forward and held
parley with the Japanese commander. He explained that the wounded in the vehicles
could not possibly fight again. The Japanese informed the driver tat the vehicles
should stand in the middle of the road as a block unless the Australian Commander
agreed to an unconditional surrender. Even the wounded themselves agreed with the
decision of Lieutenant Col. Anderson that there would be no surrender of any kind, as
it was feared that if any attempt was made to move the vehicles it might draw fire. It
was decided they should be left where they were until darkness. After dark Lieutenant
Austin went forward and released the brake and the vehicles rolled backwards down
the incline into the safety of the perimeter.
Early in the night a tank attack was launched down the road on the rear of the
perimeter. A gunner operating a twenty five pounder single handed fired a high
explosive shell at the leading tank at point blank range. It struck the tank amidships
and set it on fire. This blocked three other tanks which were following and members
of the Battalion quickly put these out of action with grenades.
Shelling and mortar fire continued throughout the night causing further casualties
amongst the Company. Our old Commander, Captain Maher was wounded and in the
night sustained further injuries to which he later succumbed.
At dawn on 21 January, heavy enemy small arms fire continue. A bayonet attack by
the AIF troops on the left forward flank was launched against the bridge and members
of the Company joined in the heroic charge. The attack however, failed against
withering machine gun fire which caused many casualties.
Beer Company
Page 44
AIF History
Captain N Morrison
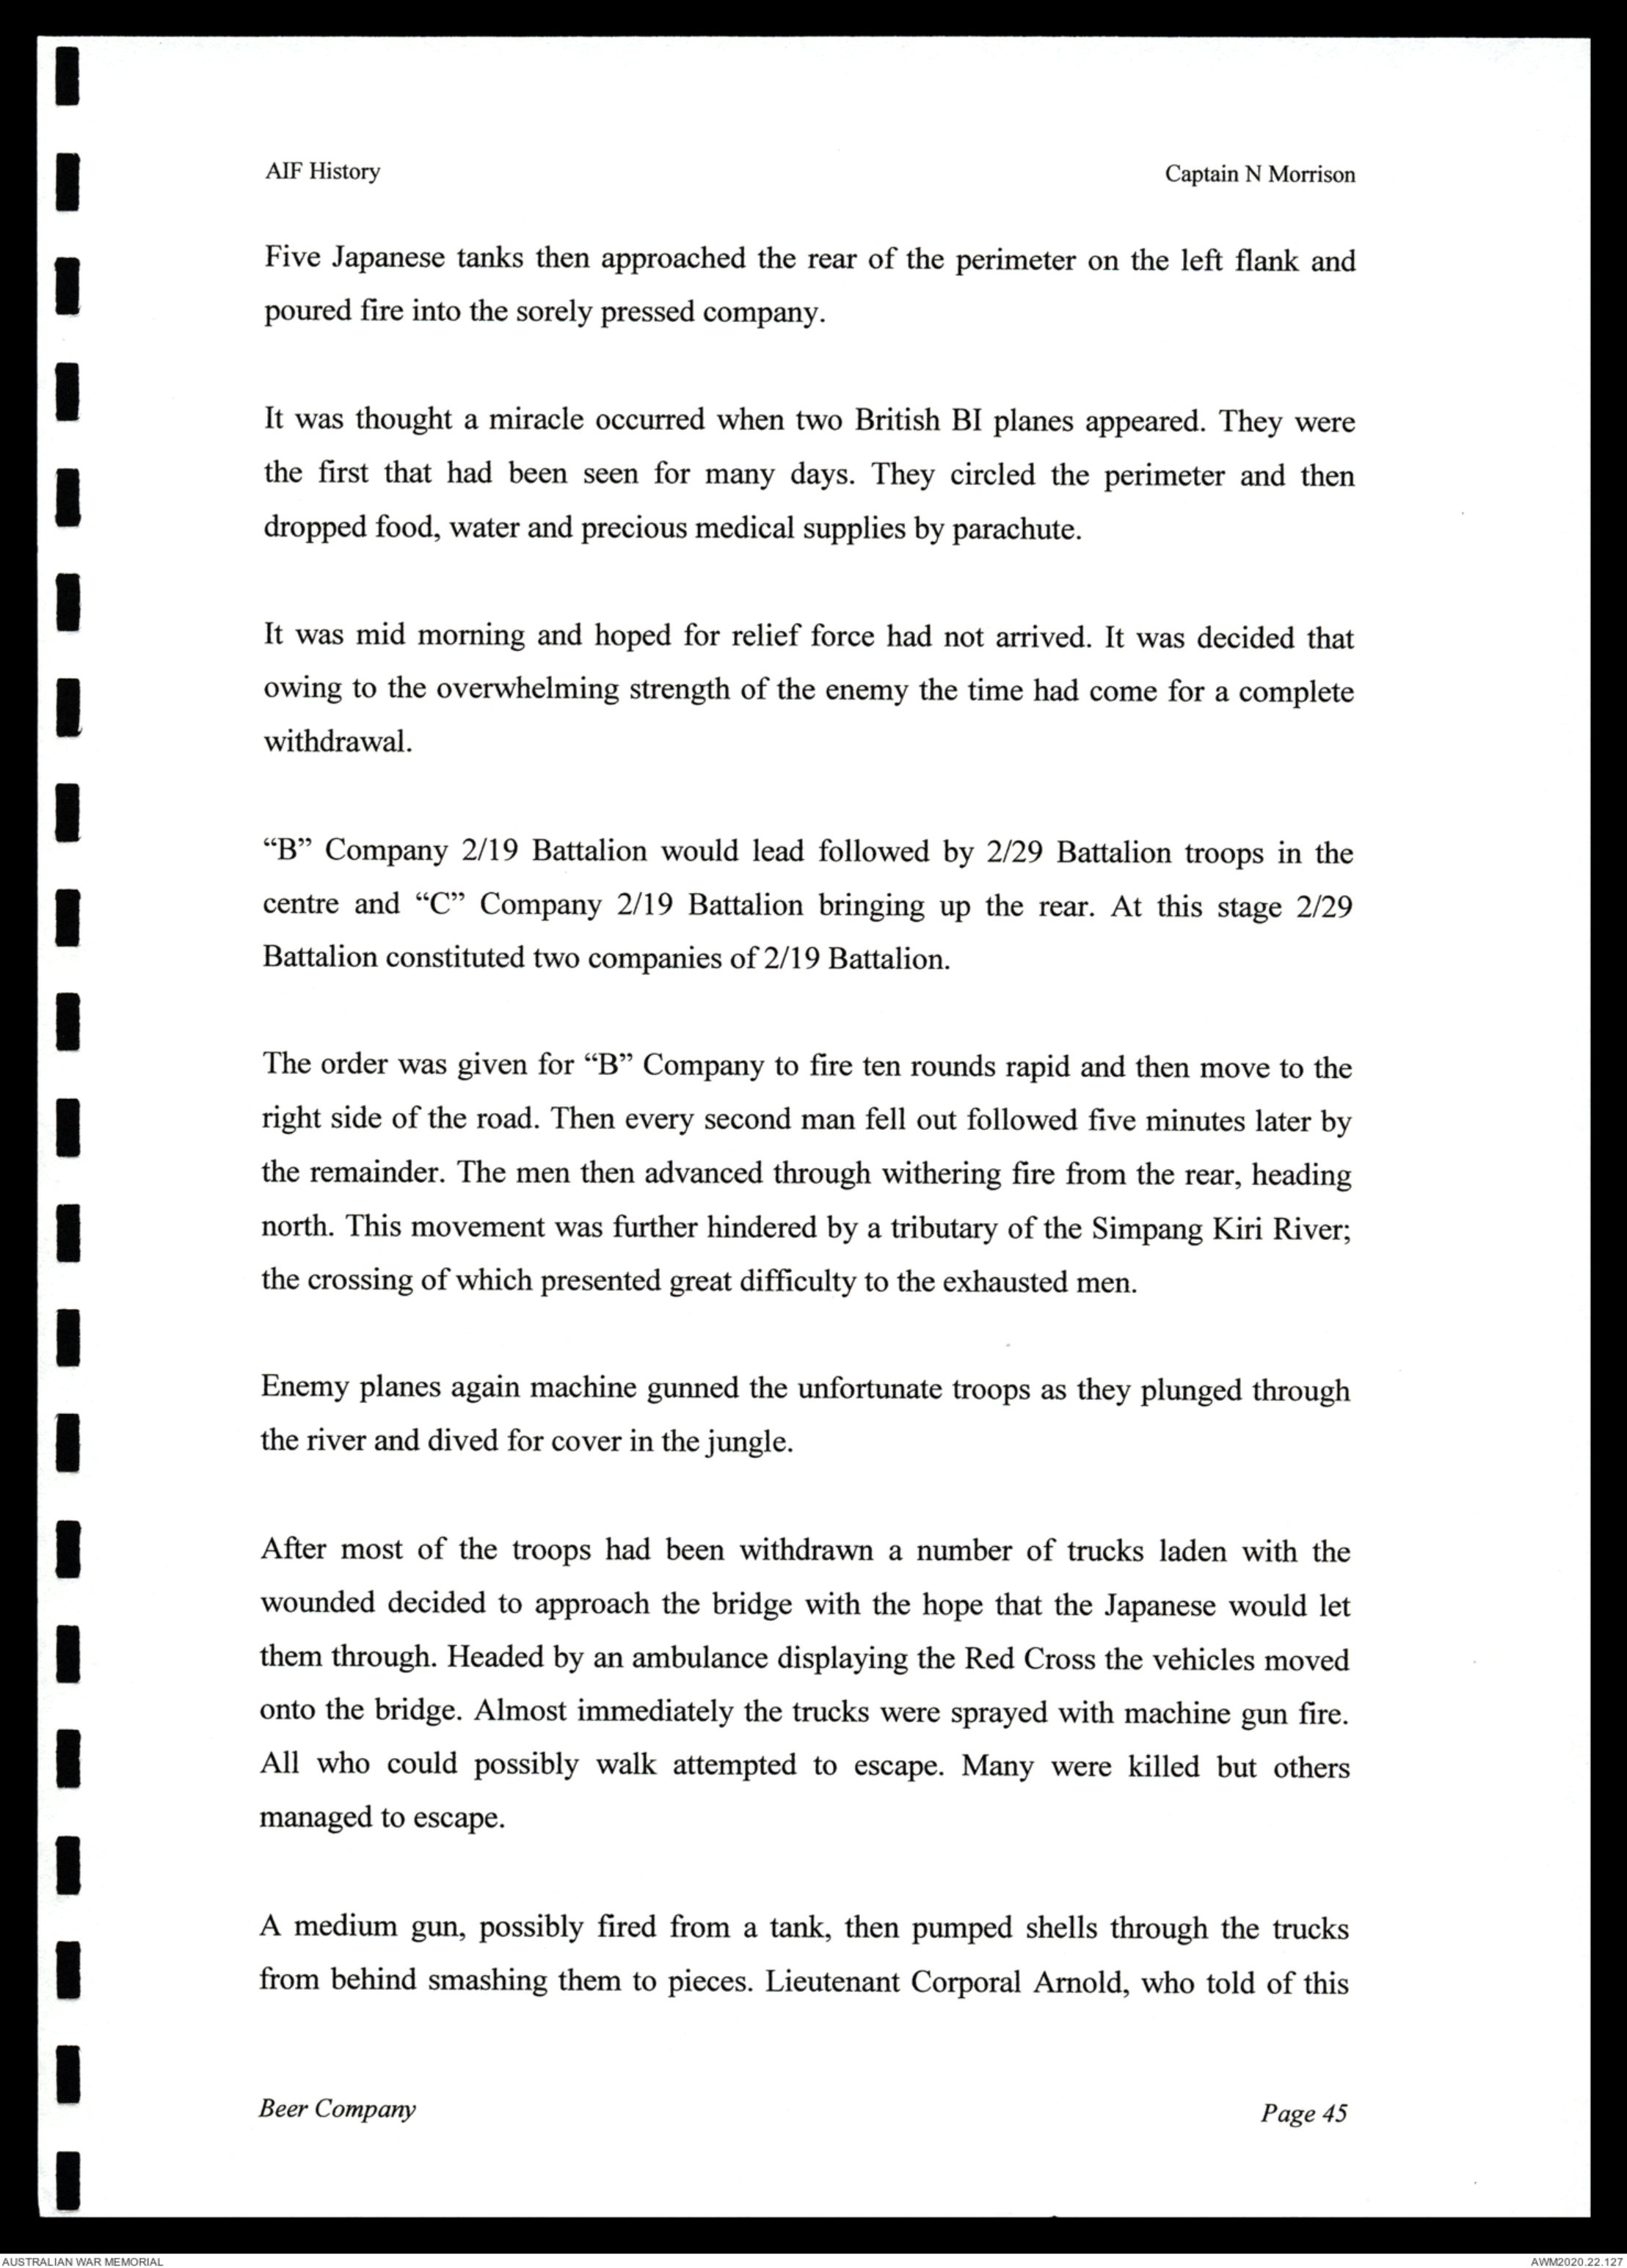
Five Japanese tanks then approached the rear of the perimeter on the left flank and
poured fire into the sorely pressed company.
It was thought a miracle occurred when two British BI planes appeared. They were
the first that had been seen for many days. They circled the perimeter and then
dropped food, water and precious medical supplies by parachute.
It was mid morning and hoped for relief force had not arrived. It was decided that
owing to the overwhelming strength of the enemy the time had come for a complete
withdrawal.
"B" Company 2/19 Battalion would lead followed by 2/29 Battalion troops in the
centre and "C" Company 2/19 Battalion bringing up the rear. At this stage 2/29
Battalion constituted two companies of 2/19 Battalion.
The order was given for "B" Company to fire ten rounds rapid and then move to the
right side of the road Then every second man fell out followed by five minutes later by
the remainder. The men then advanced through withering fire from the rear, heading
north. This movement was further hindered by a tributary of the Simpang Kiri River;
the crossing of which presented great difficulty to the exhausted men.
Enemy planes again machine gunned the unfortunate troops as they plunged through
the river and dived for cover in the jungle.
After most of the troops had been withdrawn a number of trucks laden with the
wounded decided to approach the bride with the hope that the Japanese would let
the through. Headed by an ambulance displaying the Red Cross the vehicles over
onto the bridge. Almost immediately the trucks were sprayed with machine gun fire.
All who could possibly walk attempted to escape. Many were killed but others
managed to escape.
A medium gun, possibly fired from a tank, then pumped shells through the trucks
from behind smashing them to pieces. Lieutenant Arnold, who told of this
Beer Company
Page 45
AIF History
Captain N Morrison
incident was the sole member of the Company to escape from the convoy and is also
believed to be the last member of the Company to leave the scene of action. He was
also the first casualty of the Company.
The long trek around the Japanese lines to Yong Peng was accomplished by the
majority in a day and a half. Large parties reached Yong Peng late in the afternoon of
23 January.
Trucks conveyed the weary men to a rendezvous near Simpang Rangam where the
"B" Echelon (an arrangement of troops), did an excellent job in feeding and clothing
the men while the Padre Reverent AR MacNeil MC issued comforts and cigarettes to
all. The walking wounded who had been picked up by Ambulances were taken to
general hospitals on Singapore Island.
After a good nights rest at B Echelon the troops were transported to base, outside
Johore Bahru, the following afternoon.
Many parties were still in the jungle however, some had haded south to Batu Pahat
where they joined British units who were also surrounded and were fighting a
rearguard action. Others who were slower in reaching Yong Peng found that it had
fallen to the Japanese and further detours around the enemy lines were necessary.
Most of the men headed south and struck the West Coast after several days marching
through the swamp and jungle.
Chinese and Malays greatly helped in guiding the parties down the jungle paths and in
ferrying them across rivers. Many Malays although often well paid, treacherously
guided parties into Japanese patrols where the men had further hair raising escapades.
The adventures of Sergeant Atkinson's party are worth recording in same detail as
they give an idea of what the majority of the men went through. They trekked across
country for eight days after before finally joining the British lines on the West Coast at
Benut.
Beer Company
Page 46
AIF History
Captain N Morrison
On evacuating Parit Sulong this party consisted of over two hundred men, with
several wounded the haded north for a day and halted for the night in a rubber
plantation. Here the wounds were dressed and a large part of the iron rations were
cooked with rice with was obtained from the Tamils.
The following day they haded east for Yong Peng and later that night they were
ferried across the Bekok River On reaching the other side the party split and each
moved off on its own. Sergeant Atkinson's party reached Yong Peng the following
midday and found the Japanese already in occupation. When the enemy opening fire
they dived across to the south side of the road and escaped through a banana
plantation. They were nearly cut off again at Yong Peng after hang been ferried
across the river. With the enemy behind them and along the road to the east they
found their way barred b an apparently impassable swamp. The party may not have
recrossed the river in time only for the audacity of Private Console of 10 Platoon. He
had joined the party the previous day. He constructed a raft on which he floated down
stream and told some Malays there were some men who wished to cross the stream
and what could they do about it. Then despatched a boat in which five of the party
recrossed the river. When the remainder were ferried over the river the found only
the raft. The others had apparently gone on but they were never sighted again.
The choice of direction after recrossing the river was south through a swap. After an
exhausting journey the party reached Batu Panay only to find that the Japanese had got
there before them. They headed east again towards Ayer Hitam on the main north
south road. After stumbling on an enemy headquarters in a rubber plantations, without
being seen, they arrived at a ransacked village. The party then detoured from the main
road and came to a Malay Village where food was obtained. The Malays informed
them that the enemy were at Ayer Hitam, eight miles to the east.
The party then decided to head south west in an endeavour to reach the west coast
road which led to Johore Bahru. They travelled on until close to Rengit where they
were joined by a party of English troops from the Royal Norfolks who had been cut
off by the Japanese advance. The Norfolks informed them that Rengit had fallen and
that the Japanese were still ahead. A further detour was necessary around the enemy
Beer Company
Page 47
 Sam scott
This transcription item is now locked to you for editing. To release the lock either Save your changes or Cancel.
This lock will be automatically released after 60 minutes of inactivity.